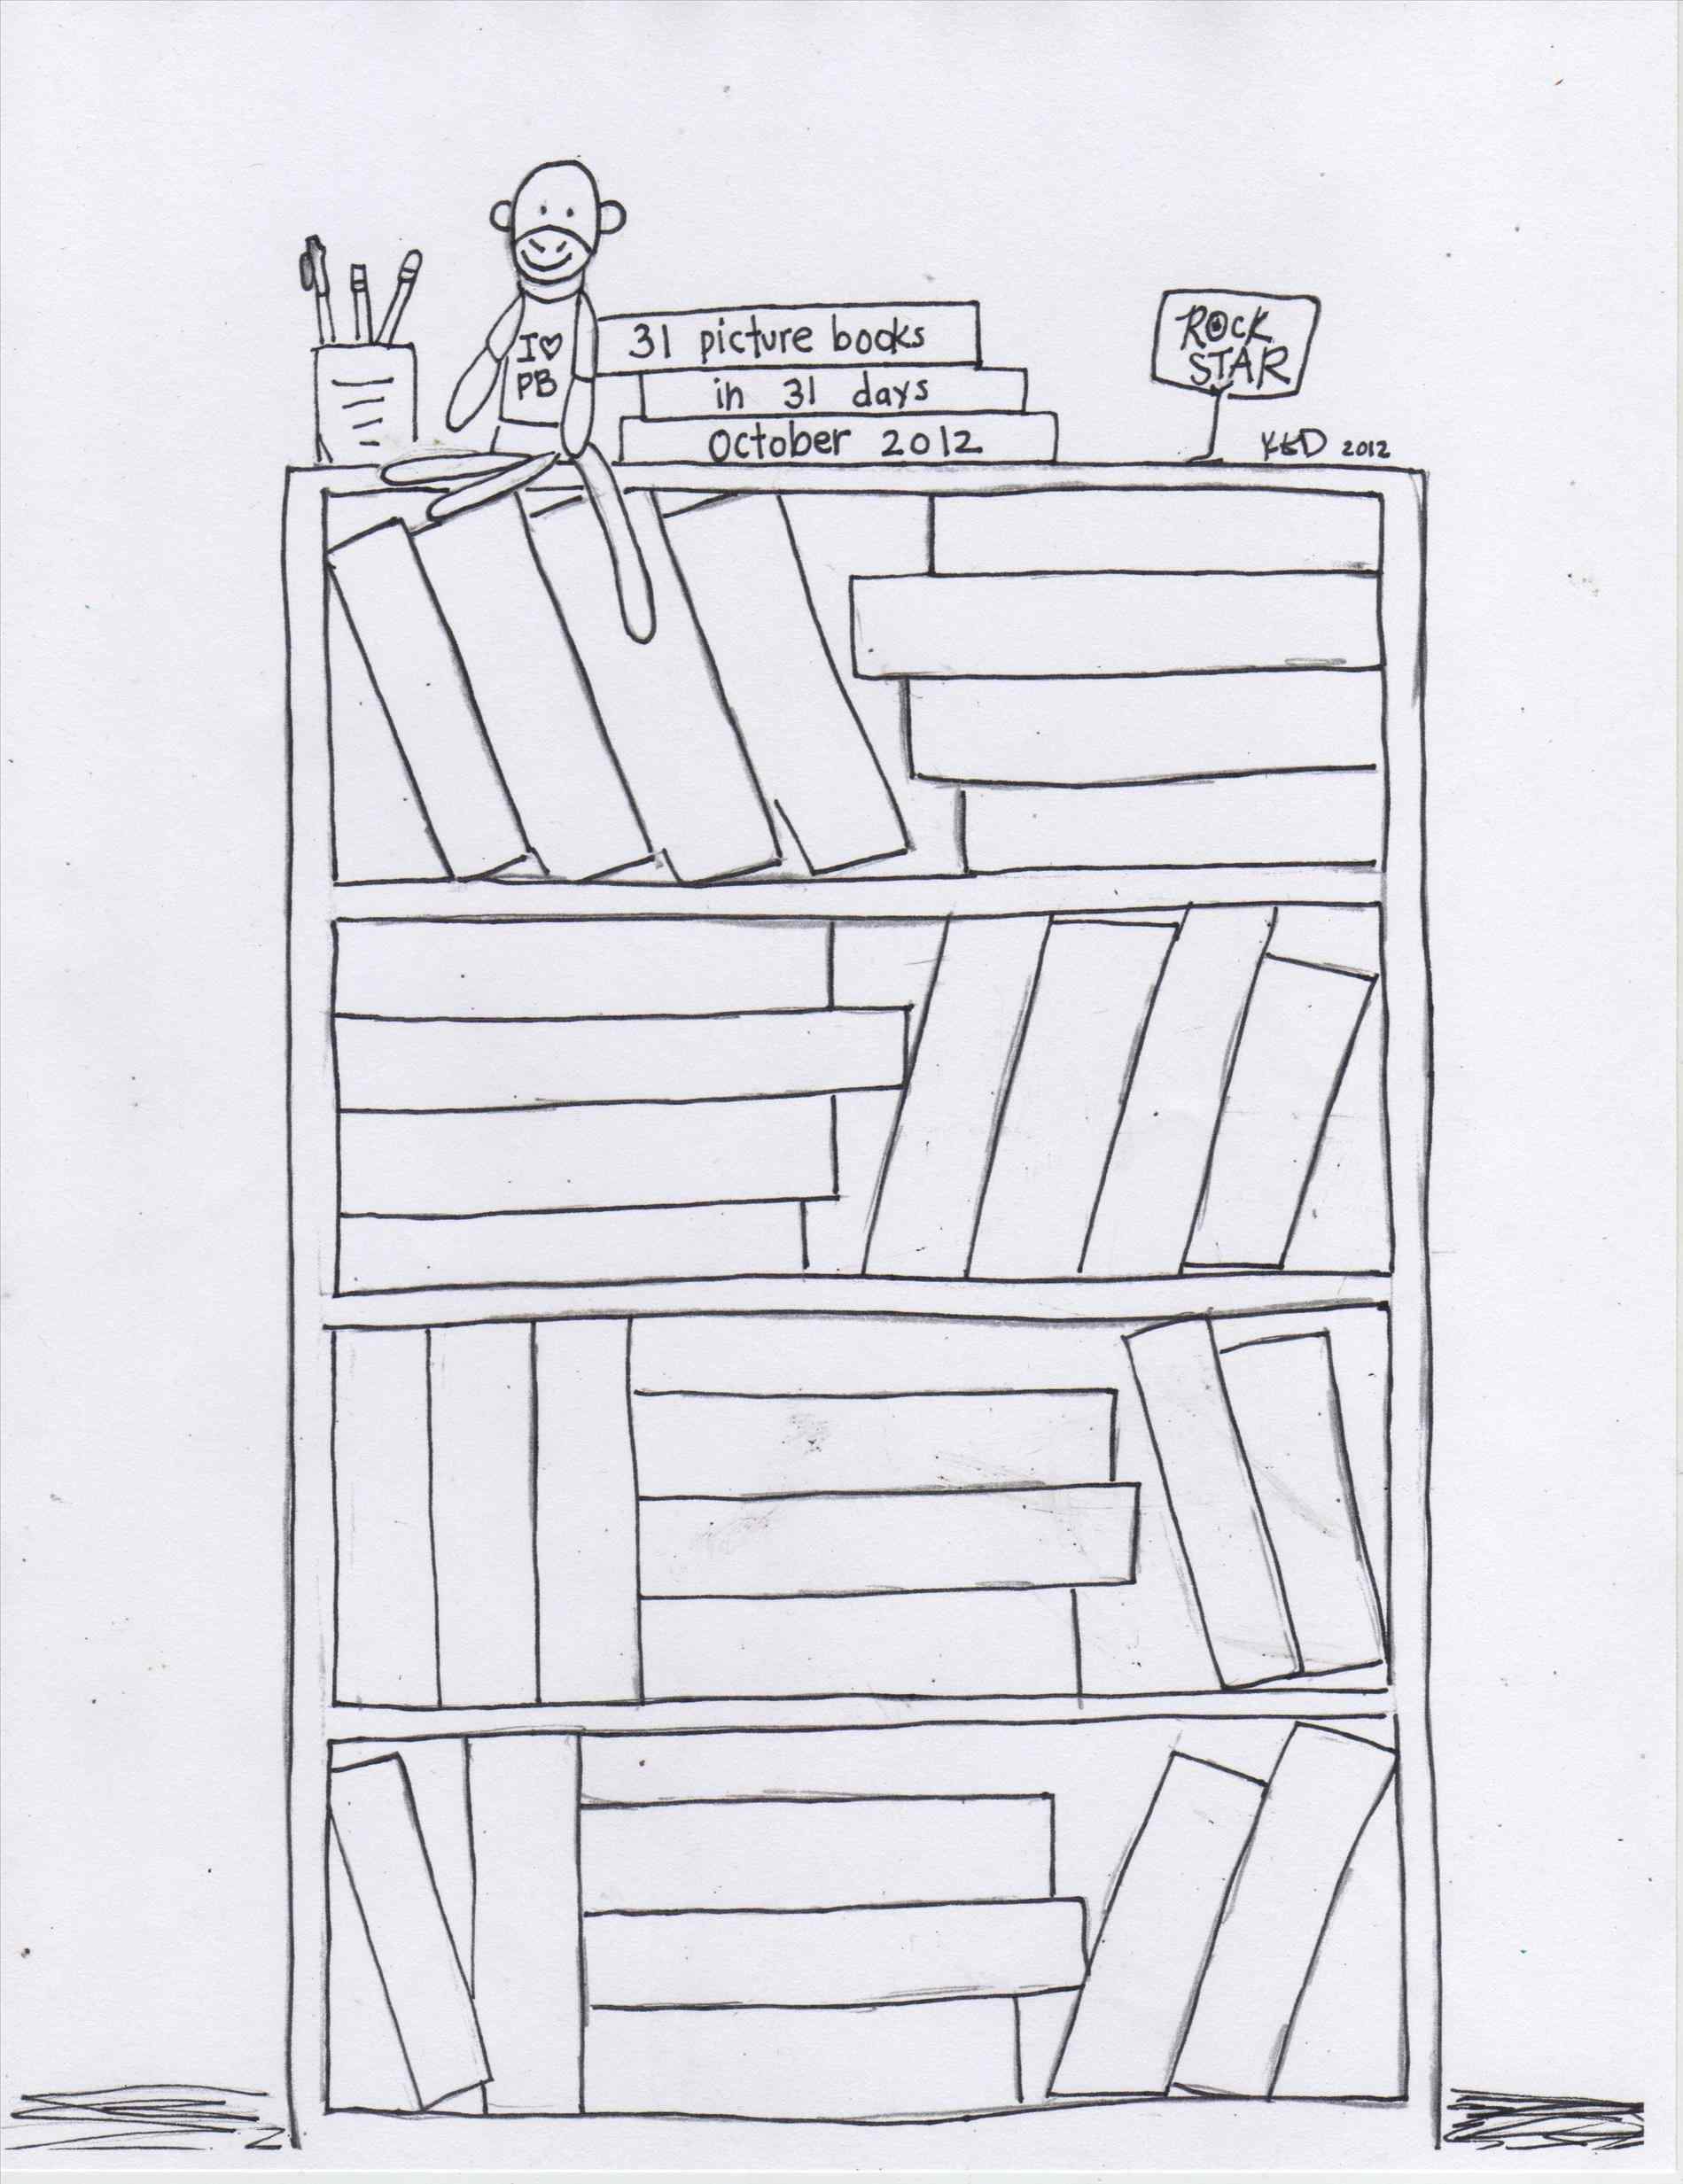
Bookshelf Drawing Easy
Bookshelf Drawing Easy - Web plenty of diagrams and pictures as well as written instructions will help you build this unique bookcase. Depict the side edges of the shelf. Web this easy bookshelf instruction guide is perfect for young kids looking to learn how to draw. Don’t forget to draw in support pieces to make the shelf look more realistic. Add some details like nail holes and edges to give your bookshelf more character. This will be the base of the bookshelf. Use three sets of parallel lines to form three shelfs. Shelf lengths longer than 36 may sag without additional reinforcement. If you are having trouble with the configurator, please try a different. Web sketch the books by drawing smaller rectangles of varying sizes on the shelves.
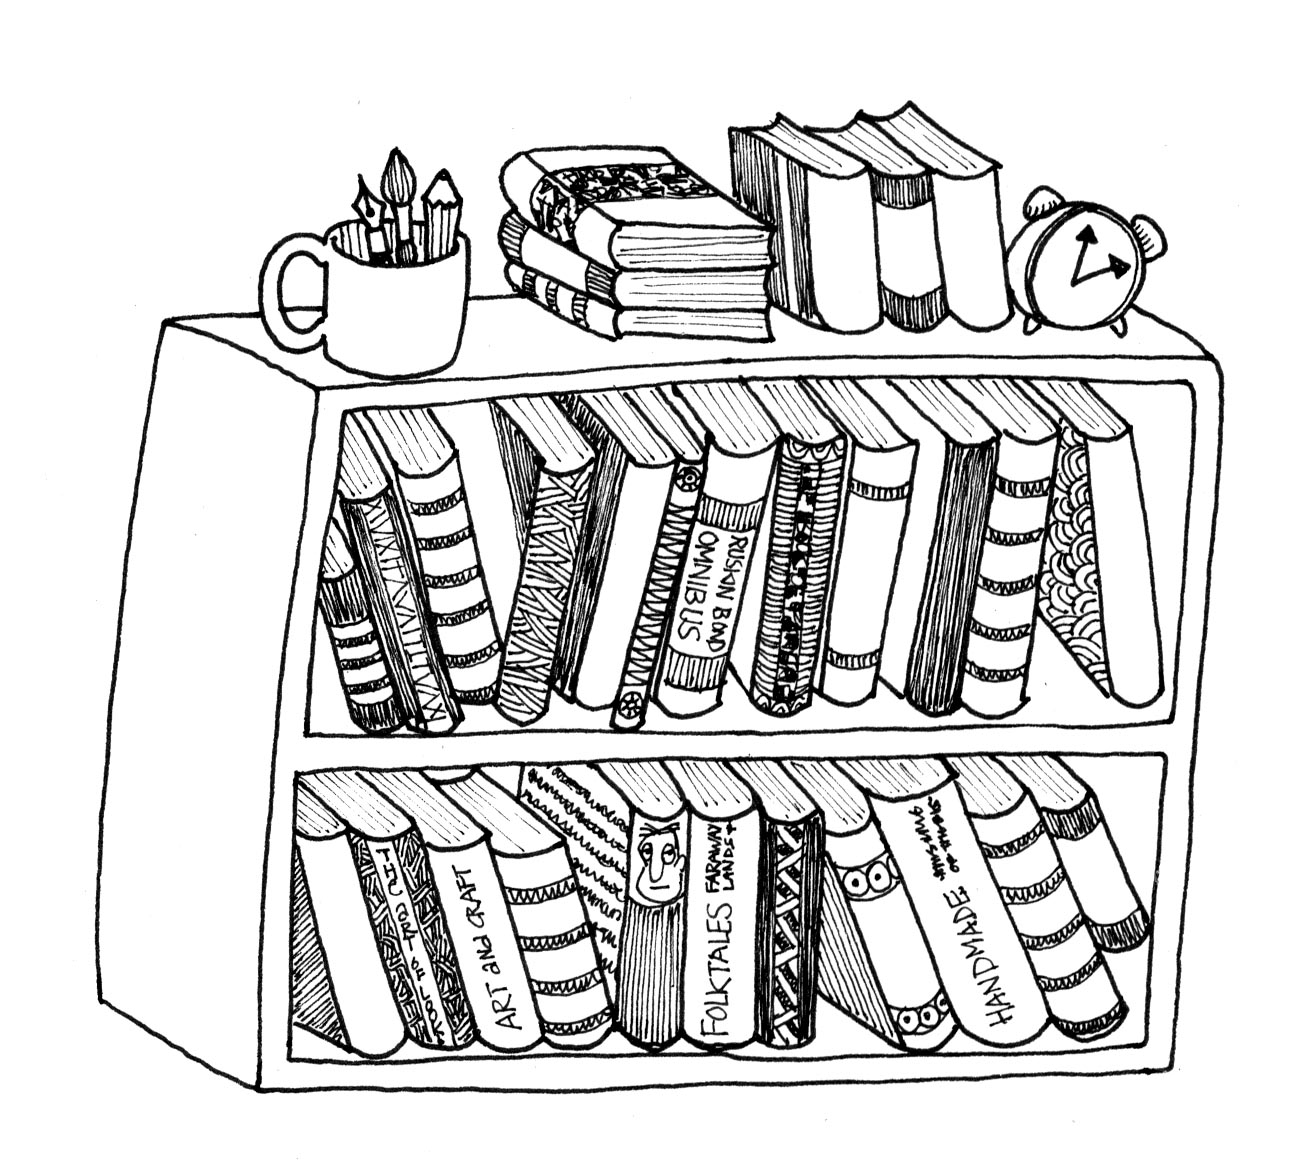
Add the top shelf line. Slide the bottom shelf into place for support. Draw a curved line at the top of the spine to indicate the binding, then enclose curved rectangles on top of the book to form the pages. Web plenty of diagrams and pictures as well as written instructions will help you build this unique bookcase. Don’t forget to draw in support pieces to make the shelf look more realistic. All plans include diagrams, photos and directions. Web drawing a bookshelf isn't hard, and with a little bit of practice you'll learn how to draw a book shelf easily.please subscribe to our channel for more drawi. Begin by drawing a horizontal line towards the bottom of your paper. Draw the rest of the books on the top shelf. You can adjust the height of these lines based on how tall you want your.
The holes are oversized to allow the top to expand and contract. Add three parallel lines as shown. Above the previously drawn lines, draw one straight horizontal line, as shown in the figure. Web sketch out the legs. Draw the rest of the books on the top shelf. In this drawing lesson, we’ll show how to draw a book shelf step by step total 6 phase, and it will be easy tutorial. Book shelf, furniture, books, wooden, how to draw furniture. Portable book rack plan from start woodworking. Outline the basic shape of the bookshelf. Web drawing a bookshelf isn't hard, and with a little bit of practice you'll learn how to draw a book shelf easily.please subscribe to our channel for more drawi.

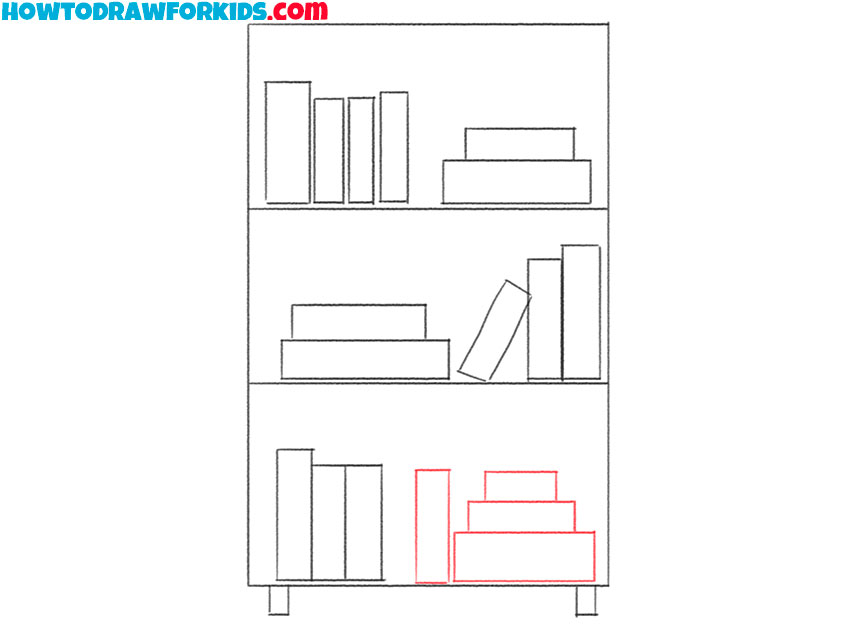
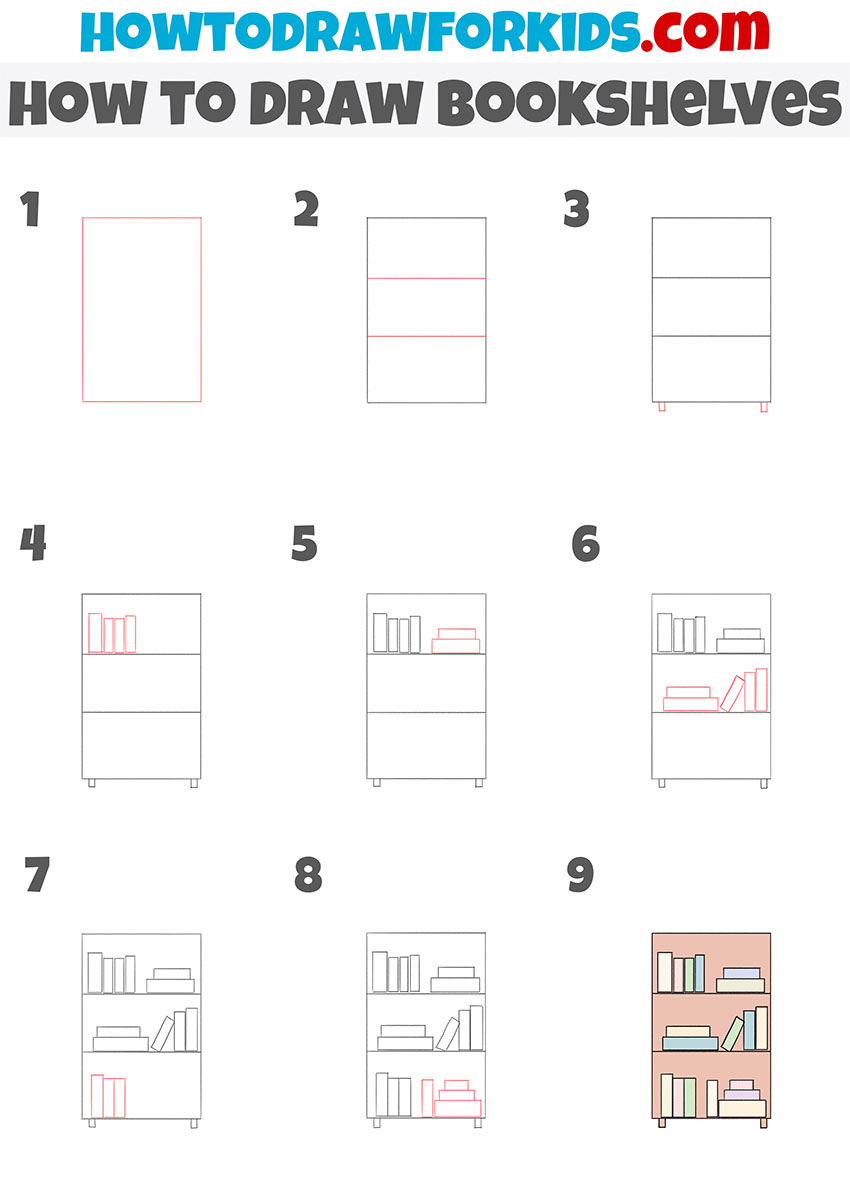
How to Draw Bookshelves Easy Drawing Tutorial For Kids
Draw the rest of the books on the top shelf. Thanks for watching my video. Add some books on the top shelf. Depict the side edges of the shelf. Above the previously drawn lines, draw one straight horizontal line, as shown in the figure.
Bookshelf Drawing at Explore collection of
Web this easy bookshelf instruction guide is perfect for young kids looking to learn how to draw. Web rotate by clicking and holding down the right mouse button on the design, then moving your mouse. Da vinci eye lets you draw other people's uploaded images. Draw the rest of the books on the top shelf. This is a step by.

How to Draw a Bookshelf Step by Step Easy Drawing Guides Drawing Howtos
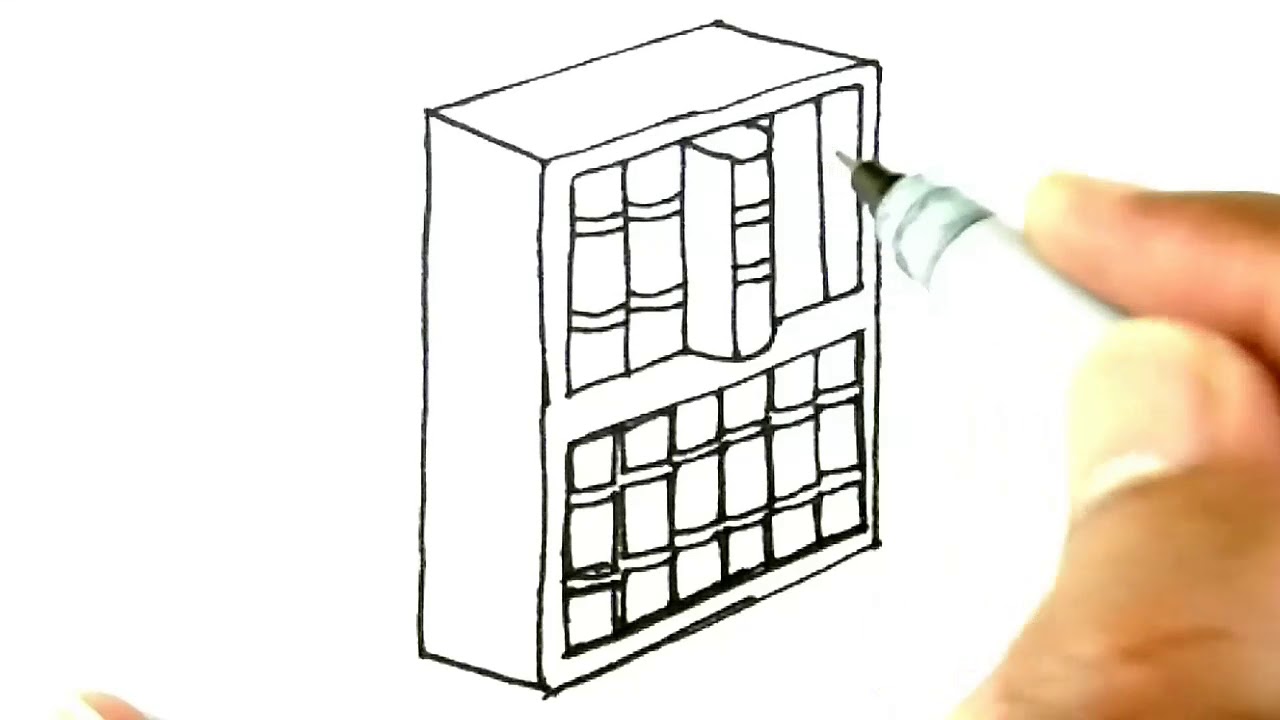
Put some books on the shelves. You can adjust the height of these lines based on how tall you want your. Draw the rest of the books on the top shelf. Web sketch the books by drawing smaller rectangles of varying sizes on the shelves. Web this video shows how to draw a bookcase (bookshelf) in one point perspective.
How to Draw Bookshelves Easy Drawing Tutorial For Kids
Web how to draw a bookshelf | simple drawings At the very bottom, depict two small rectangles. It's free to download on apple devices but requires a $19.99 payment for android. Web start by drawing out the basic shape of the shelf. Holes at the corners of the bookcase top.
How To Draw A Bookshelf Step By Step mavieetlereve
You can adjust the height of these lines based on how tall you want your. Depict the books on the middle shelf. If you are having trouble with the configurator, please try a different. Complete the bookcase by screwing the four 1x6s to the back of the unit. Draw the book that the character is reading.

Learn How To Draw A Book Shelf (furniture) Step By Step Drawing
Add details to the books by drawing lines for the spines and, if desired, the titles. You can decide the shape of the shelf by drawing rectangles and lines in the shape that you want. Web this video shows how to draw a bookcase (bookshelf) in one point perspective. Pilot holes for the screws to avoid splitting. Above the previously.
How To Draw A Bookshelf Step By Step mavieetlereve
Web sketch the books by drawing smaller rectangles of varying sizes on the shelves. Web rotate by clicking and holding down the right mouse button on the design, then moving your mouse. This will be the base of the bookshelf. Tilt the assembled frame into place. Draw the book that the character is reading.
Bookshelf Drawing at Explore collection of
Slide the bottom shelf into place for support. Portable book rack plan from start woodworking. Above the previously drawn lines, draw one straight horizontal line, as shown in the figure. Depict the side edges of the shelf. This is a step by step drawing video for beginners, one point perspective drawi.

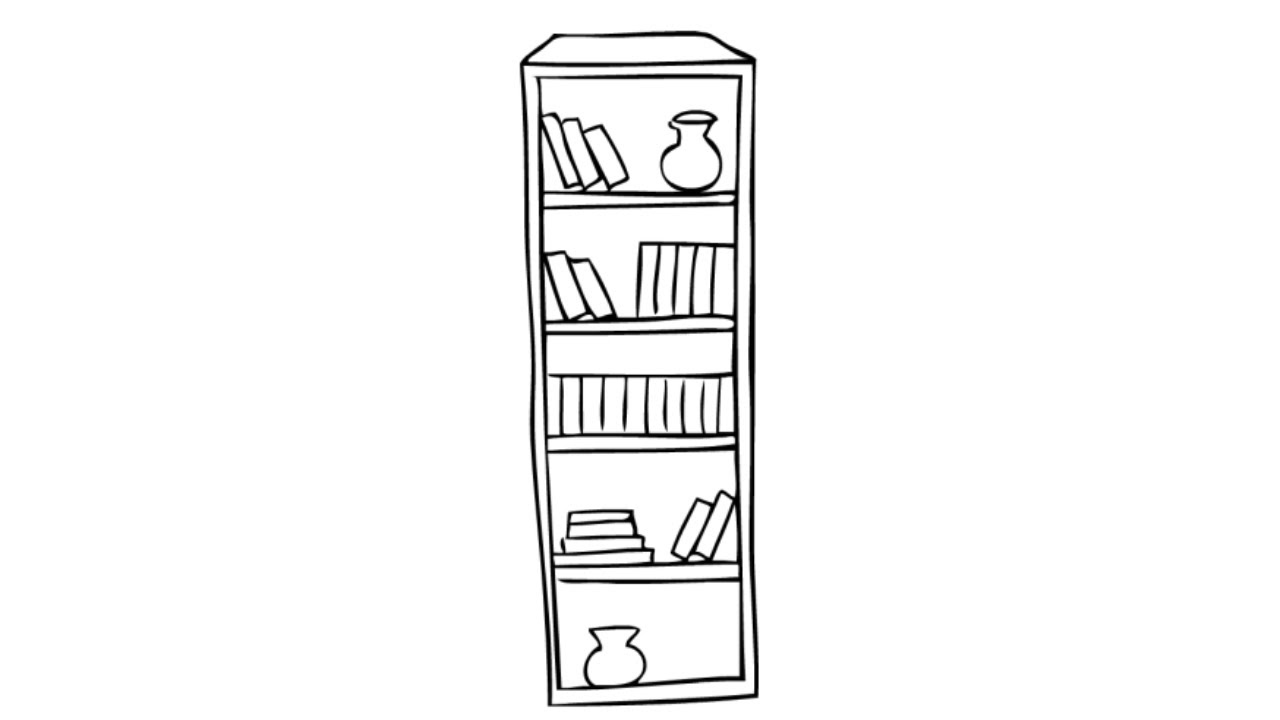
How to draw a Bookshelf step by step for beginners YouTube
Web begin by drawing a tall, narrow rectangle to outline the sides and top of the bookcase. Web this easy bookshelf instruction guide is perfect for young kids looking to learn how to draw. Web drill four 3/8 in. Holes at the corners of the bookcase top. Draw a curved line at the top of the spine to indicate the.
How to Draw Bookshelves Easy Drawing Tutorial For Kids
Web welcome to rachana drawing art channel! Web drill four 3/8 in. Draw a narrow curved rectangle for the book's spine, and larger ones for the front and back covers. Draw a set of diagonal parallel lines between two shelfs. It's free to download on apple devices but requires a $19.99 payment for android.
All Drawing Steps Are Included Here Which Make It Fun And Simple To Follow!
The app is available on ios, android, ipados, and visionos. Web here is about how to draw a book shelf in 5 easy steps. Da vinci eye lets you draw other people's uploaded images. Pilot holes for the screws to avoid splitting.
Web Welcome To Rachana Drawing Art Channel!
Web this 3′ x 8′ wooden bookshelf is perfect for all your book storage needs. Draw two cabinet pulls for two doors. Tilt the assembled frame into place. It's free to download on apple devices but requires a $19.99 payment for android.
Web Start By Drawing Two Tall Narrow Bars As The Legs Of The Bookshelf.
Put some books on the shelves. In this drawing lesson, we’ll show how to draw a book shelf step by step total 6 phase, and it will be easy tutorial. Using two straight diagonal lines, connect the ends of the horizontal line and the rectangle. Add some details like nail holes and edges to give your bookshelf more character.
Now, Draw More Rectangles As Shown In The Picture.
Draw a narrow curved rectangle for the book's spine, and larger ones for the front and back covers. Holes at the corners of the bookcase top. Web drill four 3/8 in. The minimalist design and splayed legs give this bookcase a cozy.