Bunny Draw
Bunny Draw - Web how to draw bunny ears step 1. Position the smaller oval slightly to the left of the larger one, ensuring they intersect at the head’s lower right side. Make a drawing of the bunny’s face. Either way, start with the basic shapes of the rabbit. Draw an oval at an angle, we want the angle to be facing downwards as this will be guiding where we place the details of the head. So, don’t forget to put emphasis on the cheeks as you draw the outline of the bunny’s face. Let me know in the. Web sketch a rough outline for the hands and feet. Finally, extend several curved lines from above the mouth to form the whiskers. Start the drawing of the rabbit by first getting the overall shapes of the major parts of it’s body as in the above example.
Colors add depth and personality to your bunny drawing. In order to create the bunny’s mouth, draw a curved line below the nose on. Make a drawing of the bunny’s face. Draw the side of the bunny's face. Let’s draw a sleepy, lazy bunny next (cause we all get in that mood every now and then) 13. To do this, make an upside down 'u' shape and add a horizontal line at the bottom right, a bit longer than the ear is thick. I mark the back of the bunny with a long pencil line. Web how to draw animals playlist: Next draw the body itself which for a rabbit in this position can sort of be broken down into two. Draw a small circle for the little nose.
Add shape for bunny nose, mouth, and jaw. Draw a vertical line and a. Start by sketching the general structure of the bunny with simple shapes, such as ovals, circles, and rounded cs. Draw the eyes using small circles, add the nose by sketching an inverted triangle, sketch the mouth and add the tooth. Finally, extend several curved lines from above the mouth to form the whiskers. I decided to make the heart pink, because i’m drawing a female bunny. In this step, use a slightly smaller oval that slopes slightly from left to right to represent the head of your bunny. Draw an oval at an angle, we want the angle to be facing downwards as this will be guiding where we place the details of the head. Step 2 of our easy bunny drawing tutorial is another construction step. Start by drawing two overlapping ovals, one for the head and the other for the body.

How to Draw a Bunny Easy Drawing Tutorial For Kids
Let me know in the. This will be the base of the ears. Enclose a small round shape to form the nose, and extend a short line beneath it. At the base of the ear, overlap short curved lines in a jagged fashion to lend the appearance of fur. Enclose a rectangle shape beneath it, and draw a vertical line.
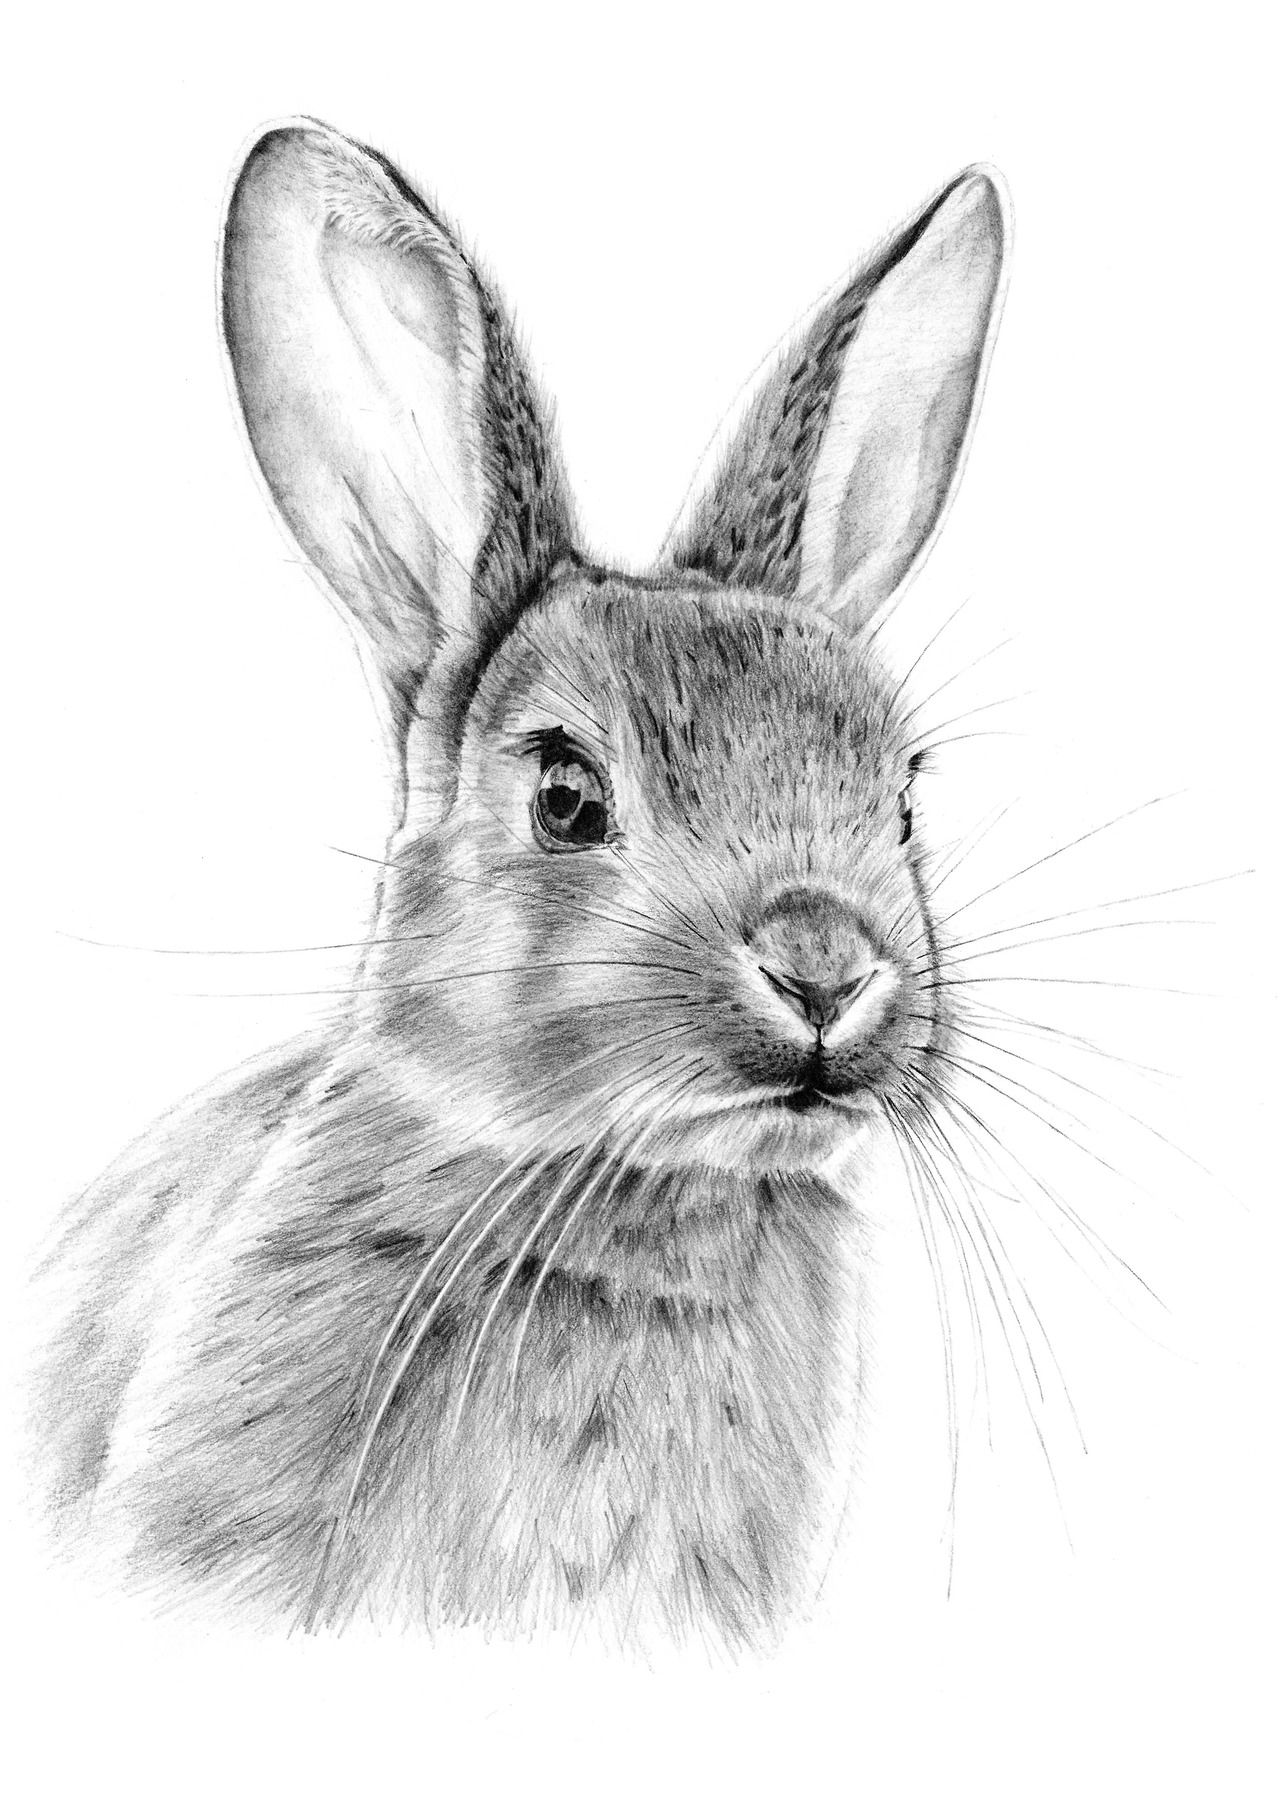
Draw a rabbit with pencils Sabrina Hassler Illustration & Drawing Blog
The foreshortening of the rabbit that we were drawing in the previous sections didn’t allow us to see its tail. Fresco makes sketching easy with a powerful suite of drawing tools, but you might be working on paper with the plan to import into a digital space later. On one side, let the arm of the “w” touch the nose..

Easy How to Draw a Bunny Face Tutorial and Bunny Face Coloring Page
The foreshortening of the rabbit that we were drawing in the previous sections didn’t allow us to see its tail. Draw two lines from the outer edge of the circles, going towards the central line of the head. In order to create the bunny’s mouth, draw a curved line below the nose on. Draw two small circles in the middle.
Bunny Drawing
I decided to make the heart pink, because i’m drawing a female bunny. So, don’t forget to put emphasis on the cheeks as you draw the outline of the bunny’s face. Step 2 of our easy bunny drawing tutorial is another construction step. Web sketch a rough outline for the hands and feet. In order to create the bunny’s mouth,.

How to Draw a Rabbit Really Easy Drawing Tutorial
Draw the ear of the cartoon rabbit using a pair of curved lines that meet at a gentle point. Draw two lines from the outer edge of the circles, going towards the central line of the head. Once you have the shape down, go in and add details, such as. This project took a total of 4 hours and 48.
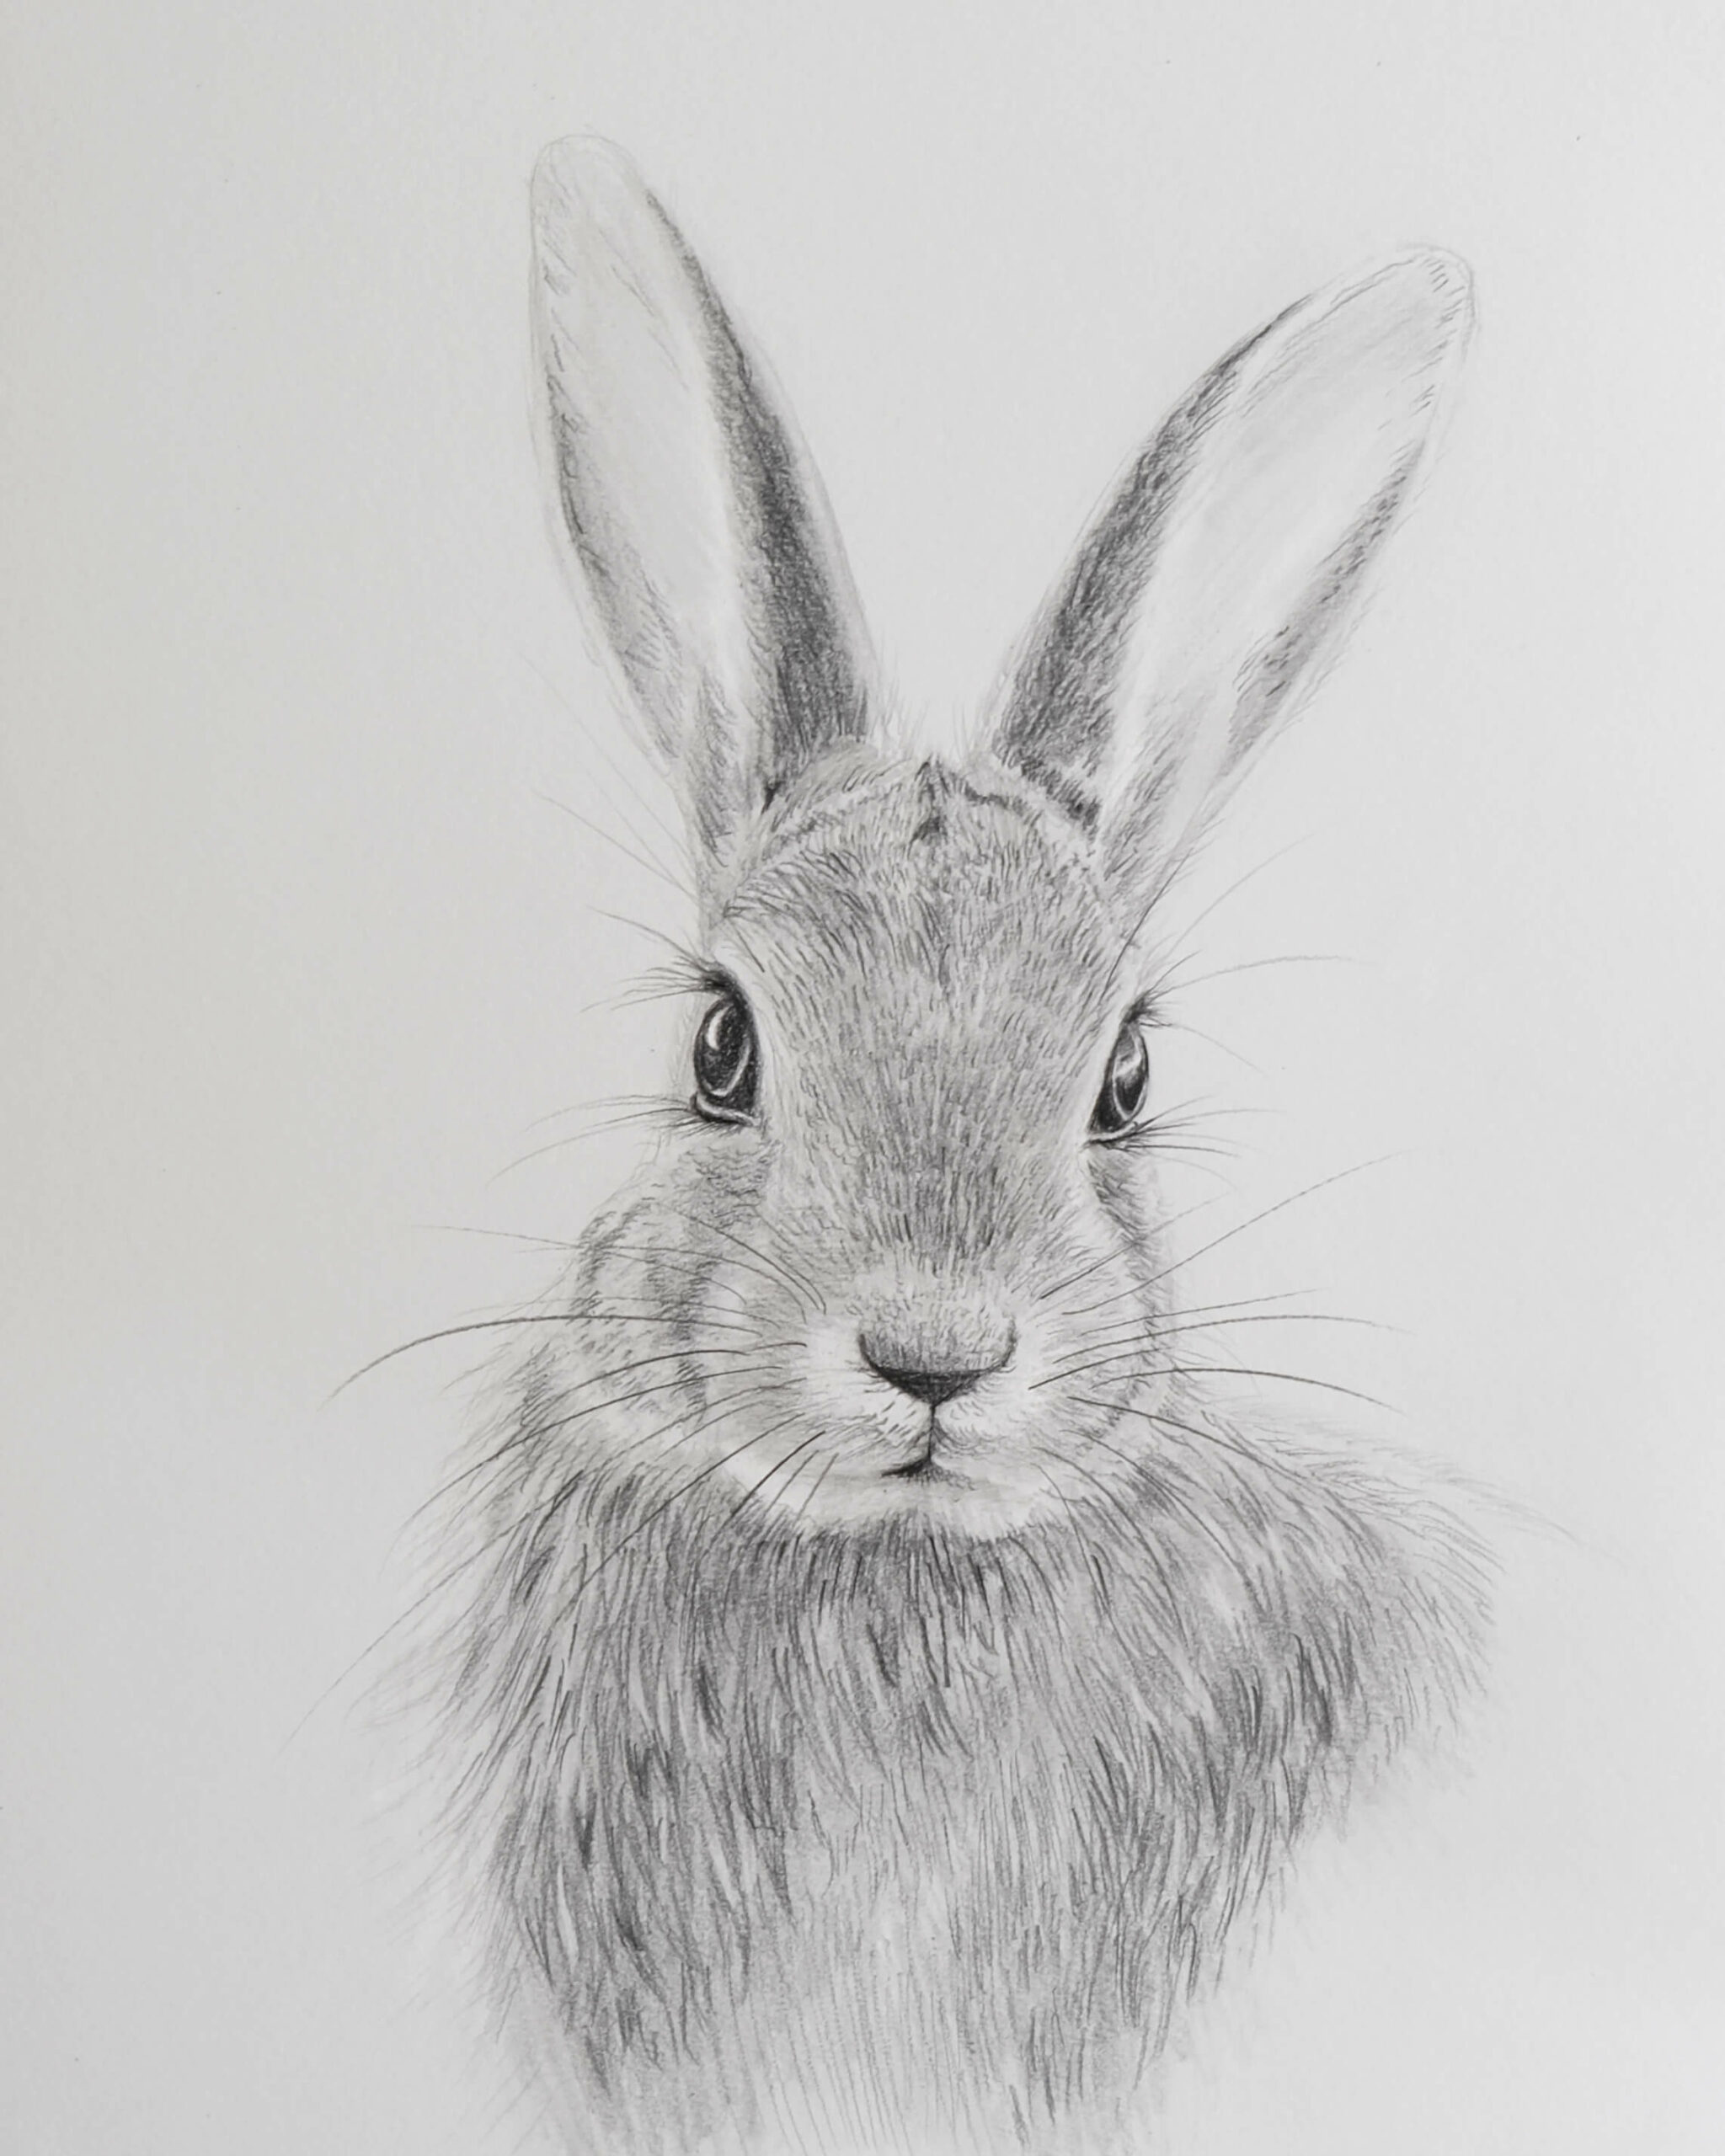
Realistic Rabbit Drawing at Explore collection of
Draw two lines from the outer edge of the circles, going towards the central line of the head. Web learn how to draw a realistic bunny! Draw the eyes using small circles, add the nose by sketching an inverted triangle, sketch the mouth and add the tooth. Sketch the head and the torso. Make a curved line, connected to the.

Rabbit Drawing for Kids HelloArtsy
Web learn to draw a cute bunnystore: Start by sketching the outline of the bunny’s face. Web how to draw animals playlist: Draw the bunny rabbit’s lower. Draw the ear of the cartoon rabbit using a pair of curved lines that meet at a gentle point.
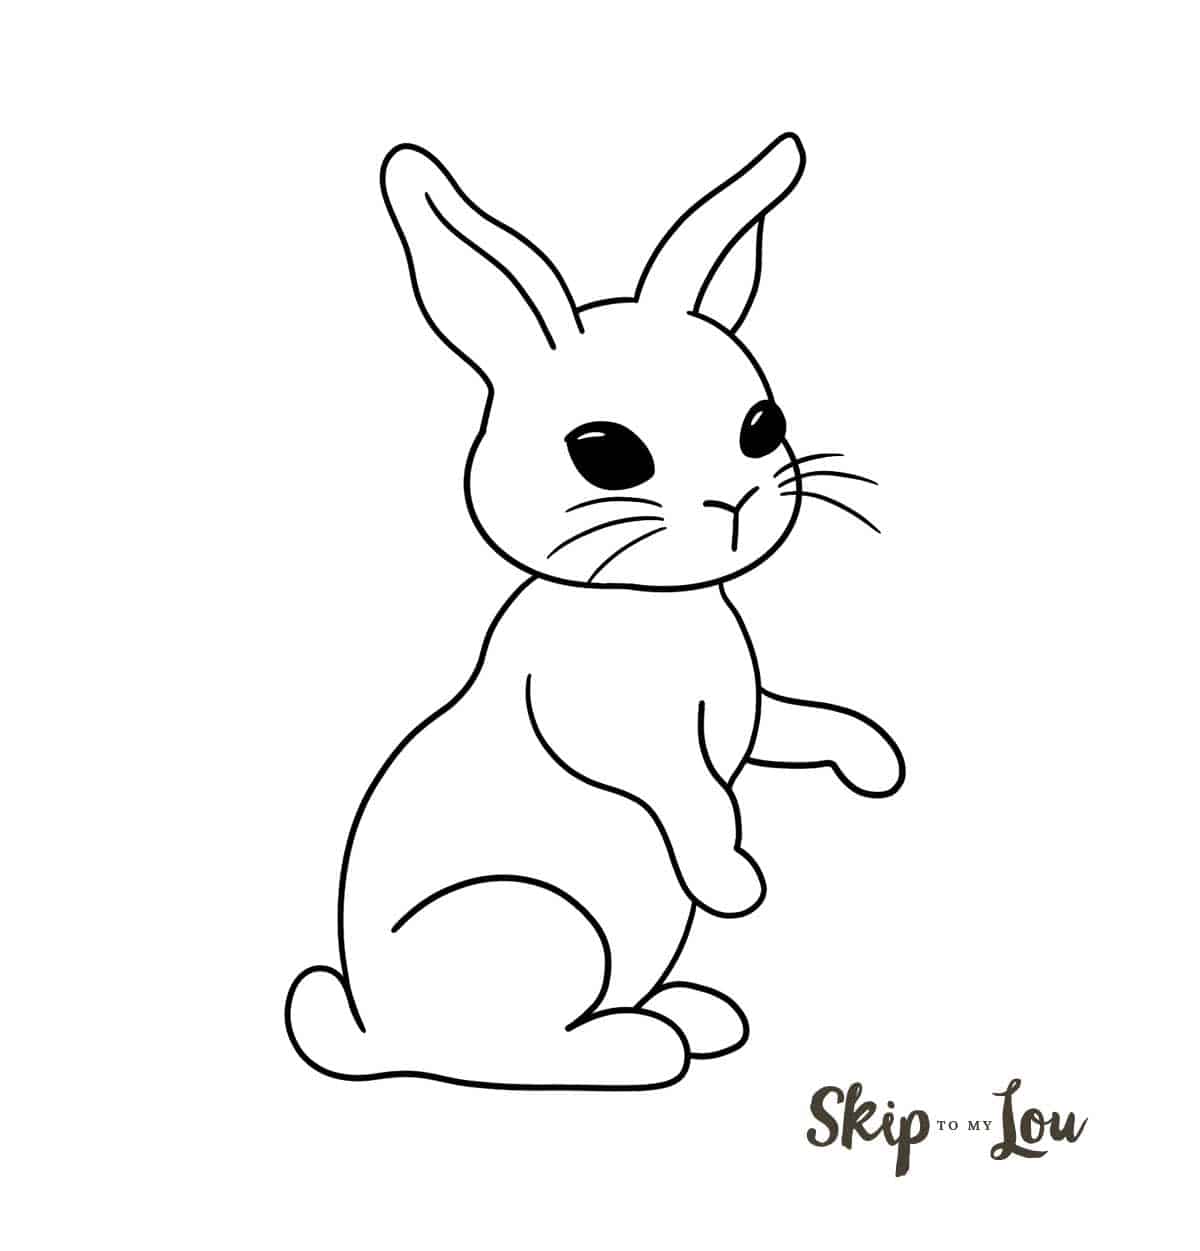
How to Draw a Bunny Skip To My Lou
Make a curved line, connected to the ear, and extend it so it ends in roughly the same. Web learn to draw a cute bunnystore: Sketch the head and the torso. Draw an irregular circle shape with the bottom part slightly wider than the top. This will be the base of the ears.

How to Draw a Bunny 13 Steps (with Pictures) wikiHow
Draw two lines from the outer edge of the circles, going towards the central line of the head. Web next draw the first ear on the side and then add the second ear on the other side of the circle. Sketch your bunny step by step. To do this, make an upside down 'u' shape and add a horizontal line.
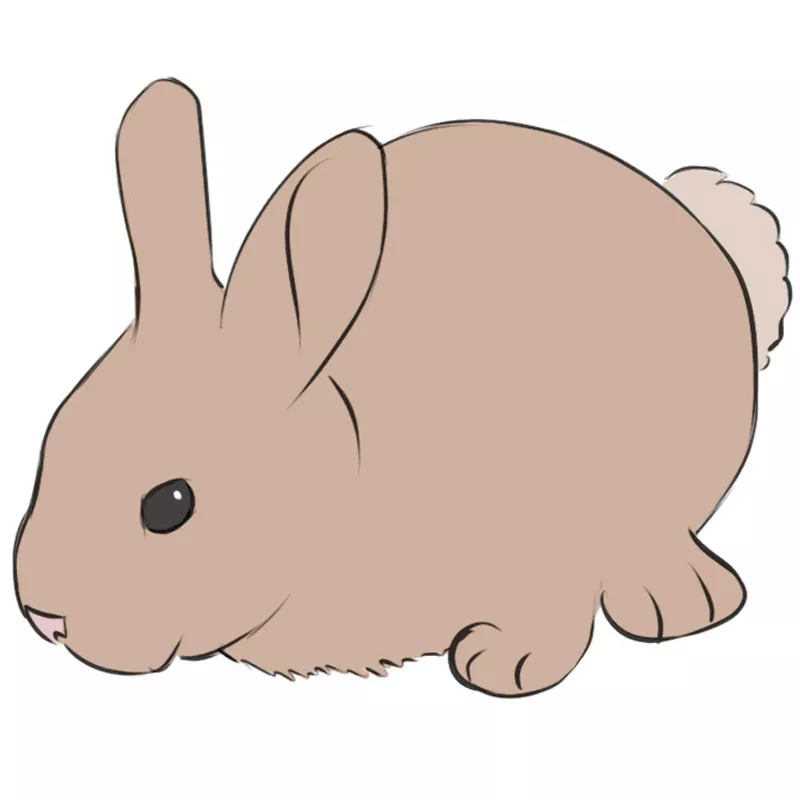
How to Draw a Rabbit Easy Drawing Art
This will be the base of the ears. Enclose a small round shape to form the nose, and extend a short line beneath it. Then add a wide “w” underneath the nose, which will be the mouth. Web next draw the first ear on the side and then add the second ear on the other side of the circle. Web.
On One Side, Let The Arm Of The “W” Touch The Nose.
Once you have the shape down, go in and add details, such as. However, since we are drawing a cute version, draw a heart instead. Add detail to the bunny’s face. Enclose a rectangle shape beneath it, and draw a vertical line down its center.
Step 2 Of Our Easy Bunny Drawing Tutorial Is Another Construction Step.
The foreshortening of the rabbit that we were drawing in the previous sections didn’t allow us to see its tail. Draw an irregular circle shape with the bottom part slightly wider than the top. Then add a wide “w” underneath the nose, which will be the mouth. To do this, make an upside down 'u' shape and add a horizontal line at the bottom right, a bit longer than the ear is thick.
Draw The Side Of The Bunny's Face.
Start the drawing of the rabbit by first getting the overall shapes of the major parts of it’s body as in the above example. Make a drawing of the bunny’s face. Draw a similar short line at the base of the ears. I decided to make the heart pink, because i’m drawing a female bunny.
But This Part Of The Rabbit’s Body Is Also Fascinating From The Artistic Standpoint.
Draw two lines from the outer edge of the circles, going towards the central line of the head. A bunny nose looks pretty similar to a triangle. Finally, extend several curved lines from above the mouth to form the whiskers. Draw an oval at an angle, we want the angle to be facing downwards as this will be guiding where we place the details of the head.