Candle Easy Drawing
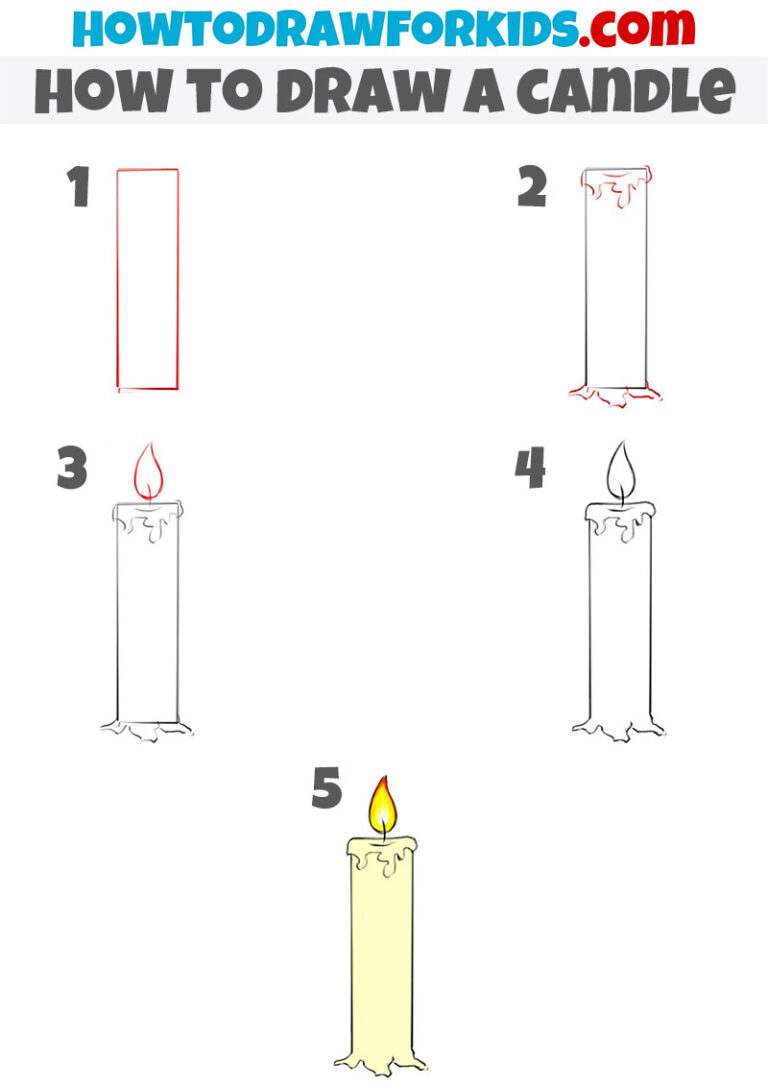
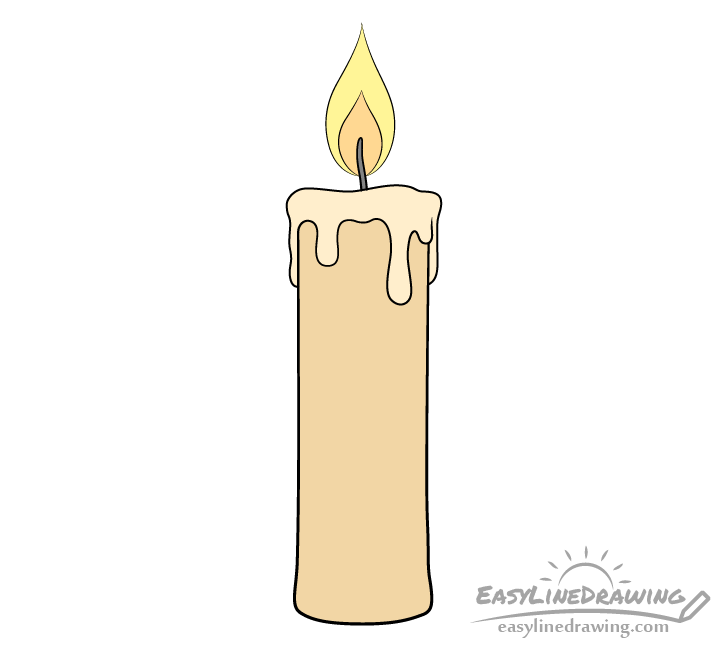
Candle Easy Drawing - Hi everyone, in this video i show you how to draw a candle step by step 🕯️. Make sure all the shapes are closed spaces. First draw the very top with an uneven wavy line to show that it’s melted. Notice how the lines shift to form extra points. Extend curved lines from each side of the wick, and allow them to meet at a sharp point above it. Draw the candle wick and flame. We will begin by sketching two basic shapes. 4 steps to amazing tints and. The wick is a solid line in the middle of the cylinder. Draw this cute candle by following this drawing lesson.
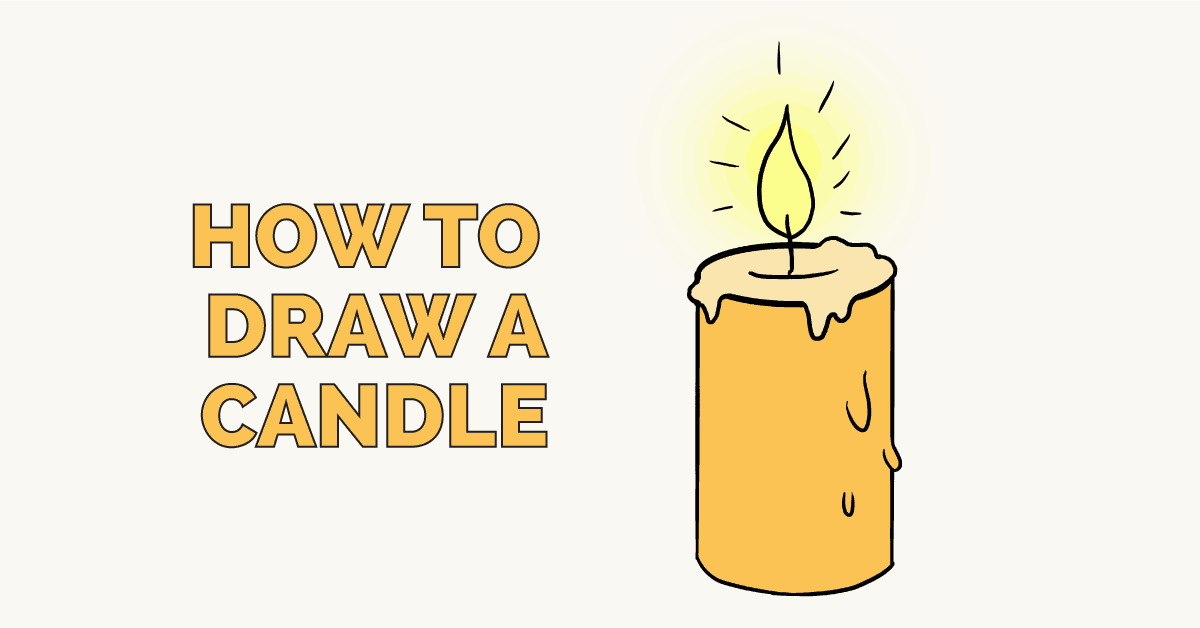
Next, give your candle a lovely glow by drawing a circle around the flame. Notice how the lines shift to form extra points. Draw the sides of the candle. 🕯 realistic candle sketch [candle. We will begin by sketching two basic shapes. Web draw two slightly curved horizontal lines for the top and bottom of the candle. Draw the wick and flame. Web learn how to draw a candle for kids easy and step by step. The candle flame can have different shapes and sizes depending on the wind, temperature, etc. Web how to draw a candle step by step easy ॥ easy candle drawing lesson for beginners.all easy drawing videos:
Web draw a window frame. Sketch a wavy, horizontal line at the top to represent the melted wax. Easy candle drawing online video tutorial for beginners. First draw the very top with an uneven wavy line to show that it’s melted. Draw a small, curved line above the wavy line for the wick. Continue making more y shapes all around. We will begin by sketching two basic shapes. Again, extend curved lines from each side of the wick. Draw the wick and flame. First, sketch a vertical rectangle in the width and height that you want.
How to Draw a Candle for Kids Easy Drawing Tutorial For Kids
Learn how to draw a realistic candle easy step by step. We will begin by sketching two basic shapes. Draw the sides of the candle. So you can be creative with how your flame looks like. Web table of contents.
Easy Step For Kids How To Draw a Candle YouTube
Then, you can use some curved lines for the top of the candle. Then add the wick and flame. Connect the top and bottom lines with two parallel, curved lines on each side, creating the body of the candle. Depict the surface of the candle. Draw the wick and flame.

How to Draw a Candle Really Easy Drawing Tutorial
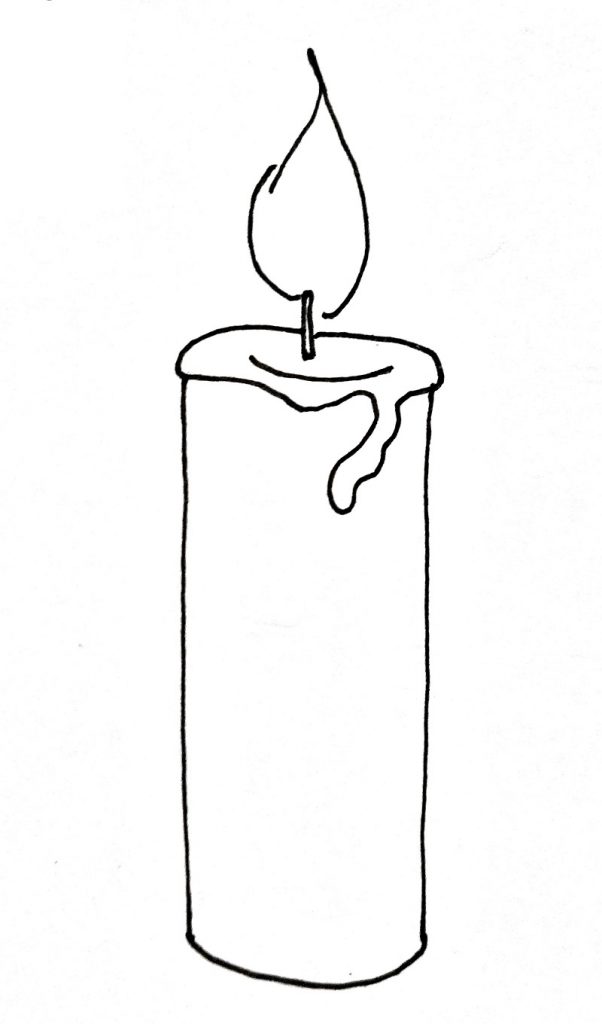
Next add some wax dripping down the sides. Continue making more y shapes all around. Web draw a window frame. Draw the wick and flame. So you can be creative with how your flame looks like.
How To Draw A Candle (Easy Step By Step Tutorial Bujo Babe
Easy candle drawing online video tutorial for beginners. Web learn how to draw a candle for kids easy and step by step. 🕯 realistic candle sketch [candle. Well, outlining the candle drawing is not much harder. Learn how to draw a realistic candle easy step by step.
How to draw a Candle Candle Easy Draw Tutorial YouTube
Find the central point of the top of your cylinder, and draw a short line to represent the wick of your candle sketch. Start by drawing out the wick and flame. The wick is a solid line in the middle of the cylinder. Web draw a window frame. Hi everyone, in this video i show you how to draw a.
How to Draw a Candle Step by Step EasyLineDrawing
Notice how the lines shift to form extra points. But normally you want to bottom of the flame to start wide, and narrow down. Web learn how to draw a candle for kids easy and step by step. Draw the sides of the candle. Sketch a wavy, horizontal line at the top to represent the melted wax.

How to Draw a Candle Really Easy Drawing Tutorial
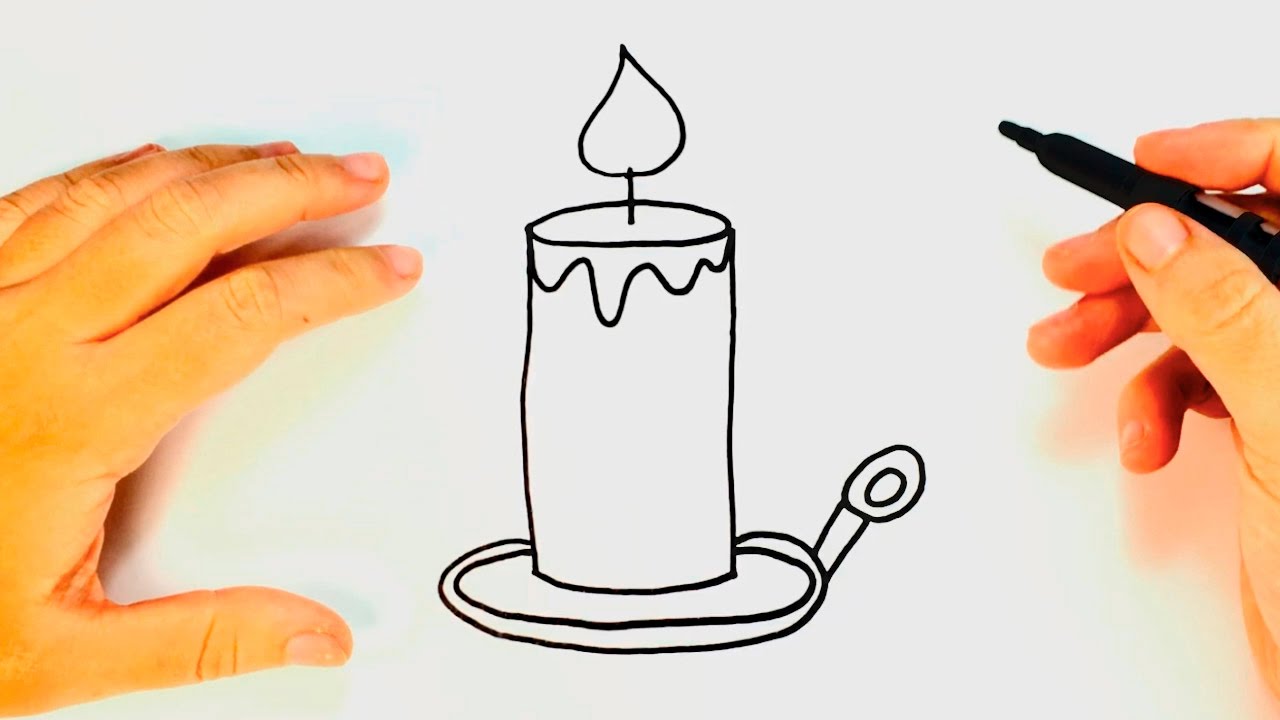
Prev previous neurographic drawing & colored pencil crystals in 3 easy steps. Then, put a holiday vibe to your wax light by adding a holly leaf on the holder. 1 drawing candles step by step. Draw a curved line across the top of the candle; Now draw a curved line where the center of your candle is.
How to Draw a Candle Really Easy Drawing Tutorial
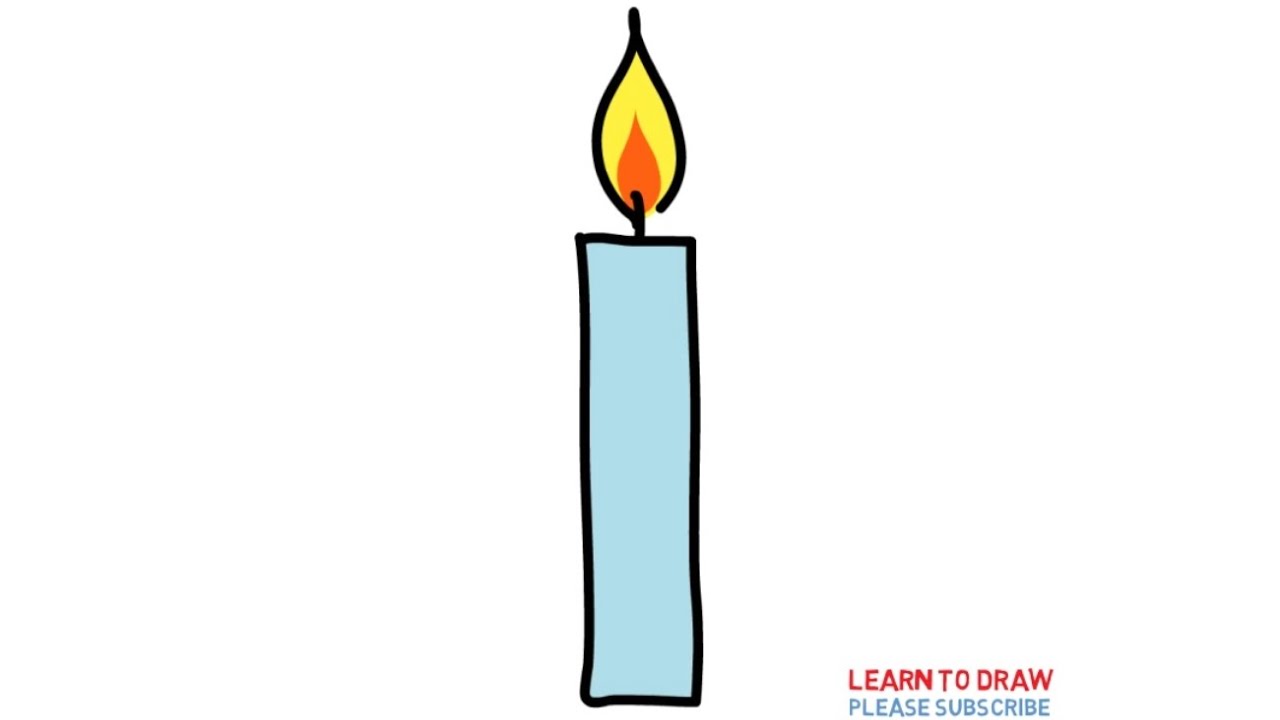
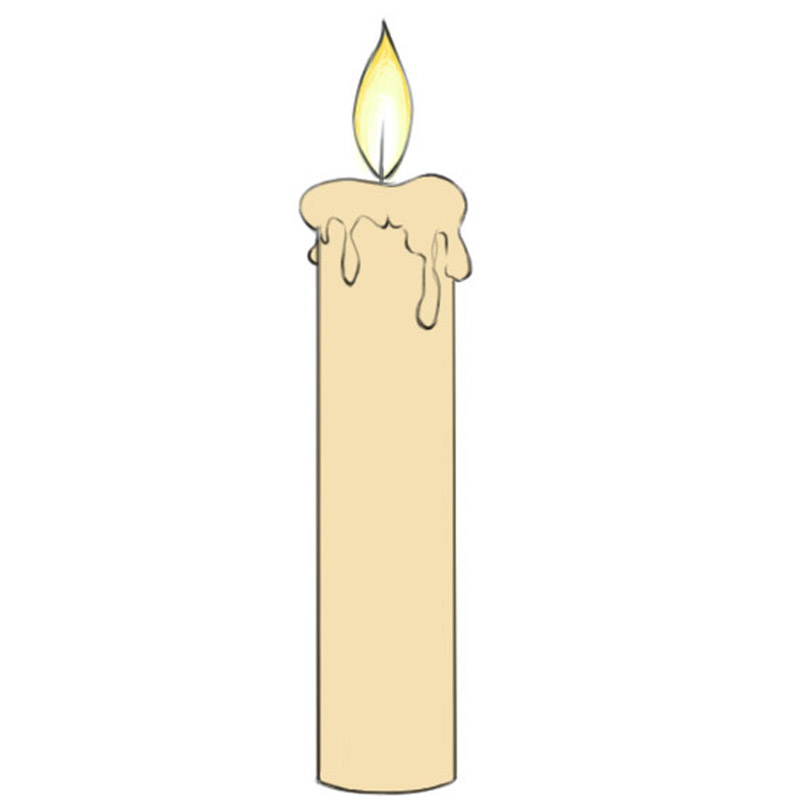
To draw the flame, use a tear drop shape starting from the middle of the wick. Learn how to draw a realistic candle easy step by step. The candle flame can have different shapes and sizes depending on the wind, temperature, etc. So, here are some final tips to keep in mind as you embark on this artistic adventure: First.

How to Draw a Candle Really Easy Drawing Tutorial
How to draw a candle. Web draw two slightly curved horizontal lines for the top and bottom of the candle. Prev previous neurographic drawing & colored pencil crystals in 3 easy steps. Draw this cute candle by following this drawing lesson. This forms the candle's wick, the cloth or wooden material that burns.
How to Draw a Candle Easy Drawing Art
Creating a basic cylinder shape; How to draw a candle. The candle flame can have different shapes and sizes depending on the wind, temperature, etc. Draw a line for the wick from that curved line that goes just past the back edge of your candle. Web follow my step by step drawing tutorial and make your own candle drawing easy!👇.
So, Here Are Some Final Tips To Keep In Mind As You Embark On This Artistic Adventure:
Prev previous neurographic drawing & colored pencil crystals in 3 easy steps. Depict a smooth curved line at the top to end up with a closed outline. Giving form to your easy candle drawing’s base; Draw the candle wick and flame.
Again, Extend Curved Lines From Each Side Of The Wick.
At this point you have a simple cartoon type drawing. To draw the wick of your candle drawing, simply add a thin line coming down from the center of the flame. The wick is a solid line in the middle of the cylinder. Find the central point of the top of your cylinder, and draw a short line to represent the wick of your candle sketch.
Web Table Of Contents.
Web draw a window frame. Web remember, this journey of candle drawing is all about unleashing your creativity and enjoying the process. Start the candle with the melting wax. Draw a small, curved line above the wavy line for the wick.
Draw This Cute Candle By Following This Drawing Lesson.
Notice how the lines shift to form extra points. Then, you can use some curved lines for the top of the candle. Make sure all the shapes are closed spaces. Extend curved lines from each side of the wick, and allow them to meet at a sharp point above it.