Curly Hair Drawing
Curly Hair Drawing - Remove highlights gradually with a kneaded eraser. Web draw the contour lines with a 2h pencil and start adding value with a 2h pencil. Pay attention to the areas where shadows might be present, such as underneath the curls or in areas where the hair overlaps. Web learn to draw curly hair in this step by step pencil drawing tutorial. This way, i don't run the risk of drawing a head that has odd proportions. Gain full access to my exclusive drawing tutorials and more!medium: Web i have launched my first 'beginner to advanced level’ of drawing course to let you improve your drawing skills from the basics. Since voluminous hair can have varied contours that fall far from the skull, i like to make sure to reference these points. Gradually add layers to make darker values. Decide on what type of curl you wish for your drawing and which direction the curls fall.
Remove highlights gradually with a kneaded eraser. Blend the graphite from dark to light in the direction of the curls. Draw an outline of the head and shoulders. Since voluminous hair can have varied contours that fall far from the skull, i like to make sure to reference these points. Repeat the steps until you are satisfied with the way the hair looks. Web i have launched my first 'beginner to advanced level’ of drawing course to let you improve your drawing skills from the basics. Keep the skull in mind; Extend a long, curved line downward from one side of the circle. Gradually add layers to make darker values. Web draw the contour lines with a 2h pencil and start adding value with a 2h pencil.
Start by blocking out the basic features of the facial area. Draw an outline of the head and shoulders. Continue to outline the person's face. Gradually add layers to make darker values. Remove highlights gradually with a kneaded eraser. Repeat the steps until you are satisfied with the way the hair looks. Since voluminous hair can have varied contours that fall far from the skull, i like to make sure to reference these points. Keep the skull in mind; Decide on what type of curl you wish for your drawing and which direction the curls fall. Gain full access to my exclusive drawing tutorials and more!medium:
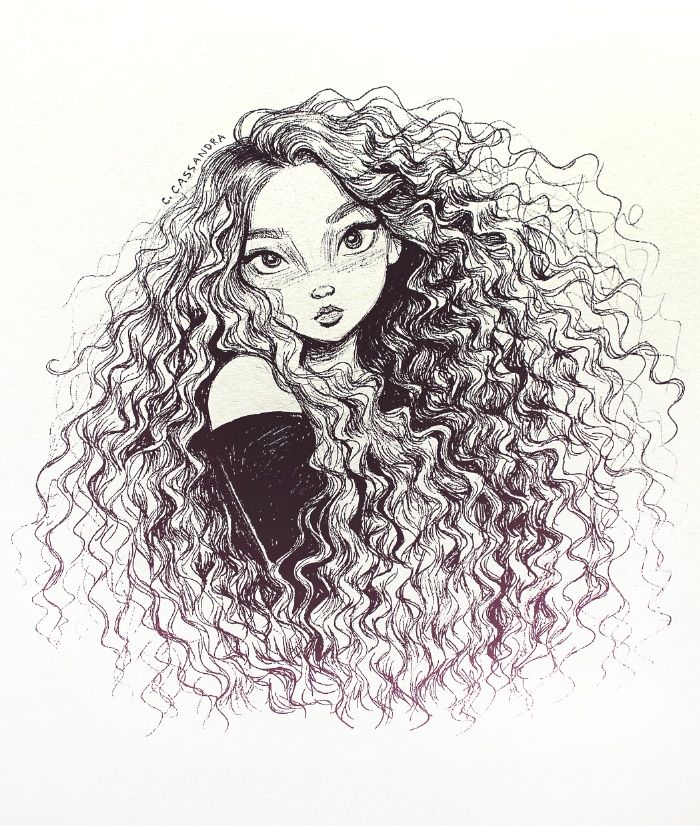
Girl With Curly Hair Drawing at Explore collection
Web initiate your drawing by sketching the head, determining where the hair will be, and finding the center point to guide the hair growth. Establish the hair’s volume using basic shapes, keeping in mind the irregularities due to curls, and ensure these shapes roughly adhere to the head’s contour. Gradually add layers to make darker values. This way, i don't.

Curly hair drawing, Curly hair styles, Sketches
To add depth and volume to the curls, lightly shade the areas between the curls. Visualize the type of hairstyle you like. Establish the hair’s volume using basic shapes, keeping in mind the irregularities due to curls, and ensure these shapes roughly adhere to the head’s contour. This way, i don't run the risk of drawing a head that has.
How to Draw Curly Hair in 3 Steps Step by Step Tutorial for Beginners
Gain full access to my exclusive drawing tutorials and more!medium: From the bottom of the oval, draw another curved line to meet the first in a rounded point. Web learn to draw curly hair in this step by step pencil drawing tutorial. Since voluminous hair can have varied contours that fall far from the skull, i like to make sure.
Curly hair Drawing Reference and Sketches for Artists
I am offering a 20% discount. From the opposite side, draw a short curved line, nearly enclosing an oval to form the ear. Repeat the steps until you are satisfied with the way the hair looks. Visualize the type of hairstyle you like. Keep the skull in mind;
Curly Hair Drawing How To Draw Curly Hair Step By Step
To add depth and volume to the curls, lightly shade the areas between the curls. Draw an outline of the head and shoulders. Draw an outline of the hair using curly lines. Visualize the type of hairstyle you like. Web draw the contour lines with a 2h pencil and start adding value with a 2h pencil.
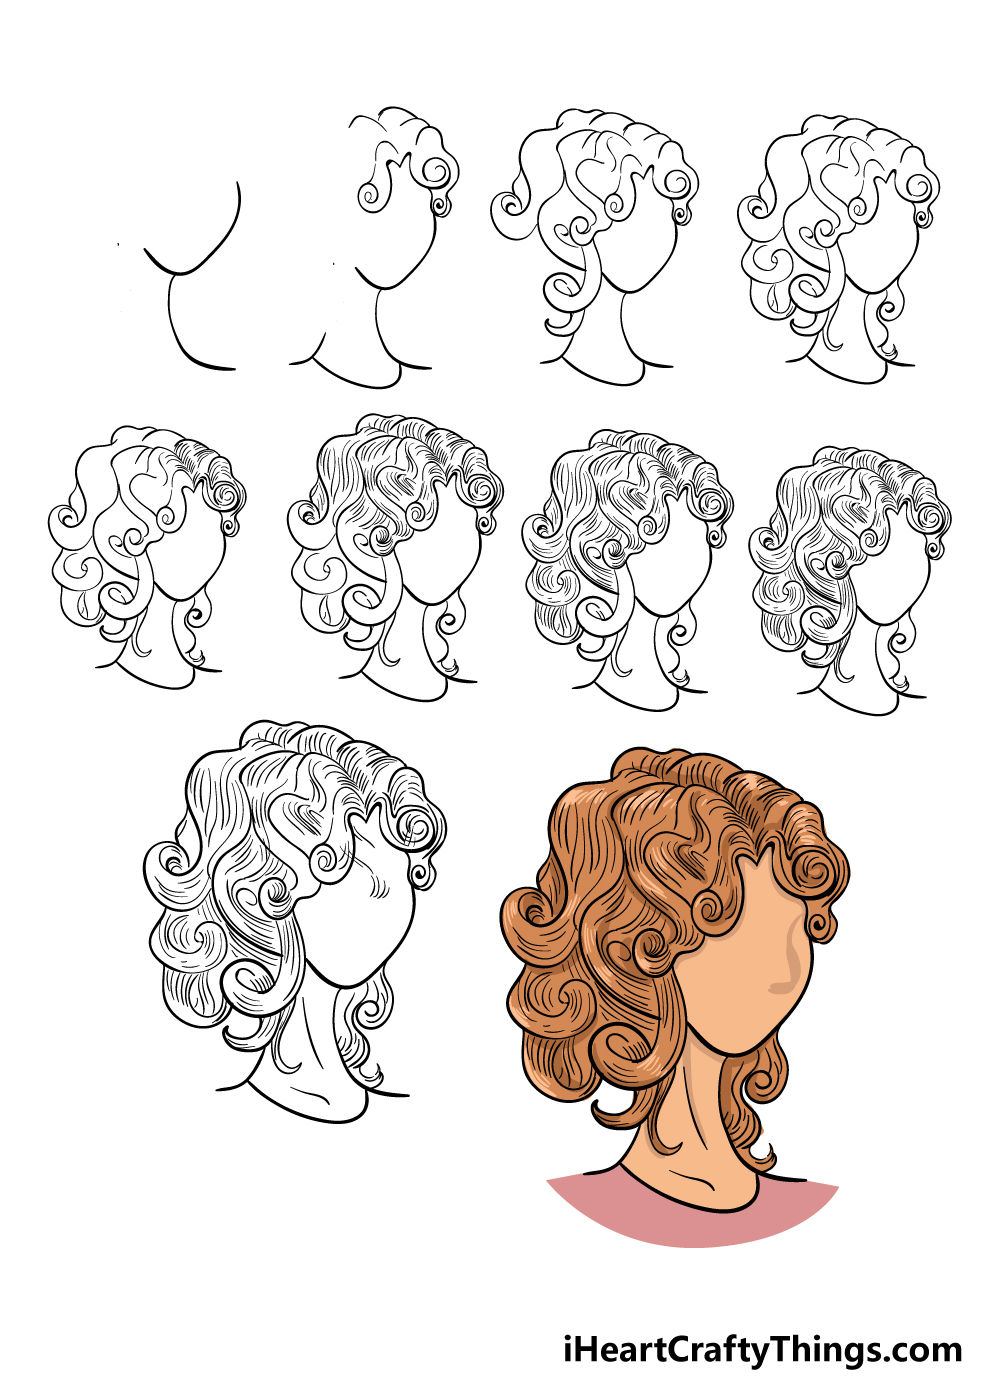
Curly Hair Drawing How To Draw Curly Hair Step By Step
Gradually add layers to make darker values. Web i have launched my first 'beginner to advanced level’ of drawing course to let you improve your drawing skills from the basics. Web learn to draw curly hair in this step by step pencil drawing tutorial. This way, i don't run the risk of drawing a head that has odd proportions. Add.

How to Draw Curly Hair Drawing and Painting T... How to draw hair
Draw an outline of the head and shoulders. Visualize the type of hairstyle you like. For the class you will need: Blend the graphite from dark to light in the direction of the curls. To add depth and volume to the curls, lightly shade the areas between the curls.
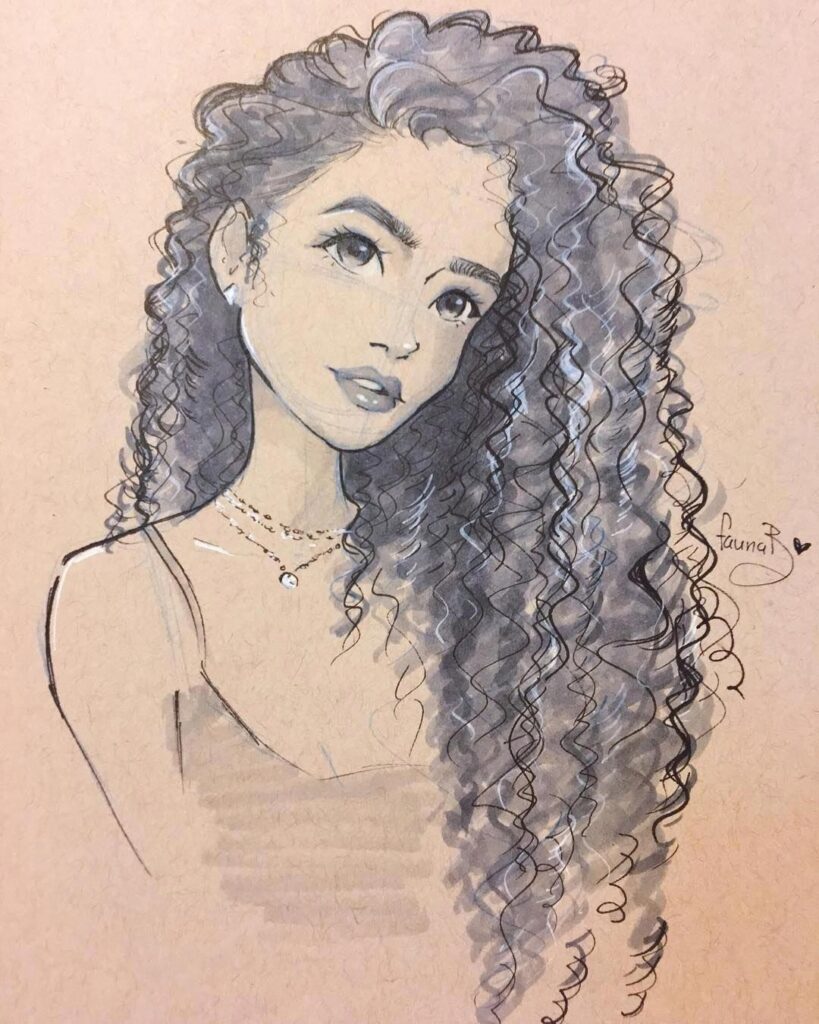
Curly hair Drawing Reference and Sketches for Artists
To add depth and volume to the curls, lightly shade the areas between the curls. Decide on what type of curl you wish for your drawing and which direction the curls fall. Web learn to draw curly hair in this step by step pencil drawing tutorial. Continue to outline the person's face. Establish the hair’s volume using basic shapes, keeping.
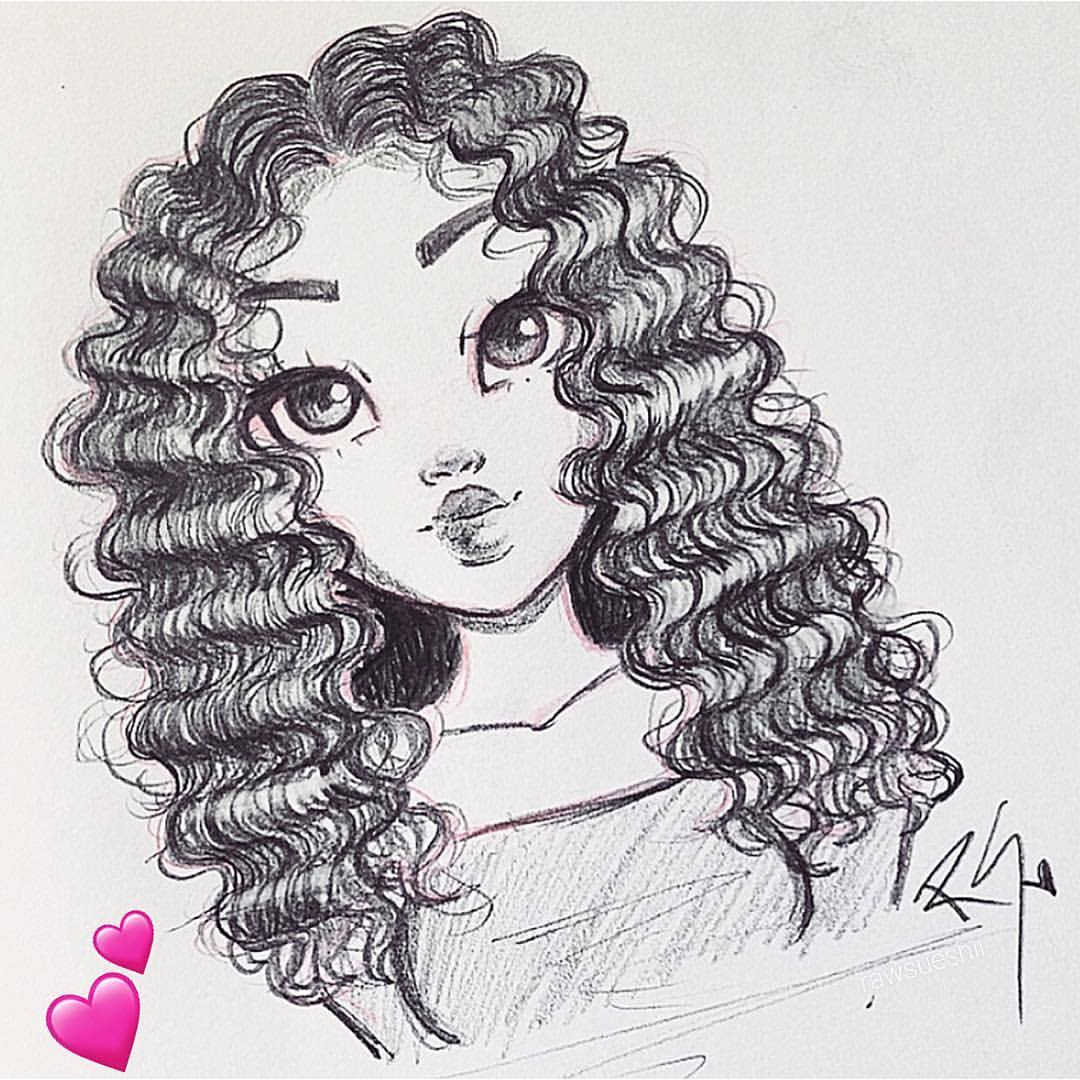
Curly Hair Sketch at Explore collection of Curly
Web i have launched my first 'beginner to advanced level’ of drawing course to let you improve your drawing skills from the basics. Web learn to draw curly hair in this step by step pencil drawing tutorial. Gain full access to my exclusive drawing tutorials and more!medium: From the opposite side, draw a short curved line, nearly enclosing an oval.
Girl With Curly Hair Drawing at Explore collection
Establish the hair’s volume using basic shapes, keeping in mind the irregularities due to curls, and ensure these shapes roughly adhere to the head’s contour. Continue to outline the person's face. Add more curly lines to fill up the outline you have drawn. Decide on what type of curl you wish for your drawing and which direction the curls fall..
Visualize The Type Of Hairstyle You Like.
Web initiate your drawing by sketching the head, determining where the hair will be, and finding the center point to guide the hair growth. Remove highlights gradually with a kneaded eraser. Web draw the contour lines with a 2h pencil and start adding value with a 2h pencil. Blend the graphite from dark to light in the direction of the curls.
Web I Have Launched My First 'Beginner To Advanced Level’ Of Drawing Course To Let You Improve Your Drawing Skills From The Basics.
Repeat the steps until you are satisfied with the way the hair looks. Draw an outline of the head and shoulders. Gain full access to my exclusive drawing tutorials and more!medium: For the class you will need:
Keep The Skull In Mind;
Continue to outline the person's face. Web learn to draw curly hair in this step by step pencil drawing tutorial. From the opposite side, draw a short curved line, nearly enclosing an oval to form the ear. Extend a long, curved line downward from one side of the circle.
Establish The Hair’s Volume Using Basic Shapes, Keeping In Mind The Irregularities Due To Curls, And Ensure These Shapes Roughly Adhere To The Head’s Contour.
Add more curly lines to fill up the outline you have drawn. Pay attention to the areas where shadows might be present, such as underneath the curls or in areas where the hair overlaps. From the bottom of the oval, draw another curved line to meet the first in a rounded point. Gradually add layers to make darker values.