Dragon Easy Drawing
Dragon Easy Drawing - Curves and lines form the basic shape of your dragon. The pose is ready, so now let's add some body to this bare skeleton. Draw a smaller circle or oval on the outside bottom portion of each of the legs. Emojis help to capture and illustrate our mood without even having to express ourselves verbally. Next, shade the teeth with a white crayon. Use curved lines to draw the snout and the top of the head. With just a few easy steps, you can create a simple dragon drawing. When it comes to drawing the dragon’s face, pay close attention to the eyes, snout, and mouth. Start by sketching the basic shape of the dragon's body using simple geometric shapes such as circles, ovals, and rectangles. This is quite an easy drawing.
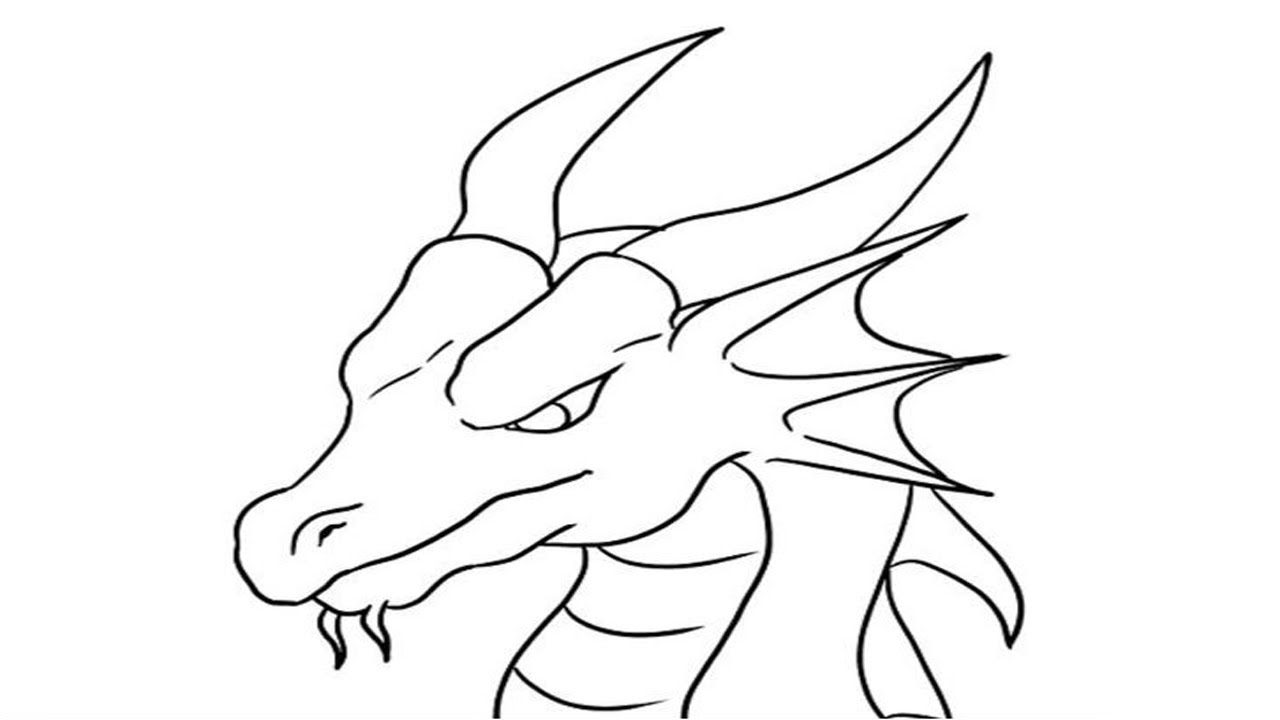
Consider the scales, horns, claws, and wings, and how they contribute to the overall look of the creature. Take your time to refine these details and bring out the unique characteristics of your dragon. Think about what components you want your dragon to have, like horns, teeth, and scales. First, fill in the eye with a black crayon. Connect the legs in the middle with a small line which creates the rest of the body of the dragon. Enclose a curved, rounded triangle for the horn on the nose. Draw a teardrop shape for the brow, with a semicircle eye beneath it. This will give your dragon arms. This will help you to establish the dragon's proportions. When it comes to drawing the dragon’s face, pay close attention to the eyes, snout, and mouth.
Consider the scales, horns, claws, and wings, and how they contribute to the overall look of the creature. Draw the dragon’s legs, shoulders, and feet. This fun, comical dragon is an enjoyable project for all ages. The app is available on ios, android, ipados, and visionos. With just a few easy steps, you can create a simple dragon drawing. Web the dragons' den star recalls how she lived hand to mouth. Web create a backward s shape with a second line starting under the jaw of the dragon, make sure the bottom is wider than the top to keep perspective in mind. Use our guidelines as a reference for the position. First, fill in the eye with a black crayon. Web learn how to draw a flying dragon step by step easy.
Dragon Drawing Easy at Explore collection of
Web complete the dragon drawing. Now that you've done the grunt work, it's time for some fun! Discover (and save!) your own pins on pinterest Web this dragon drawing is simple in structure, and a great starting point for beginners and budding artists. It's free to download on apple devices but requires a $19.99 payment for android.
Dragon simple drawing skinxaser
Take your time to refine these details and bring out the unique characteristics of your dragon. You can use a pencil or, pen or anythin. Pay attention to the details. Place a circle near the top left side of your paper, making sure it's not too large or else the rest of the dragon won't fit on the page. Web.

How to draw a dragon easy step by step for beginners Rock Draw
Draw the eye with another rhomboid and draw a semicircle in it. Web how to draw dragon step by step easy for beginnersin this video, i'll show you how to draw a dragon for kids. Draw the mouth, eye, and horns. Draw the dragon’s legs, shoulders, and feet. Next, shade the teeth with a white crayon.
Dragon Drawing Easy Step By Step Free download on ClipArtMag
Draw the mouth, eye, and horns. How to draw a dragon only in 3 minutes.💚 for drawi. Connect the legs in the middle with a small line which creates the rest of the body of the dragon. In this drawing tutorial you will le. It will be erased later.

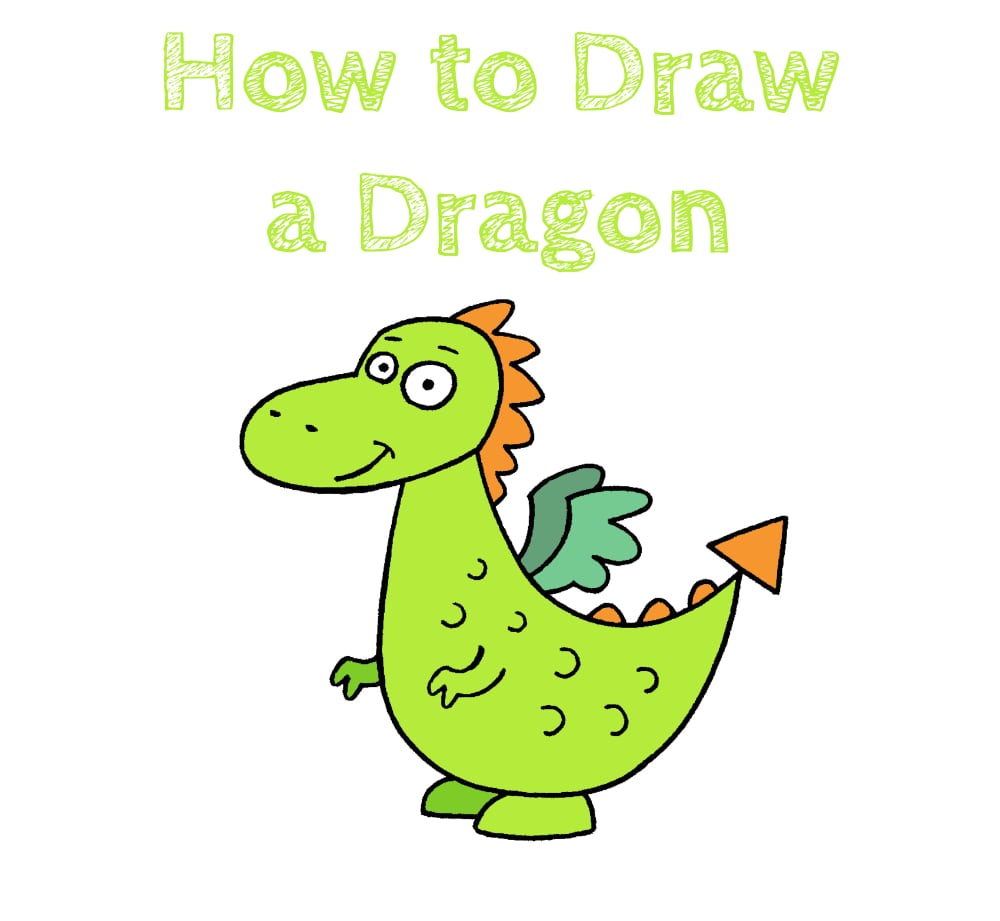
How To Draw an Easy Cartoon Dragon Step By Step for Young Learners
How to draw a dragon only in 3 minutes.💚 for drawi. Now that you've done the grunt work, it's time for some fun! Connect the legs in the middle with a small line which creates the rest of the body of the dragon. Depending on how you want to finish your drawing (in color, ink, graphite, etc.), you might add.

How To Draw A Realistic Dragon Easy Tutorial Toons Mag
Then, shade an inverted triangle within each eye to. For step 4, draw the dragon’s head, eyes, and tail. Connect a small curved trapezoid shape to the left side of the circle to create a rough outline for dragon's snout. In this drawing tutorial you will le. Da vinci eye is an app that allows you to draw using augmented.
How to Draw a Dragon? 40+ Easy Dragon Sketches HARUNMUDAK
Draw a smaller circle or oval on the outside bottom portion of each of the legs. Use our guidelines as a reference for the position. Web learn how to draw a flying dragon step by step easy. Consider the scales, horns, claws, and wings, and how they contribute to the overall look of the creature. Then, draw the dragon's eyes.
How to Draw a Dragon? 40+ Easy Dragon Sketches HARUNMUDAK
Dragons may be drawn differently depending on different cultural influences. Next, draw a curved triangle to form the horn on the nose. Web next, focus on adding details to your dragon. “the possibilities are endless with dragons,” says illustrator loe lee. When it comes to drawing the dragon’s face, pay close attention to the eyes, snout, and mouth.

DARYL HOBSON ARTWORK How To Draw A Dragon step by step
Draw a smaller circle or oval on the outside bottom portion of each of the legs. However, a dragon with one wing would look weird, so feel free to add a part of the other one. Draw a circle around the arm—this will be the triceps and biceps all in. Now, color the horn and crests with a yellow crayon..
Simple Dragon Drawing at GetDrawings Free download
It will be erased later. With just a few easy steps, you can create a simple dragon drawing. Then, use a blue crayon to shade the ear and wings. Think about what components you want your dragon to have, like horns, teeth, and scales. In this drawing tutorial you will le.
Place A Circle Near The Top Left Side Of Your Paper, Making Sure It's Not Too Large Or Else The Rest Of The Dragon Won't Fit On The Page.
Web this dragon drawing is simple in structure, and a great starting point for beginners and budding artists. Web because of our simple perspective, the other wing is hidden. Web next, focus on adding details to your dragon. Draw the dragon’s legs, shoulders, and feet.
Use Our Guidelines As A Reference For The Position.
Pay attention to the details. The back oval should have more rigid. Add the mouth with an elongated “w” shape that begins at the tip of the triangle and ends near half of the head’s circle. Unlock ad free and printable drawing and coloring tutorials.
It Will Be Erased Later.
Then, extend two curved lines that meet at a point to form the dragon's horn. Web josh mansour and paul grzadka preview the round 10 clash between the st george illawarra dragons and south sydney rabbitohs. National rugby league respects and honours the traditional custodians. Add the nose with a small “v” shape.
Sketch The Basic Boday Shape.
Connect a small curved trapezoid shape to the left side of the circle to create a rough outline for dragon's snout. For step 2, draw the body of the dragon based off our initial line. If you have pro, you can create your. The next step is to add the back legs.