Draw On Mugs
Draw On Mugs - If you put it in a hot oven the temperature change might be too much for the mug and it may break. Grab cheap 99 cent mug and a simple black sharpie and write this cute quote on it. You want to make sure the paint has really set into the mug before you bake it, otherwise the paint won’t stick as well and may wash off later. Once preheated, let the mugs bake for 25 minutes. Sketch your ideas on a paper. Turn the oven on to 375 degrees and let it come to heat. Next, add your “draw” design on top. #3 pencil transfer sharpie mugs. After 24 hours, put your mugs in a cold oven on a cookie sheet. Decorate a mug by drawing your design with regular sharpies, or a paint pen, or place your adhesive stencil onto the mug and color in the stencil or paint the stencil.
#4 tie dye sharpie mugs. Tips for making awesome mugs. Put the mug in the oven when the oven is cold. If your oven heats up very quickly. When the paint has dried, place the mug on a baking tray in a kitchen oven. After 3 to 4 seconds, pull it out. Remember to place the mug in the oven before it heats up and leave it in until the oven cools completely so there won't be any cracks. Glue the scotch tape as shown in the photo below; #2 vinyl letter sharpie mugs. Bake the mug in the oven for 30 minutes at 350°f.
Make sure the paper is large enough to cover the design area entirely. Tips for making awesome mugs. Sketch out the outside of the handle. #3 pencil transfer sharpie mugs. Grab cheap 99 cent mug and a simple black sharpie and write this cute quote on it. Once you’ve placed the mug into the cold oven, turn the oven to 300 degrees f. Once cool, remove the infusible ink transfer sheet to reveal your base design. If you put it in a hot oven the temperature change might be too much for the mug and it may break. Web set your mugs aside to dry for about 24 hours. Use infusible ink pens to draw your design on sublimation paper or laser paper.
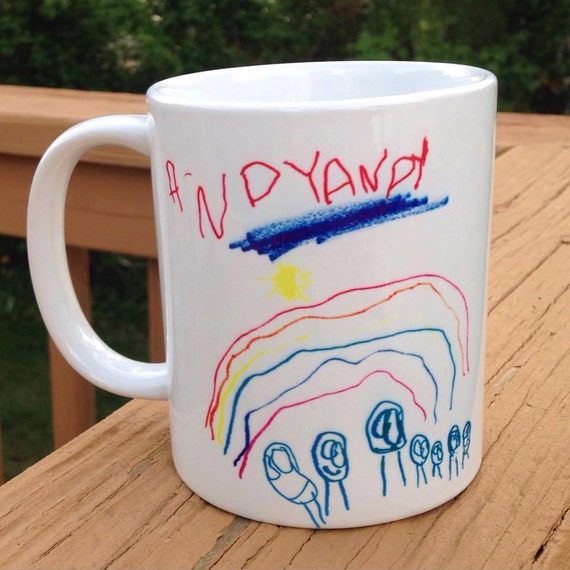
Personalized Child's Drawing on a Coffee Mug Original
You’ll want to leave the mug in for at least an hour and a half. Using a smooth line, draw the outer contour of the handle. This idea from clever nest is so cute. Web pick up some mod podge with a clean dry brush ( no water is need to wet brush) apply a thin coat of mod podge.
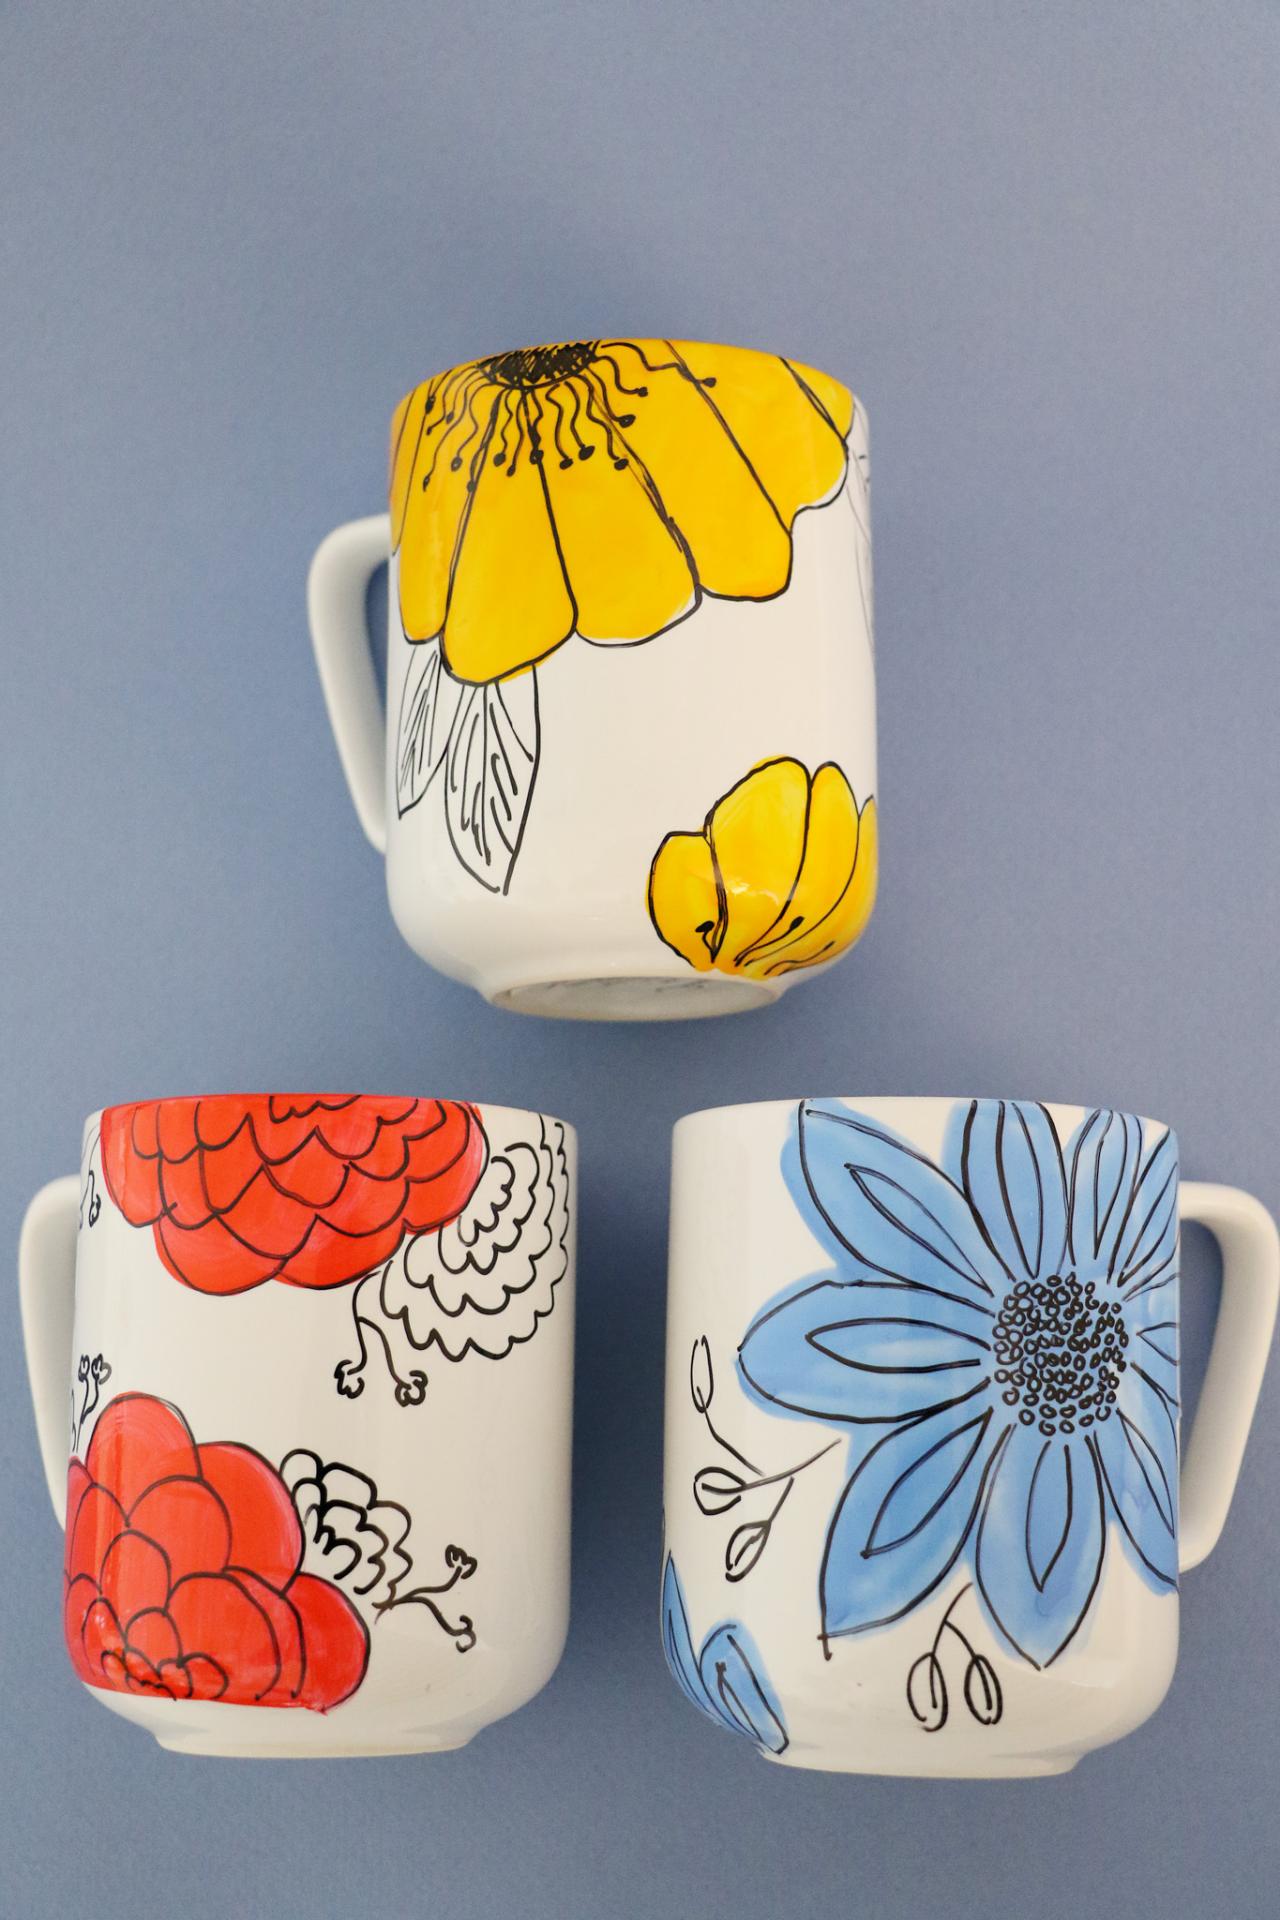
Coffee Cup Crafts How to Decorate a Coffee Mug Using a Porcelain
Let paint dry for 1 hour to make sure all layers of paint have dried. When the paint has dried, place the mug on a baking tray in a kitchen oven. Turn the oven on to 375 degrees and let it come to heat. Web create your very own personalised mug with these creative and cool mug painting ideas that.

Draw on mug with Sharpie and bake for 35 minutes at 375F/190C
These can look discolored after you transfer the design in the heat press. Then start preheating the oven to 425 degrees. You’ll want to leave the mug in for at least an hour and a half. Web set your mugs aside to dry for about 24 hours. Clean mug & tape on design.

The Complete Guide to Sharpie Mugs with Simple Designs and Ideas
Laser copy paper, 8.5″ x 11″, two sheets. Clean mug & tape on design. Place the mug in a cool oven. Dip your mug in the paint design for 3 to 4 seconds. Cure the art for 1 day.

Draw seriously permanent designs on mugs that won't wash off. Food safe
Web add the bottom of the mug. After 3 to 4 seconds, pull it out. Dip your mug in the paint design for 3 to 4 seconds. Use infusible ink pens to draw your design on sublimation paper or laser paper. Heat the oven to 350f (175c) for around 30 minutes.
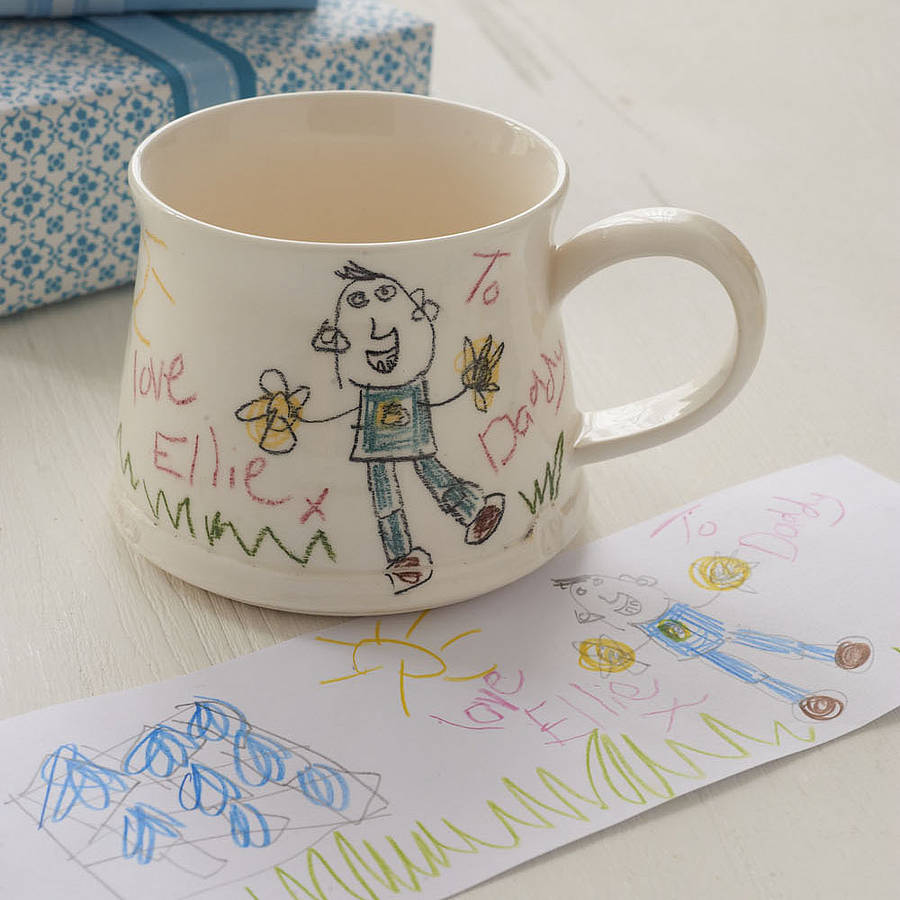
Your Child's Drawing On A Mug By The Handmade Mug Company
Only the infusible ink transfer sheet design is on the mug at this point. Next use a clean lint roller to thoroughly clean off the mug. Web set your mugs aside to dry for about 24 hours. There’s no exact time for this, because how quickly ovens heat up varies. Once preheated, let the mugs bake for 25 minutes.

Cricut Infusible Ink Pens on Mugs Tastefully Frugal
Web using blue and red colored sharpies, make these his and hers mugs from purple pumpkin blog. This idea from clever nest is so cute. Sketch out the outside of the handle. If using a stencil, carefully remove the stencil from the glass immediately after painting. Remember to place the mug in the oven before it heats up and leave.
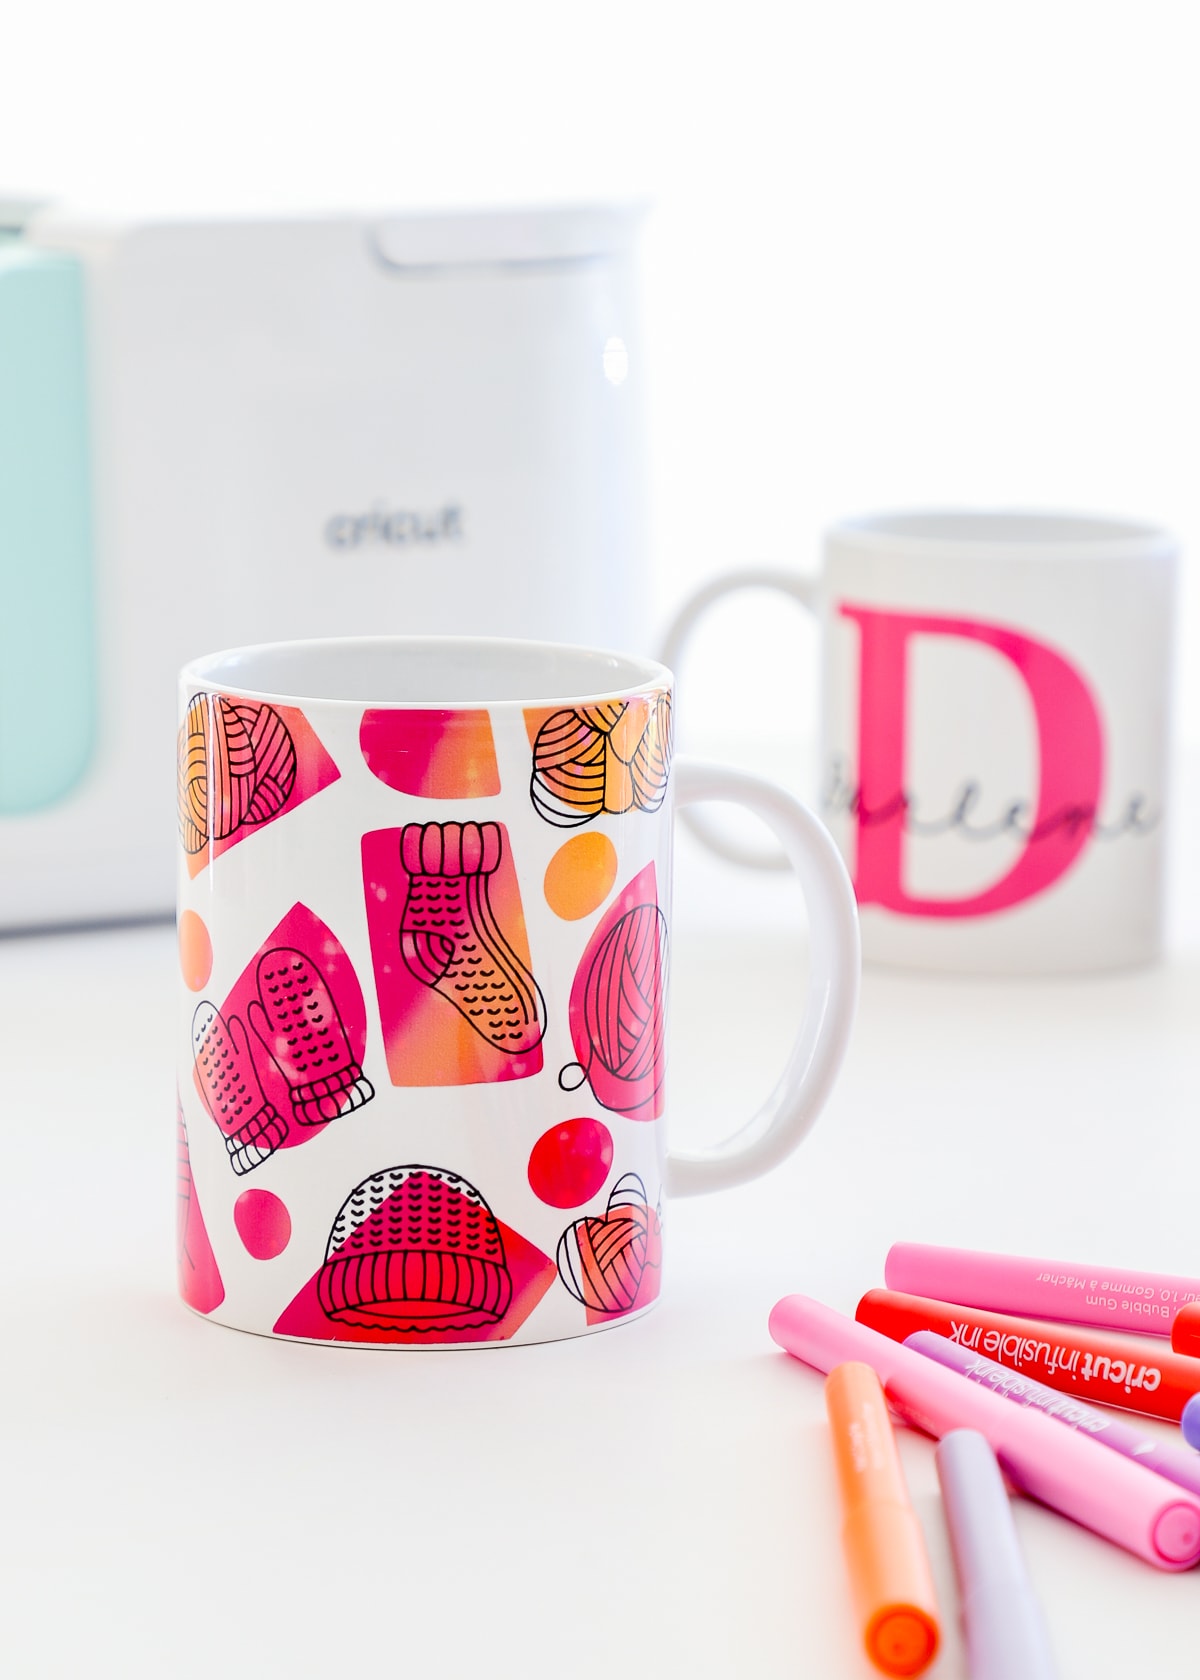
How to Make Mugs with Infusible Ink Pens and the Cricut Mug Press
These can look discolored after you transfer the design in the heat press. #4 tie dye sharpie mugs. Next, add your “draw” design on top. Only the infusible ink transfer sheet design is on the mug at this point. Turn the oven on to 375 degrees and let it come to heat.

draw on mug Mugs, Tableware, Coffee mugs
Tips for making awesome mugs. Sketch your ideas on a paper. Place your mugs on a rimmed baking sheet (makes getting them in and out of the oven easier) and place them in a cold oven. Turn the oven on to 375 degrees and let it come to heat. Hold the mug straight and lower its bottom in the water.

DIY DecoColor Sketch Mug Make Something Mondays
Turn the oven off, leaving the mugs inside, until it cools down. There’s no exact time for this, because how quickly ovens heat up varies. Once the 30 minutes is up, turn off the oven and let the mugs cool down inside the oven. The curve should touch the bottom of the vertical lines and be symmetrical to maintain the.
Place Your Mugs On A Rimmed Baking Sheet (Makes Getting Them In And Out Of The Oven Easier) And Place Them In A Cold Oven.
Once the 30 minutes is up, turn off the oven and let the mugs cool down inside the oven. Once preheated, let the mugs bake for 25 minutes. When the paint has dried, place the mug on a baking tray in a kitchen oven. Clean mug & tape on design.
Turn The Oven Off, Leaving The Mugs Inside, Until It Cools Down.
Web add the bottom of the mug. #2 vinyl letter sharpie mugs. Web using blue and red colored sharpies, make these his and hers mugs from purple pumpkin blog. #4 tie dye sharpie mugs.
Sketch Out The Outside Of The Handle.
Degrease the bottom of the mug or glass; Use this free printable from fleece fun with perfectly sized quotes for your coffee mug. Even if you don’t see anything on the mug, the goal is to pick up tiny invisible pieces of lint or dust. You want to make sure the paint has really set into the mug before you bake it, otherwise the paint won’t stick as well and may wash off later.
Keep The Mug Straight When Removing It To Protect The Paint Design.
Inside the outline from the previous step draw the inner part of the handle (as shown in the example). Set your mugs inside the oven, on the rake and let them bake for about 30 minutes. Hold the mug straight and lower its bottom in the water. Web matte mugs (low glaze) do well for diy sharpie mugs!