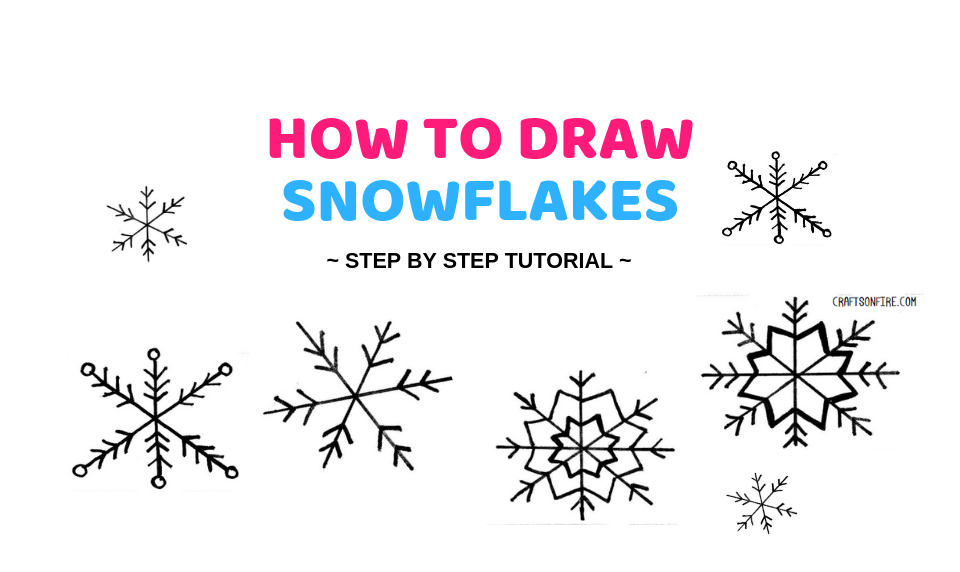
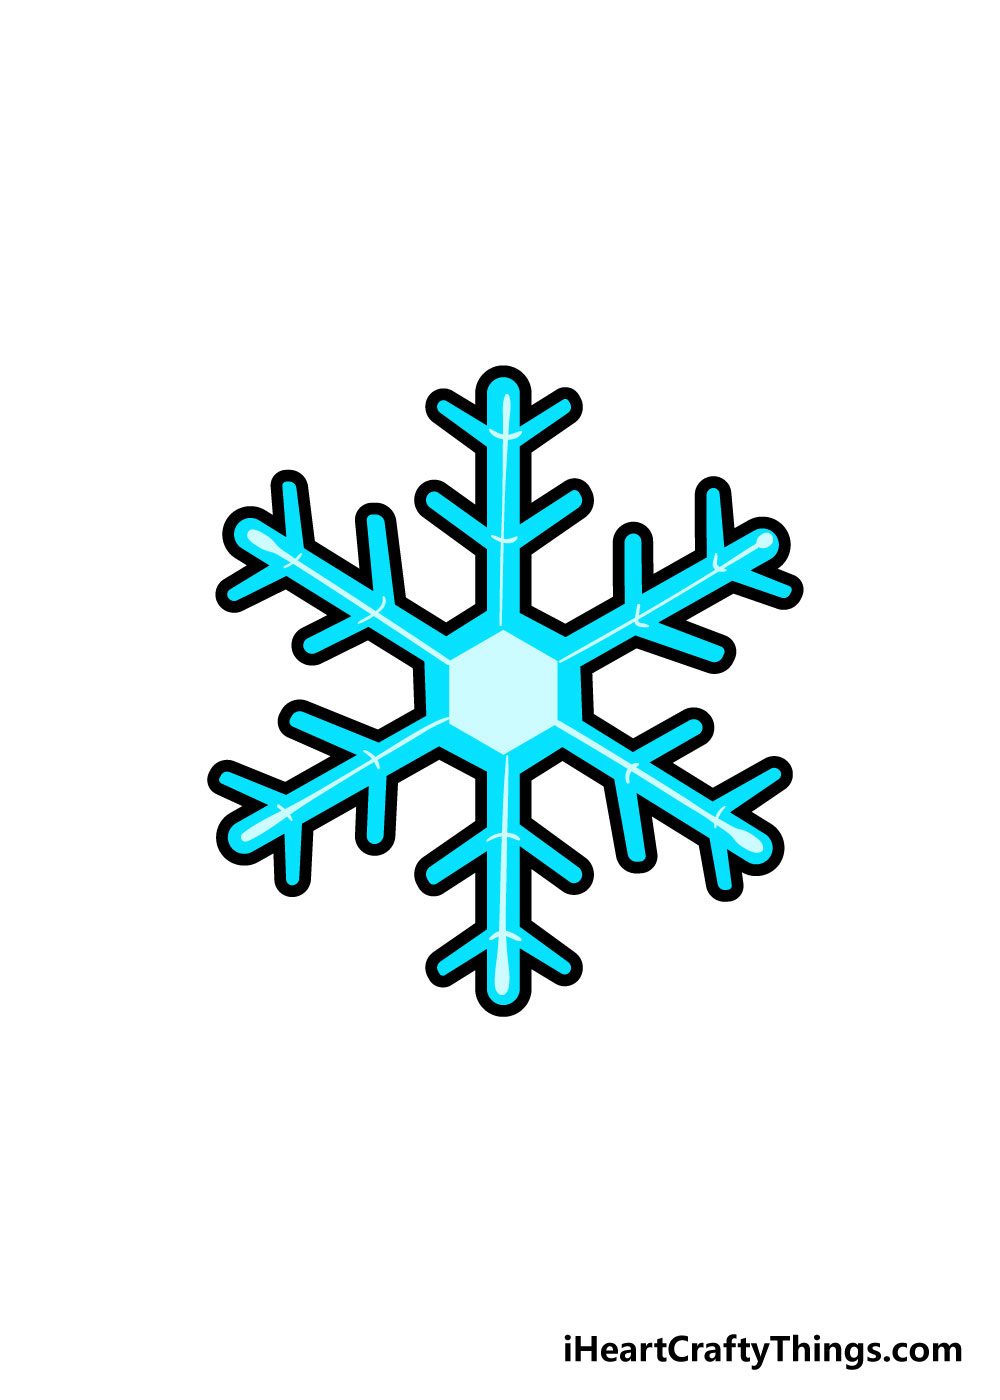
Drawing Easy Snowflakes
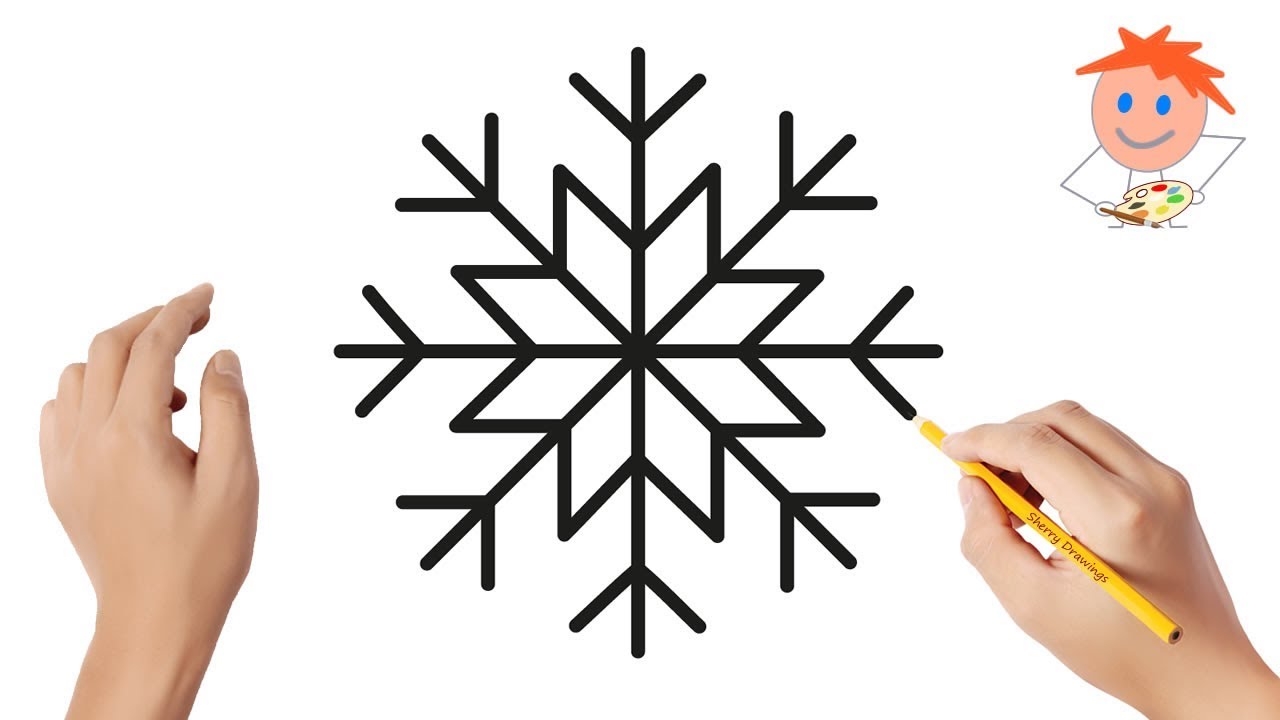
Drawing Easy Snowflakes - Draw another line slanted from one side to the other of the first line. Follow the numbered step by step and draw whatever the red lines show in order. Web easy snowflake drawing; Web step by step directions. Web let's draw a snowflake. Build the skeleton of your snowflake drawing. You can play and create your own variation. Web the first set of three below are easy for kids of all ages and abilities. The bigger you make the hexagon, the bigger your snowflake will be. Web start with your essential six sides of the snowflake.
#howtodraw #artforkidshub🎨 art supplies we love (amazon affiliate links): You can play and create your own variation. Finish off the snowflake by drawing filled in circles at the end of each line. Draw another line slanted from one side to the other of the first line. 🎥 watch video for step 1. Now draw another line from left to right. This is another very simple design, with easy straight strokes on each point making different designs. Draw a hexagon on a piece of paper. We will pay attention to the proportions of each part of the snowflake. Perfect for capturing the beauty of the winter season, this guide will teach you how to.
Use a ruler to draw the hexagon so the lines are straight and even. Draw a line from each corner of the hexagon to the corner across from it. Draw two intersecting lines by adding an ‘x’ at the center point. You can either just draw these roughly as shown on the picture, or use the compass method in “ how to draw a hexagon ” tutorial to mark the precise angles. Use two sets of straight, parallel lines, and two short, curved lines for each. Then out from the center, draw shorter new lines in between each of the six main lines. This creates six sides and is the basic shape for your snowflake. Use a compass and put the point on the dot in the center, or draw around something circular. Web crayons or colored pencils. Web learn how to draw a simple snowflake!
How To Draw A Snowflake In 3 Steps Easy Drawing Tutorial Craftsonfire
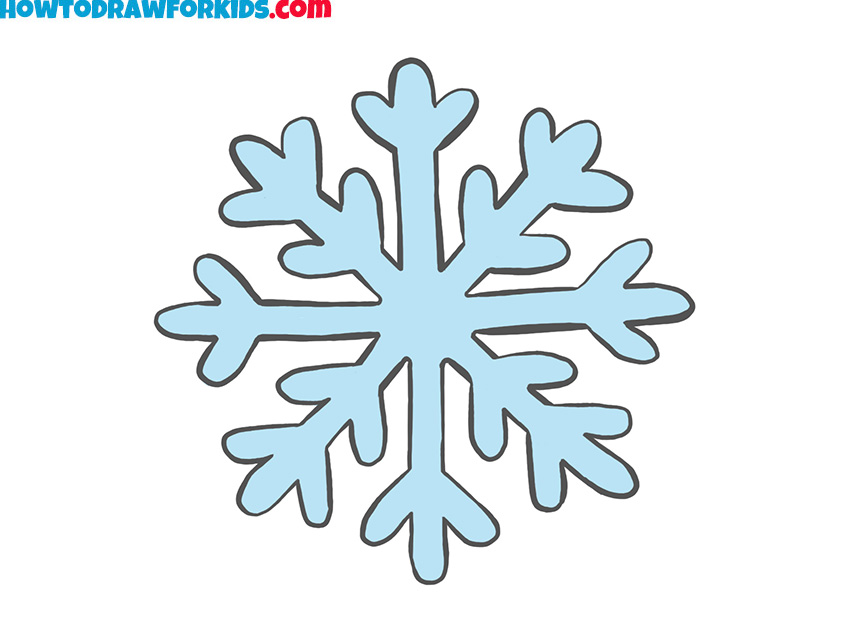
Build the skeleton of your snowflake drawing. Now, it’s time to add details. Start with a blank sheet of paper and your favorite drawing tool—this could be a pencil, pen, or even a digital stylus. The bigger you make the hexagon, the bigger your snowflake will be. Web easy snowflake drawing;
How to Draw a Snowflake Easy Drawing Tutorial For Kids
Also included is a printable version of this snowflake drawing tutorial. Draw a third vertically to intersect the first two lines. This creates six sides and is the basic shape for your snowflake. Here’s a simple and easy snowflake doodle you can start with. Draw a small dot on the page.

How to Draw a Snowflake Really Easy Drawing Tutorial
Draw two intersecting lines by adding an ‘x’ at the center point. Repeat this pattern around the circle at the top of every line. Now, it’s time to add details. And wherever you like, you can add some dots for flare. Learn how to create your own snowflake drawing with our easy guide.

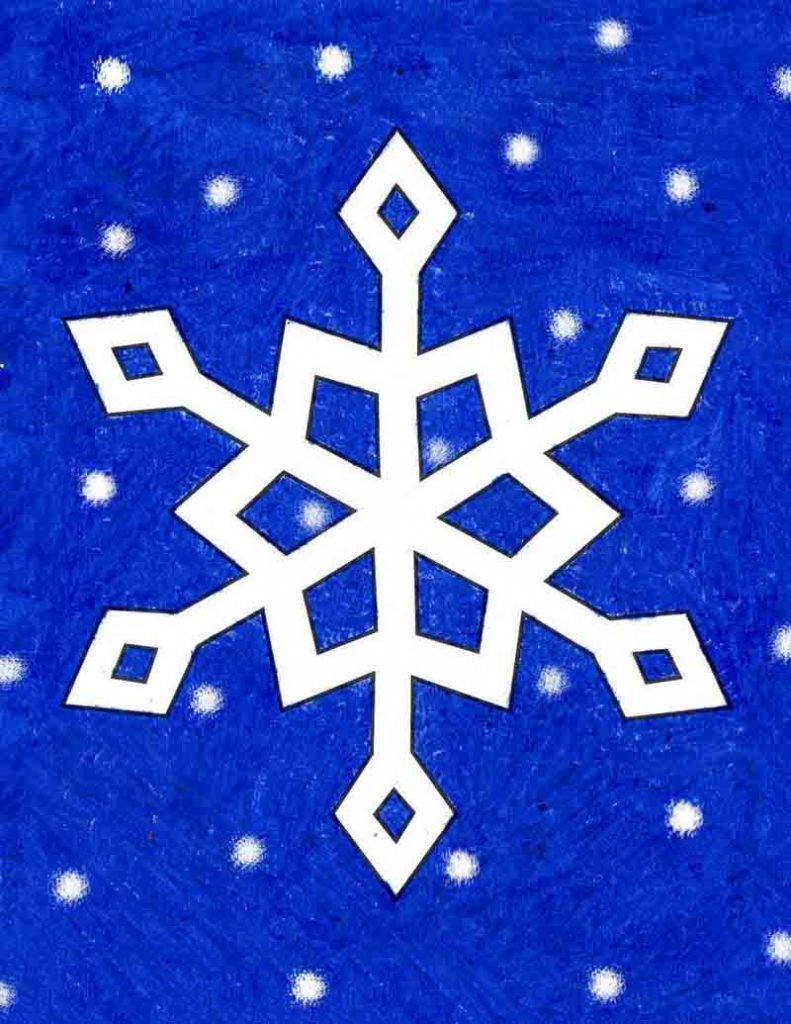
Learn How to Draw Snowflakes (Christmas) Step by Step Drawing Tutorials
We will pay attention to the proportions of each part of the snowflake. Ideal for art teachers and homeschoolers looking to instruct kids how to draw their own snowflake. At the end of all your straight lines, add a v. The length and spacing needs to be the same. Repeat this process on each arm of the snowflake.

How to Draw a Snowflake Really Easy Drawing Tutorial
Add a second, smaller v above your first one. Web easy snowflake drawing; We now begin to add the signature arms on our easy snowflake drawing. Draw two smaller v shapes on each of. Draw a third vertically to intersect the first two lines.
How to draw a snowflake Easy drawings ️ YouTube
Draw a circle on your chalkboard either freehand or by tracing around a circular object. You can also make your own coloring sheet by drawing multiple snowflakes on one page! On the arms closest to the circles, draw two more, smaller arms. Draw three straight lines that intersect right in the middle, like a star. Ideal for art teachers and.
How to draw a snowflake Easy snowflake drawing step by step tutorial
Web here is a easy beginner snowflake drawing tutorial to try. Draw a hexagon on a piece of paper. Web drawing a beautiful snowflake is a lot easier than you might think! For this one, start by drawing a straight line down. The length and spacing needs to be the same.

How to Draw a Snowflake HelloArtsy
Repeat this pattern around the circle at the top of every line. A hexagon has 6 sides that are all the same length. Web crayons or colored pencils. Web drawing a beautiful snowflake is a lot easier than you might think! Draw two intersecting lines by adding an ‘x’ at the center point.
Snowflake Drawing How To Draw A Snowflake Step By Step!
Build the skeleton of your snowflake drawing. We will pay attention to the proportions of each part of the snowflake. This is the most simple design. Draw 3 lines that cross each other. Web here is a easy beginner snowflake drawing tutorial to try.
How to Draw a Snowflake · Art Projects for Kids
You can either just draw these roughly as shown on the picture, or use the compass method in “ how to draw a hexagon ” tutorial to mark the precise angles. Use two sets of straight, parallel lines, and two short, curved lines for each. I like asking the kids to say words that have the letter ‘x’ in them.
Start With A Blank Sheet Of Paper And Your Favorite Drawing Tool—This Could Be A Pencil, Pen, Or Even A Digital Stylus.
#howtodraw #artforkidshub🎨 art supplies we love (amazon affiliate links): Draw two intersecting lines by adding an ‘x’ at the center point. Add a second, smaller v above your first one. Now draw another line from left to right.
This Is A Fun Way To Teach Children About Negative Space.
Begin with the intersecting line you drew in the last step, adding two sets of extending arms just before the ends. Draw 3 lines that cross each other. Draw a circle on your chalkboard either freehand or by tracing around a circular object. Learn how to create your own snowflake drawing with our easy guide.
Remember To Start With An X And Cross The Middle Of It To Create The First Step With 6 Lines.
This creates six sides and is the basic shape for your snowflake. Snowflakes are fun to draw for winter time! Use a ruler to draw the hexagon so the lines are straight and even. Start by drawing a line at an angle, and then another line to form an x.
The Length And Spacing Needs To Be The Same.
Finish off the snowflake by drawing filled in circles at the end of each line. Between the boomerang shape and the small circle on each arm of the snowflake, draw another, smaller boomerang shape. Here’s a simple and easy snowflake doodle you can start with. Draw a line from each corner of the hexagon to the corner across from it.