Drawing Of A Jar
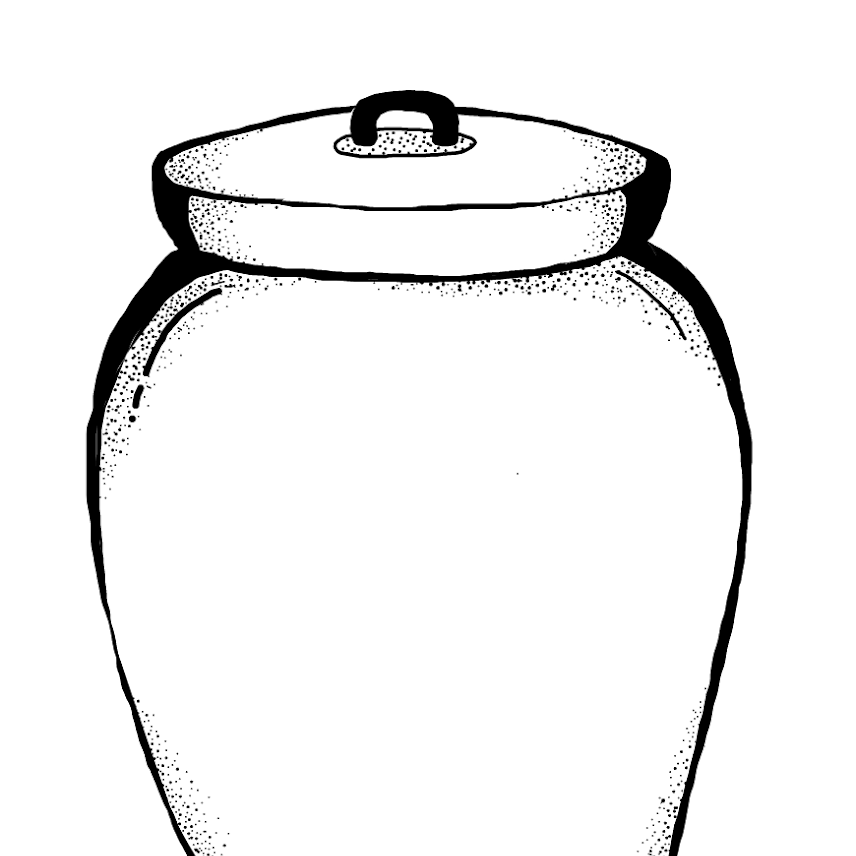
Drawing Of A Jar - Start by drawing the basic shape of the jar. Easily make your own mercury glass votives. Connect the two ovals with two short vertical lines on each side to form the sides of the lid. Begin by drawing the upper part of the jar of jam which will be part of the neck and the shoulders. Draw a thin oval shape inside the interior of the lid and underneath the top line that you did in the previous part. Web thanks for watching, like, comment, share, and subscribe!how to draw a jar#jar #masonjar #drawing Web in this video tutorial, i’ll teach you how to sketch a jar. Make the neck area fairly short as it will have others parts added on top of it along with the lid in later steps. Draw threads for the lid. I’m going to show you how to draw ellipses in the right way.
How to draw a mason jar step by step for beginners. This step is similar to the previous one and here you will draw a small curved line. Add one curved line on the side of the dish. Once the outline is complete, start filling in the details. Draw the outer outline of the handle. Web about press copyright contact us creators advertise developers terms privacy policy & safety how youtube works test new features nfl sunday ticket press copyright. Pick up a pack of assorted wooden bangles and dive into this trendy diy. Jar of jam top drawing. Web start by drawing a couple of lines down the sides of the jar to create the illusion of ridges. Web how to draw a jar step by step.
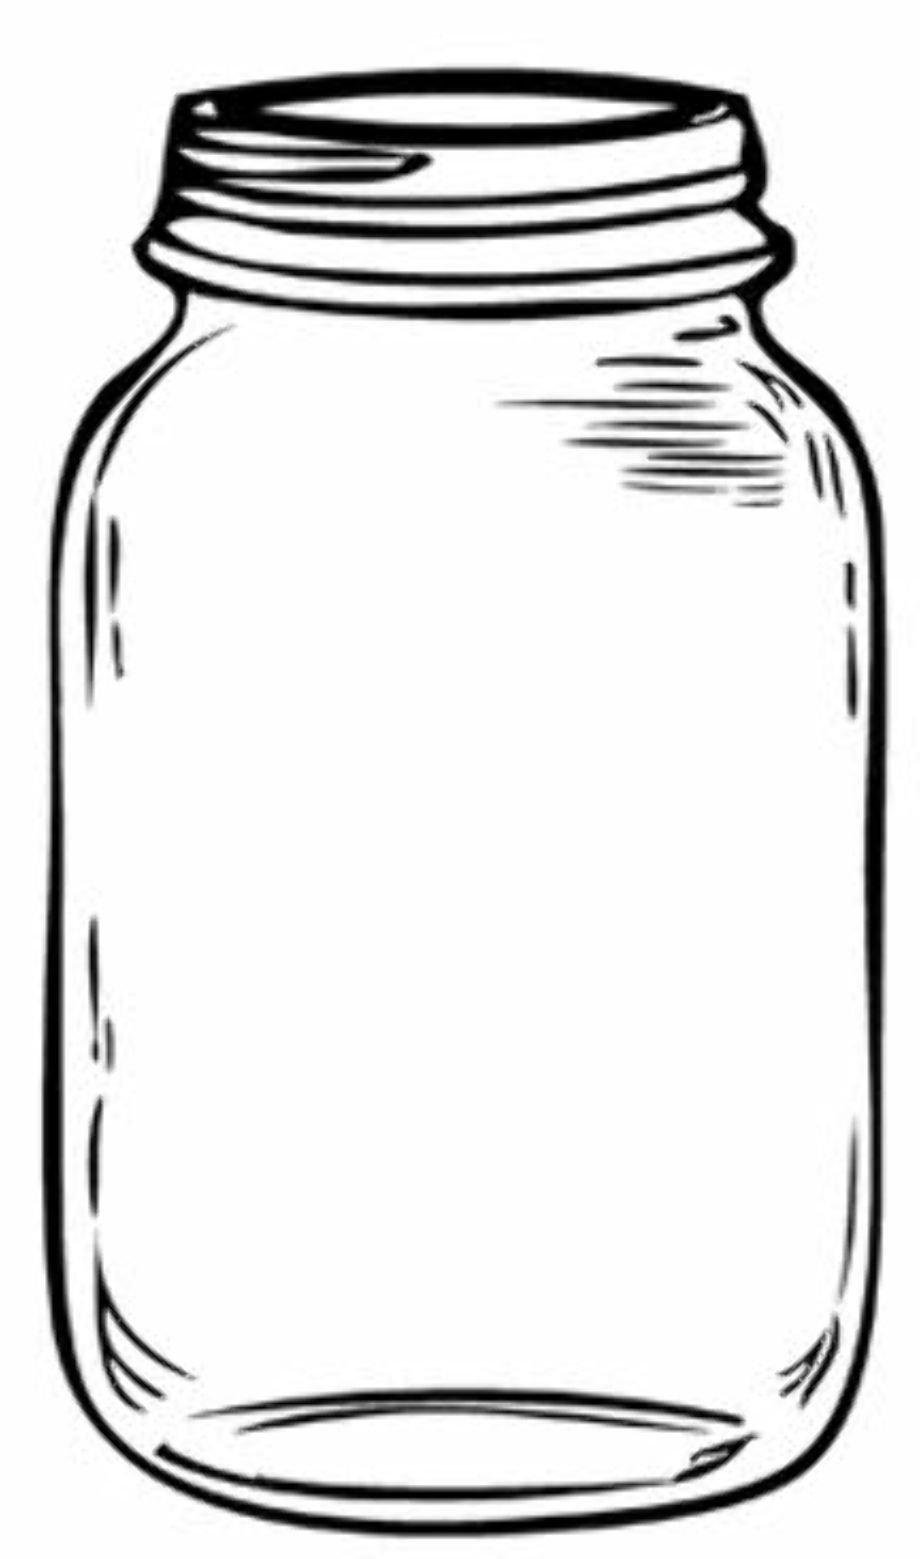
Start by drawing the basic shape of the jar. Begin by drawing the upper part of the jar of jam which will be part of the neck and the shoulders. Web in this video tutorial, i’ll teach you how to sketch a jar. Connect the two ovals with two short vertical lines on each side to form the sides of the lid. 🎨 whether you're an aspi. Give the jar ridges around the middle and make the top and bottom flared outwards. Web draw a butterfly with colorful patterns in its wings. Web how to draw a jar.a jar maybe made up of glass or plastic, in any way or another it is an important container we are using daily that is why we have come up with the easy step by step lesson on how to draw a jar for kids. Web erase any unnecessary lines on the sides of the jar to tidy up your drawing. You first need to sketch a cylindrical shape container.
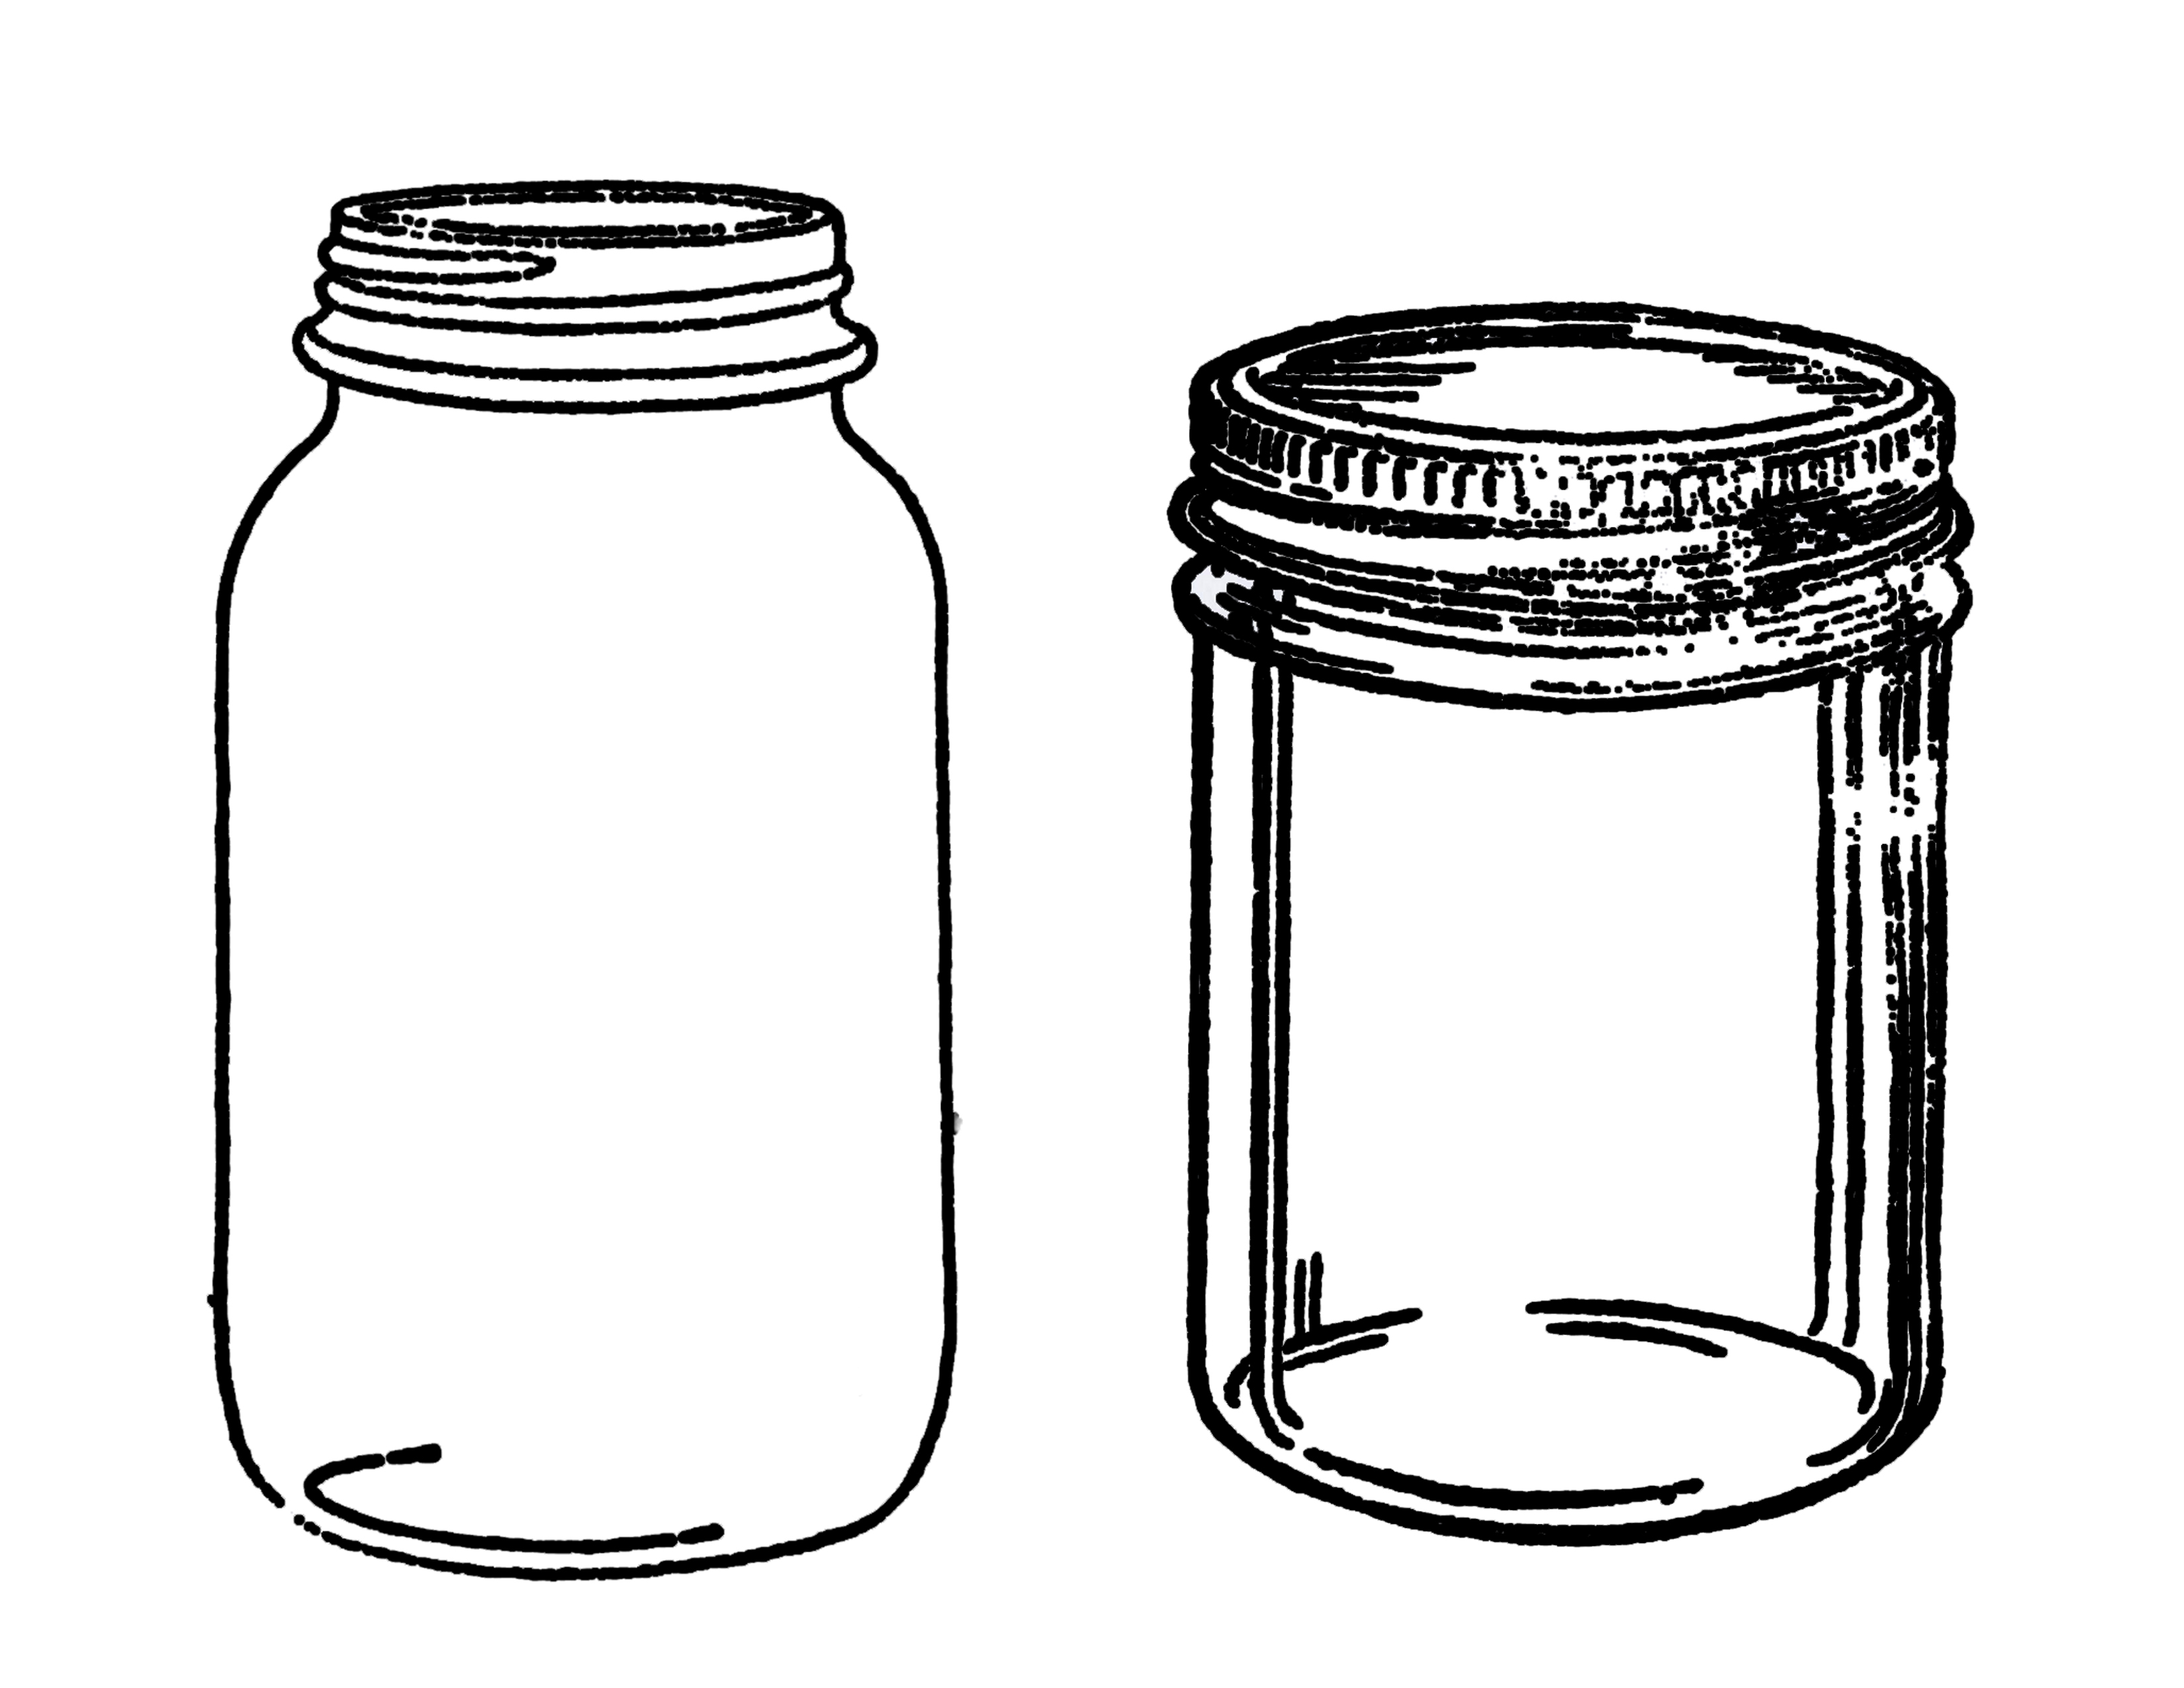
Jar Drawing Free download on ClipArtMag
Draw a line down the center of the jar to help keep everything in proportion. Make the neck area fairly short as it will have others parts added on top of it along with the lid in later steps. Web how to draw a jar.a jar maybe made up of glass or plastic, in any way or another it is.
Download High Quality mason jar clipart cartoon Transparent PNG Images
Extend this line from the top to the bottom of your paper. Web in this video tutorial, i’ll teach you how to sketch a jar. Draw threads for the lid. Web draw the top outline of the jar. Once the outline is complete, start filling in the details.
mason jar clipart no background 10 free Cliparts Download images on
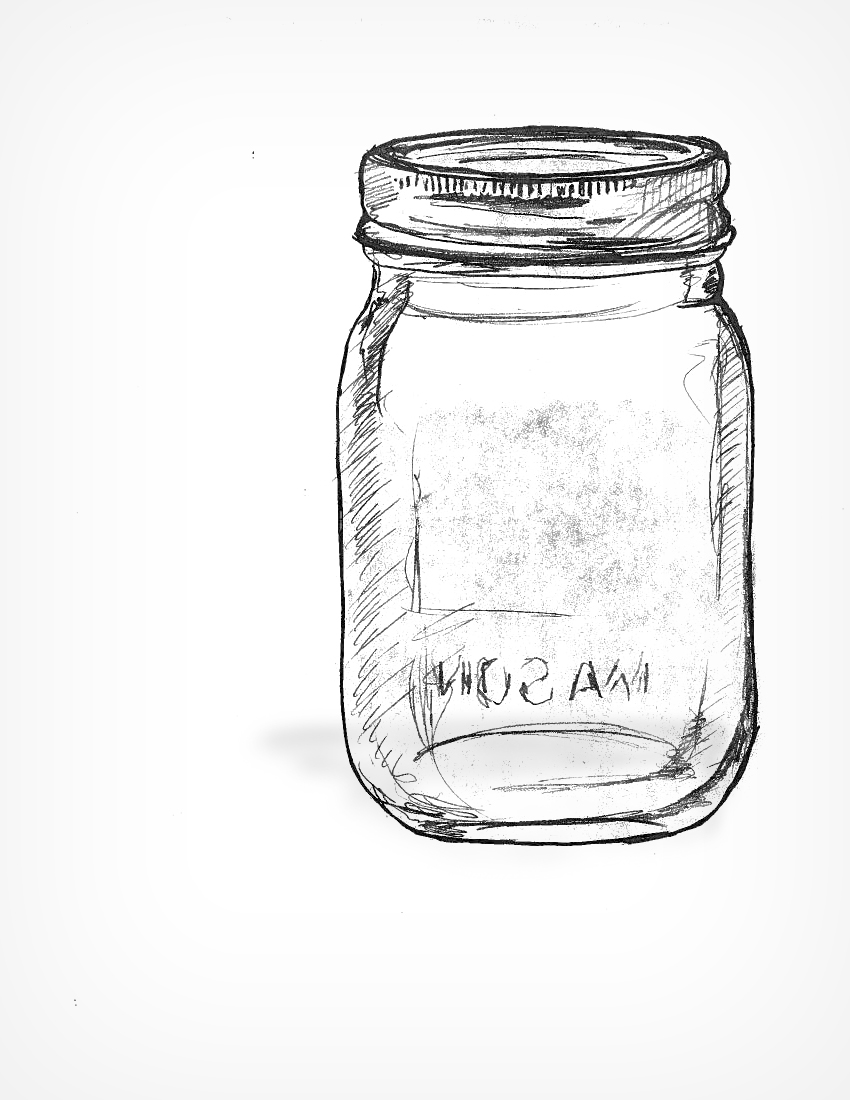
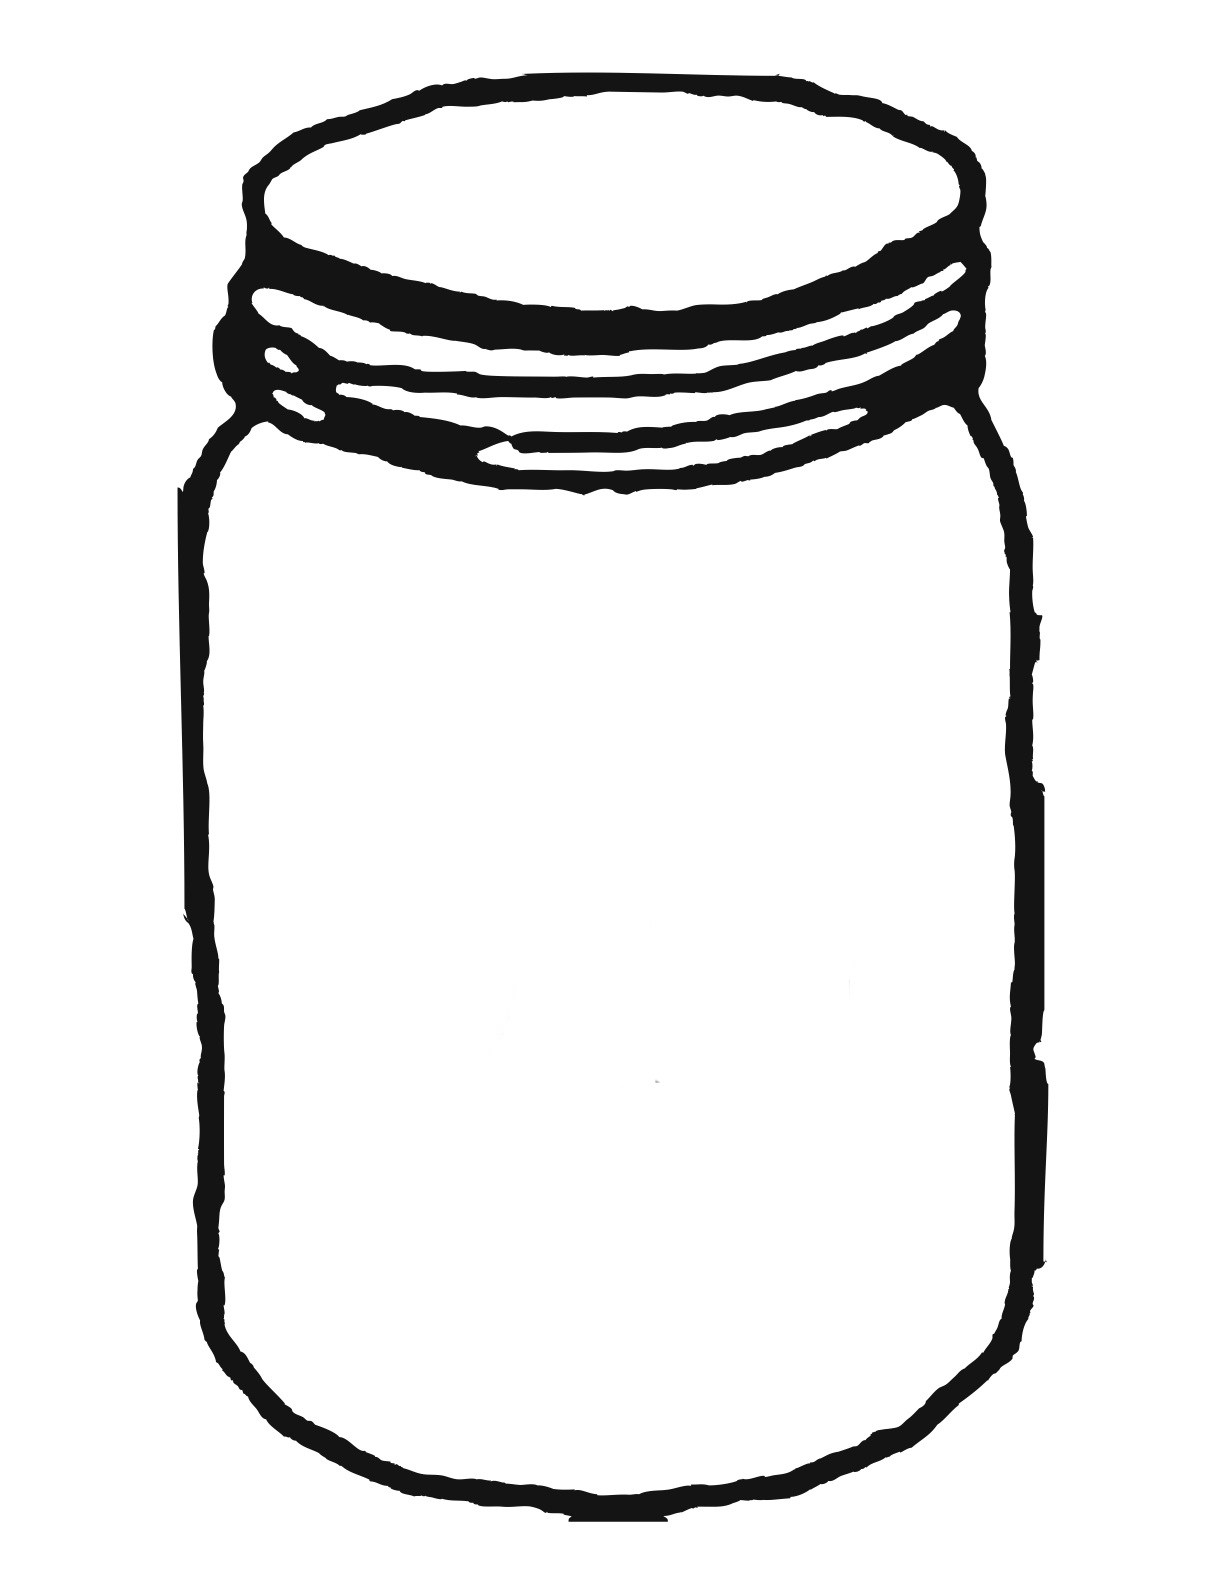
On the neck of the bottle, draw thin rectangles for the lid threads. Draw a line down the center of the jar to help keep everything in proportion. Jar of jam centerline drawing. Draw 6 hungry ants on each other’s shoulders trying to reach a sandwich on a table. Web thanks for watching, like, comment, share, and subscribe!how to draw.
Jar Drawing at Explore collection of Jar Drawing
Make the top and bottom slightly wider than the middle. Once the outline is complete, start filling in the details. You can draw a perfect circle for the lid, then add a wide vertical line going downwards to make it look like a jar. Draw a line down the center of the jar to help keep everything in proportion. Web.
10. What's in the Jar? » drawings » SketchPort
Web how to draw a jar.a jar maybe made up of glass or plastic, in any way or another it is an important container we are using daily that is why we have come up with the easy step by step lesson on how to draw a jar for kids. Draw 6 hungry ants on each other’s shoulders trying to.
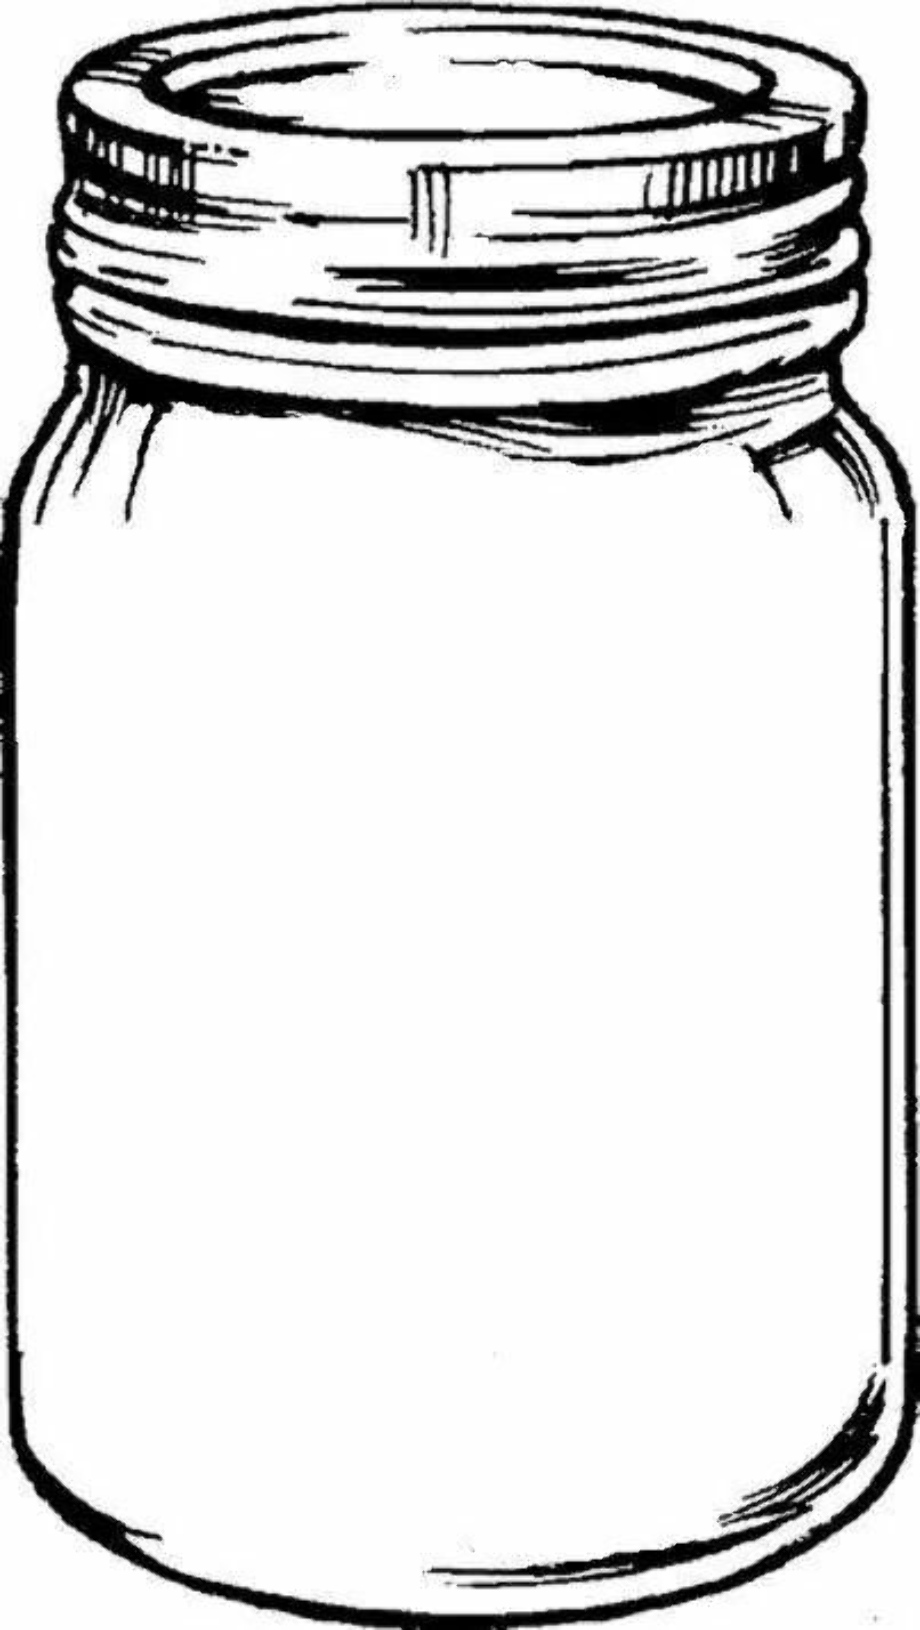
Download High Quality mason jar clipart drawing Transparent PNG Images
Draw a face with four eyes, 2 noses, and 1 mouth with crazy hair. Web how to draw a jar easy and step by step. Below the lid, draw a large, slightly elongated oval that will represent the jar’s body. Give the jar ridges around the middle and make the top and bottom flared outwards. Add vertical lines for texture.
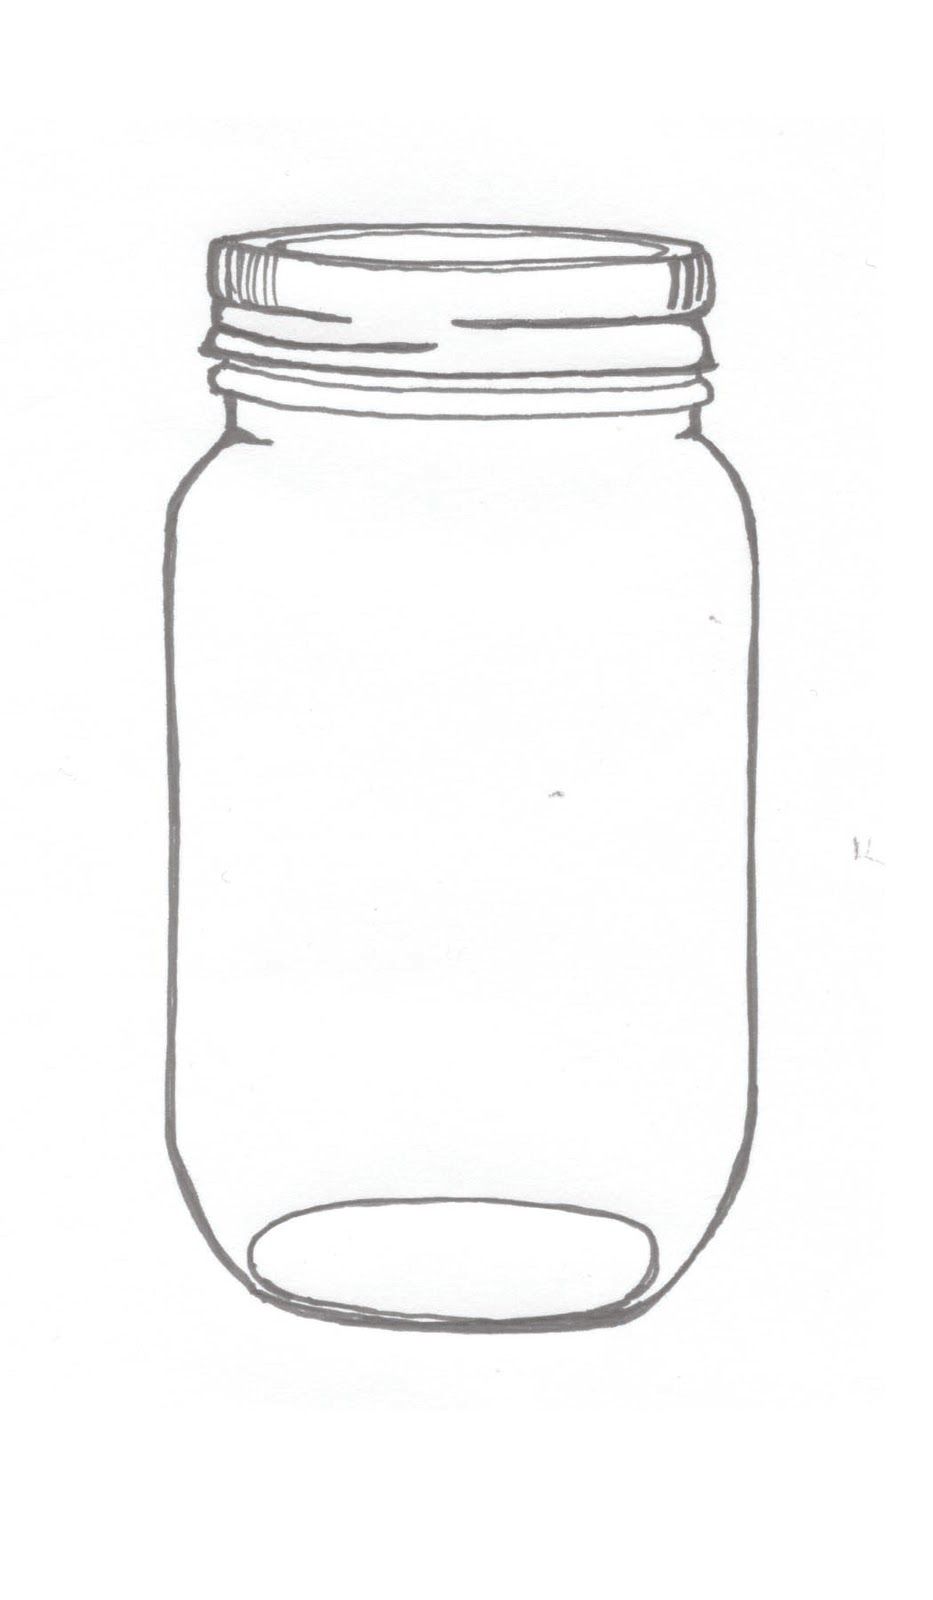
Jar Sketch at Explore collection of Jar Sketch
Draw a thin oval shape inside the interior of the lid and underneath the top line that you did in the previous part. Sketch out one curved line on the side of the jar. Draw an alien with 3 big eyes, a pig nose, a large mouth with fangs, large ears, 4 arms, and six legs and feet. Draw 6.

How to Draw a Mason Jar Really Easy Drawing Tutorial
Web erase any unnecessary lines on the sides of the jar to tidy up your drawing. Connect the lid to the body with two curved lines, creating the sides of the jar. Once the outline is complete, start filling in the details. Web how to draw a jar easy and step by step. Jar of jam top drawing.
Empty Jar Drawing at Explore collection of Empty
Now we shall continue drawing the lid in this step of our guide on how to draw a mason jar. Start by lightly shading the entire jar. If necessary, you can use a ruler to make the lines straight. Web about press copyright contact us creators advertise developers terms privacy policy & safety how youtube works test new features nfl.

black and white jar clipart 10 free Cliparts Download images on
🎨 whether you're an aspi. This step is similar to the previous one and here you will draw a small curved line. Notice the diagonally slanted shoulders, the straight sides, and the curved bottom. At the top of the drawing, draw two even ellipses of different sizes. Draw a face with four eyes, 2 noses, and 1 mouth with crazy.
Draw A Line Down The Center Of The Jar To Help Keep Everything In Proportion.
Web draw a butterfly with colorful patterns in its wings. Below the lid, draw a large, slightly elongated oval that will represent the jar’s body. Jar of jam top drawing. Draw the outer outline of the handle.
Web Erase Any Unnecessary Lines On The Sides Of The Jar To Tidy Up Your Drawing.
Then, add a few horizontal lines across the top of the jar to create the appearance of a lid. Web welcome to our trending drawing tutorial! Draw this jar by following this drawing lesson. Web about press copyright contact us creators advertise developers terms privacy policy & safety how youtube works test new features nfl sunday ticket press copyright.
Web Start By Drawing A Couple Of Lines Down The Sides Of The Jar To Create The Illusion Of Ridges.
Web draw a slightly larger oval below the first one to create the jar’s lid. Even something as simple as a jar can teach you a lot about the little details. Now that the basic shape of the jar is complete, it’s time to add some shading. Once the outline is complete, start filling in the details.
All You Need Is A Pencil, Eraser, Pa.
At the top of the drawing, draw two even ellipses of different sizes. Notice the diagonally slanted shoulders, the straight sides, and the curved bottom. Pick up a pack of assorted wooden bangles and dive into this trendy diy. This step is similar to the previous one and here you will draw a small curved line.