Drawing Of A Poinsettia
Drawing Of A Poinsettia - Each petal will go around one of the lines that you extended out from the center of the. These little red dots add a festive touch, giving your poinsettia a warm seasonal feel. An item for exotic wallpaper, paper, print, banner. Draw one petal on the left side and the other on the right. Place these petals next to each other. In this video, we will show you how to draw a poinsettia flower step by step with easy drawing tutorial ste. The leaves should be shaped roughly the same as the petals; To draw two poinsettia flowers, sketch in large leaf shapes by drawing curved lines that meet at a point. Modern design for paper, wallpaper,. Poinsettias are known for their vibrant colored bracts, which are often.
Start the smaller flower with the center. Don’t mind the second slide. Web be aware that pencil marks bond with wet watercolor paper. These little red dots add a festive touch, giving your poinsettia a warm seasonal feel. Start the center as a group of circles. Start by drawing a large circle in the center of your paper. Web how to draw a poinsettia.learning how to draw is fun especially if there is a step by step video that you follow. Web in today’s lesson, we are going to learn how to draw a easy poinsettia drawing on paper. Web modern poinsettia flower, leaves, in the style of one line. Poinsettias are known for their vibrant colored bracts, which are often.
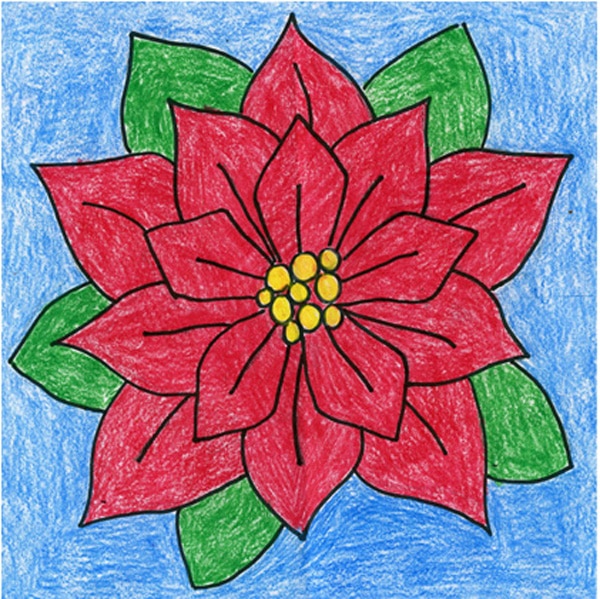
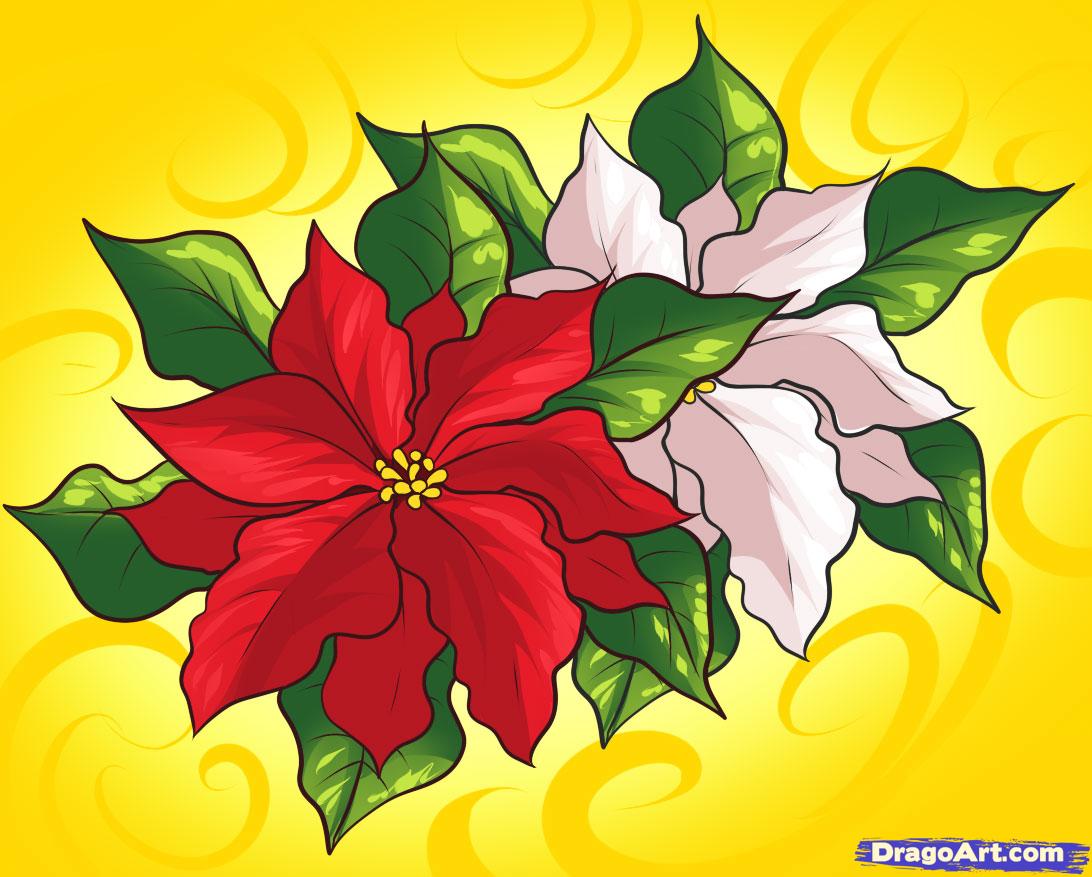
Place these petals next to each other. Web be aware that pencil marks bond with wet watercolor paper. Vector art illustration modern poinsettia flower, in the style of one line. Web learn to draw a poinsettia. Web how to draw a poinsettia flower | easy step by step drawing for kids and beginners | draw with darkthe poinsettia (/pɔɪnˈsɛtiə/ or /pɔɪnˈsɛtə/) (euphorbia pu. They are known in particular for their red and green colors being used. Color the poinsettia red, green, and yellow. To draw two poinsettia flowers, sketch in large leaf shapes by drawing curved lines that meet at a point. Web learn how to draw a beautiful christmas poinsettia! When you follow along, remember to have fun and try changing your drawings on purpose.

How to Draw a Poinsettia Really Easy Drawing Tutorial
You guys really loved them interacting and i had planned to draw them for a while! Start the center as a group of circles. Web learn how to draw a poinsettia! The symbol of winter in dark gold color. How to draw a poinsettia plant.
Easy How to Draw a Poinsettia Tutorial and Poinsettia Coloring Page
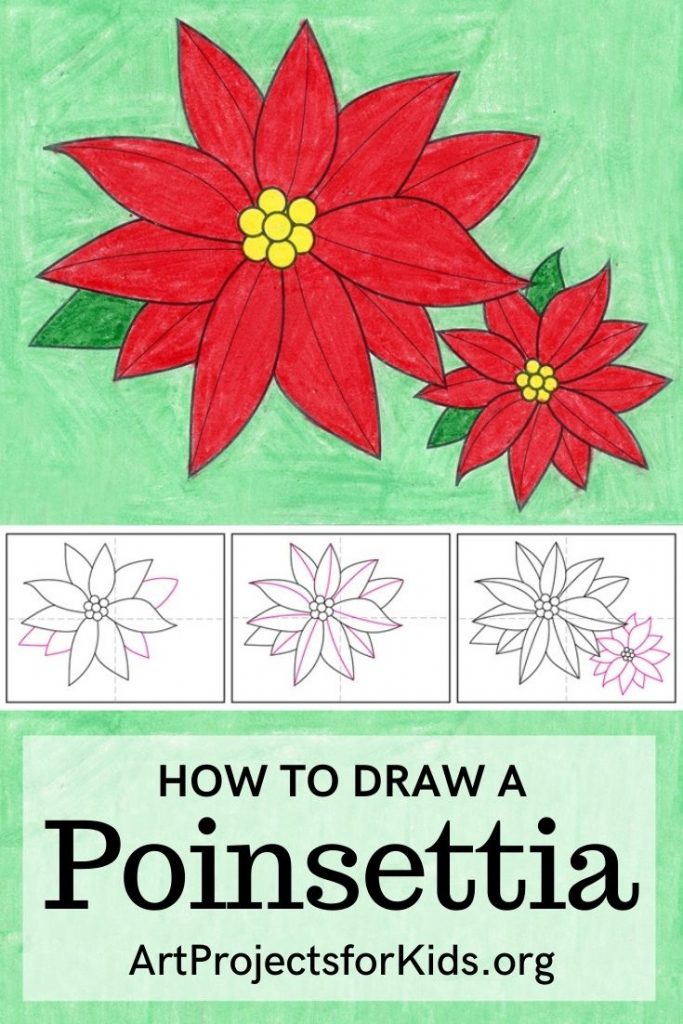
Add four evenly spaced petals. Try to make some a little different. The difference lies in the use of several short, curved lines, rather than a single line, forming each side. I love how different our drawings look from each other. Poinsettia drawing in images poinsettia drawing in videos poinsettia drawing in templates poinsettia drawing in 3d poinsettia drawing in.

After I submitted the tutorial on the pretty Christmas flowers we all
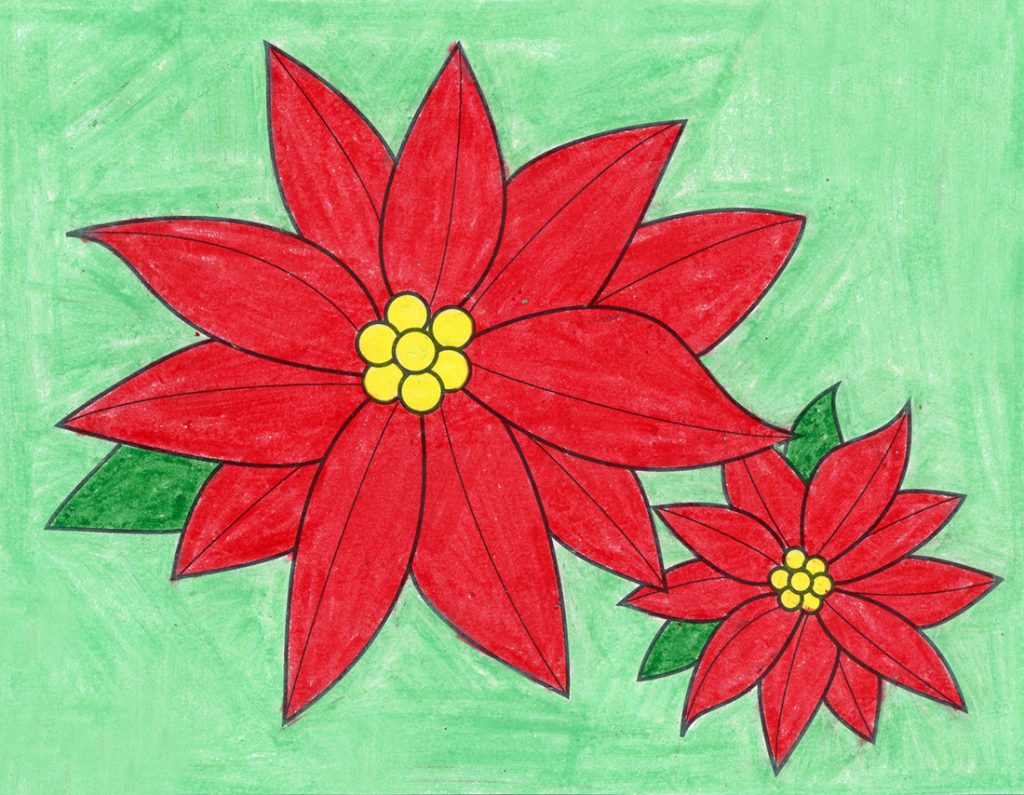
Web learn to draw a poinsettia. Start the smaller flower with the center. Lightly sketch a group of small circle shapes at the center of each flower. Draw another petal in between each. You guys really loved them interacting and i had planned to draw them for a while!

Easy Poinsettia Drawing HelloArtsy
Try to make some a little different. You guys really loved them interacting and i had planned to draw them for a while! Web modern poinsettia flower, leaves, in the style of one line. Add the petals at the bottom of the flower. You can draw between five to eight petals, depending on the size of your poinsettia.

Art Class Ideas Poinsettia Drawings
Color the poinsettia red, green, and yellow. Use your creativity to make your drawing unique! The leaves should be shaped roughly the same as the petals; Draw center lines in all the flower petals. The shape and proportion of each part will be highlighted in each step of the tutorial.
Christmas Poinsettia Drawing at Explore collection
We will start drawing some of the petals for your poinsettia drawing in this next step of the guide. With a few simple steps, you will have a beautiful poinsettia plant drawing! Try to make some a little different. One of them looks a little smaller than the second. Web at the top and bottom of the drawn circles, draw.
How to Draw a Poinsettia · Art Projects for Kids
Define the outer leaves by using lines that curve inward. I had so much fun with these two, i especially love the lighting on nefiti! Draw one petal on the left side and the other on the right. Draw a circle for the center of the poinsettia. With a few simple steps, you will have a beautiful poinsettia plant drawing!

How to Draw a Poinsettia · Art Projects for Kids
Don’t mind the second slide. The difference lies in the use of several short, curved lines, rather than a single line, forming each side. Web at the top and bottom of the drawn circles, draw two petals, pointed to the edge. Draw center lines in all the flower petals. Finally, add the details of the poinsettia such as the veins.
Easy How to Draw a Poinsettia Tutorial and Poinsettia Coloring Page
Web be aware that pencil marks bond with wet watercolor paper. Start by drawing a large circle in the center of your paper. These little red dots add a festive touch, giving your poinsettia a warm seasonal feel. When you follow along, remember to have fun and try changing your drawings on purpose. Web how to draw a poinsettia step.
Poinsettia Drawing Outline at GetDrawings Free download
Web draw a poinsettia it isn’t hard an now i’ll teach you.in 365 sketches i’ll teach you step by step drawin. Web how to draw a poinsettia.learning how to draw is fun especially if there is a step by step video that you follow. Poinsettias are a popular christmas flower, and for good reason. We have come up with the.
Each Petal Will Go Around One Of The Lines That You Extended Out From The Center Of The.
To draw two poinsettia flowers, sketch in large leaf shapes by drawing curved lines that meet at a point. Start the smaller flower with the center. In this video, we will show you how to draw a poinsettia flower step by step with easy drawing tutorial ste. We will start drawing some of the petals for your poinsettia drawing in this next step of the guide.
Web How To Draw A Poinsettia Step By Step Beginner Guideeasy Realistic Poinsettia Christmas Flower Drawing Narrated Step By Stepeasy Way To Learn How To Draw A C.
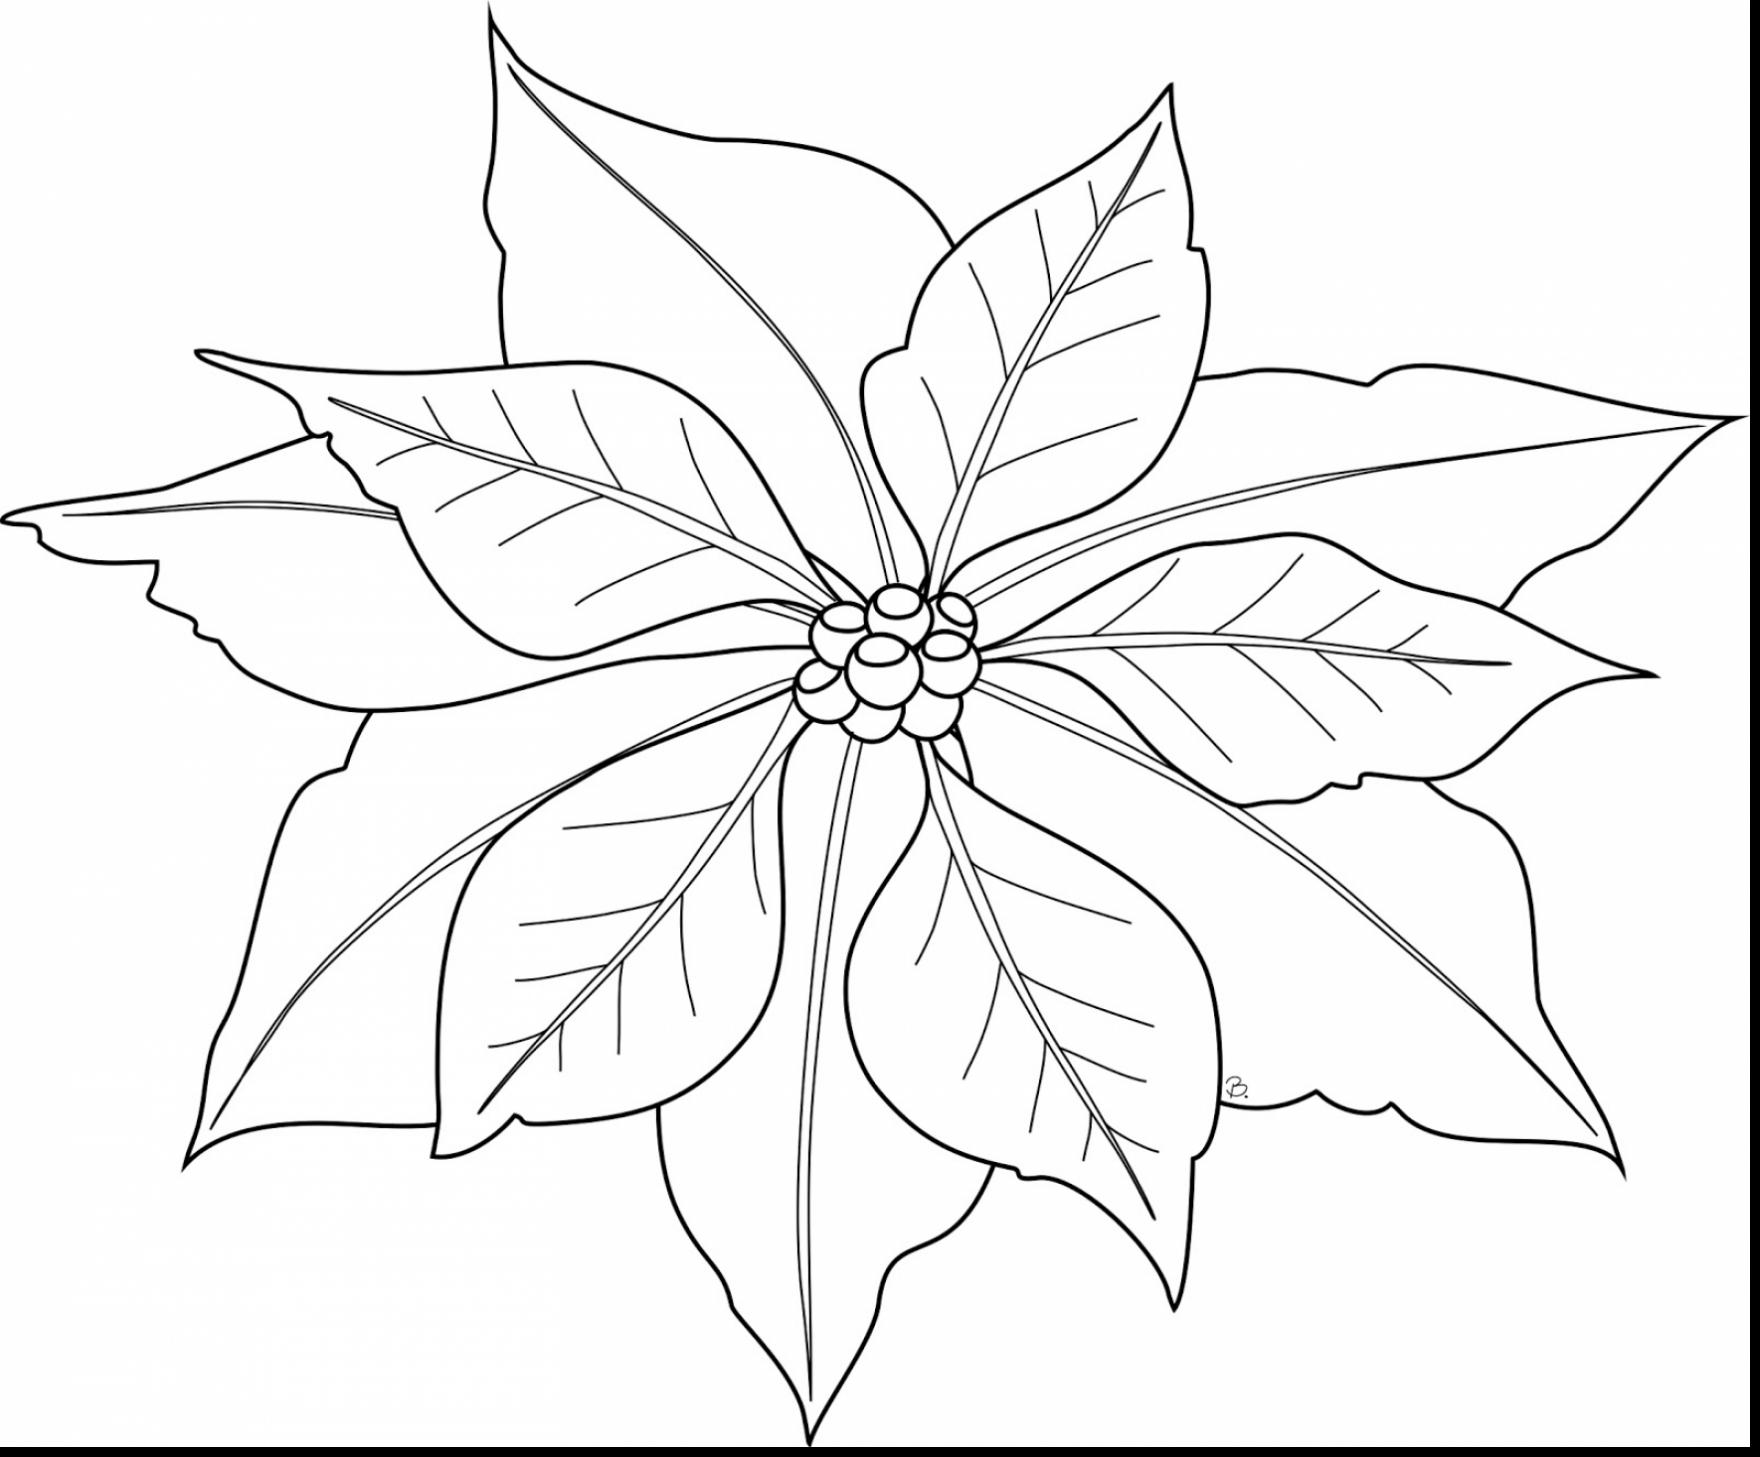
Modern design for paper, wallpaper,. Finally, add the details of the poinsettia such as the veins of the leaves and the center of the flower. The difference lies in the use of several short, curved lines, rather than a single line, forming each side. Web how to draw a poinsettia.learning how to draw is fun especially if there is a step by step video that you follow.
Draw A Circle For The Center Of The Poinsettia.
Sketch out two more petals. Place these petals next to each other. Poinsettia petals are typically pointy at the ends, so keep that in mind as you draw them. An eraser won’t do anymore.
These Little Red Dots Add A Festive Touch, Giving Your Poinsettia A Warm Seasonal Feel.
Fill in any empty spaces with extra petals. The reference photo is a little dark with sharp colors. Start by outlining tiny circles around the center, making sure there is enough space for the berries but that each is still part of the overall. This happens when you wet the paper to stretch on a wood board.