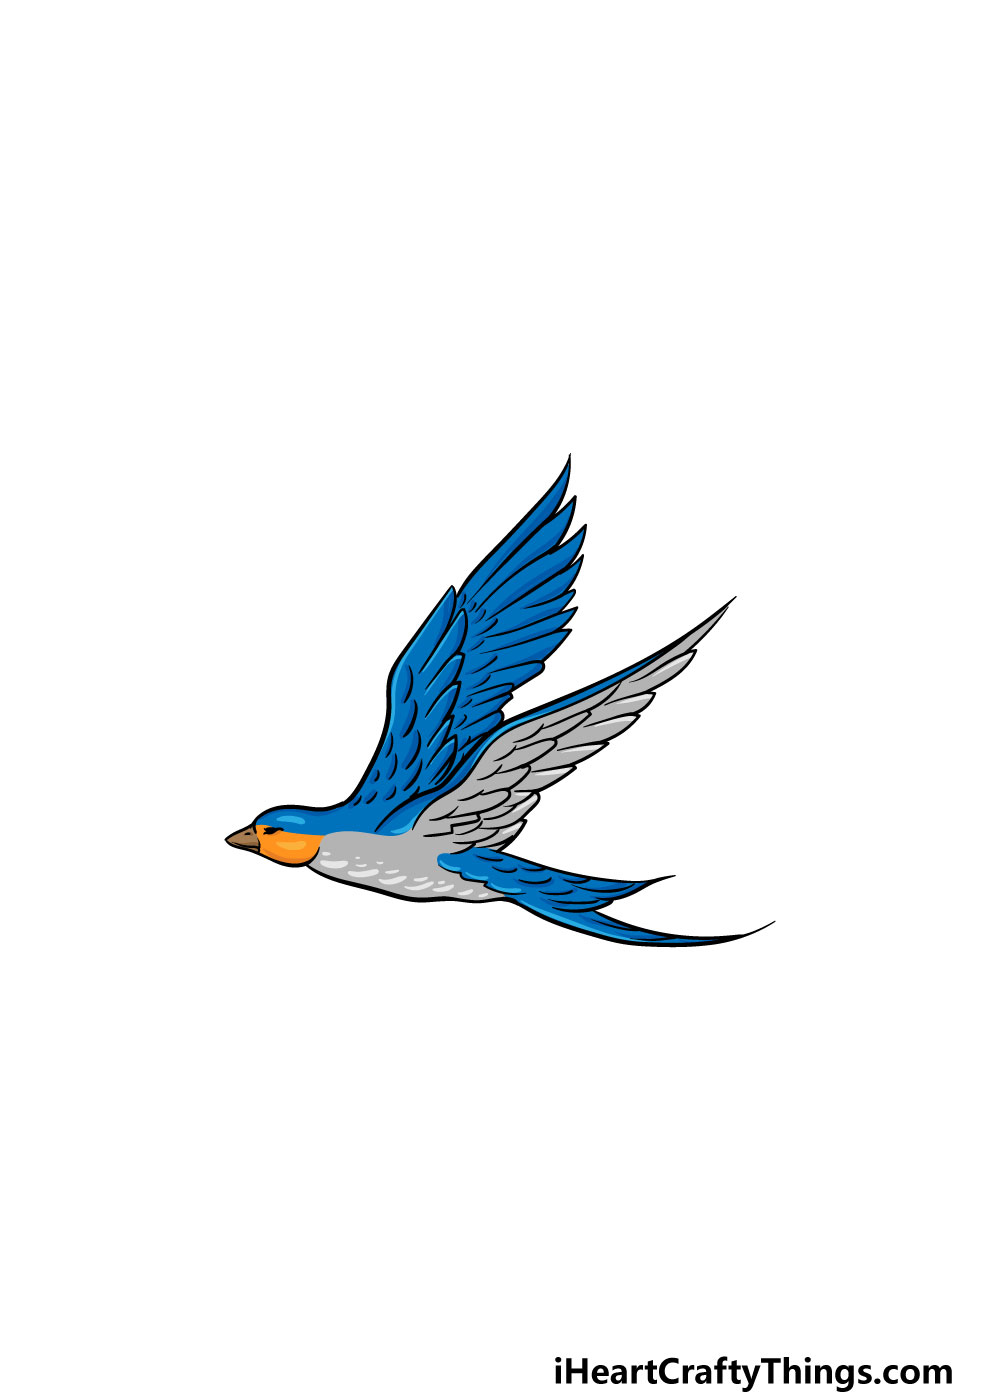
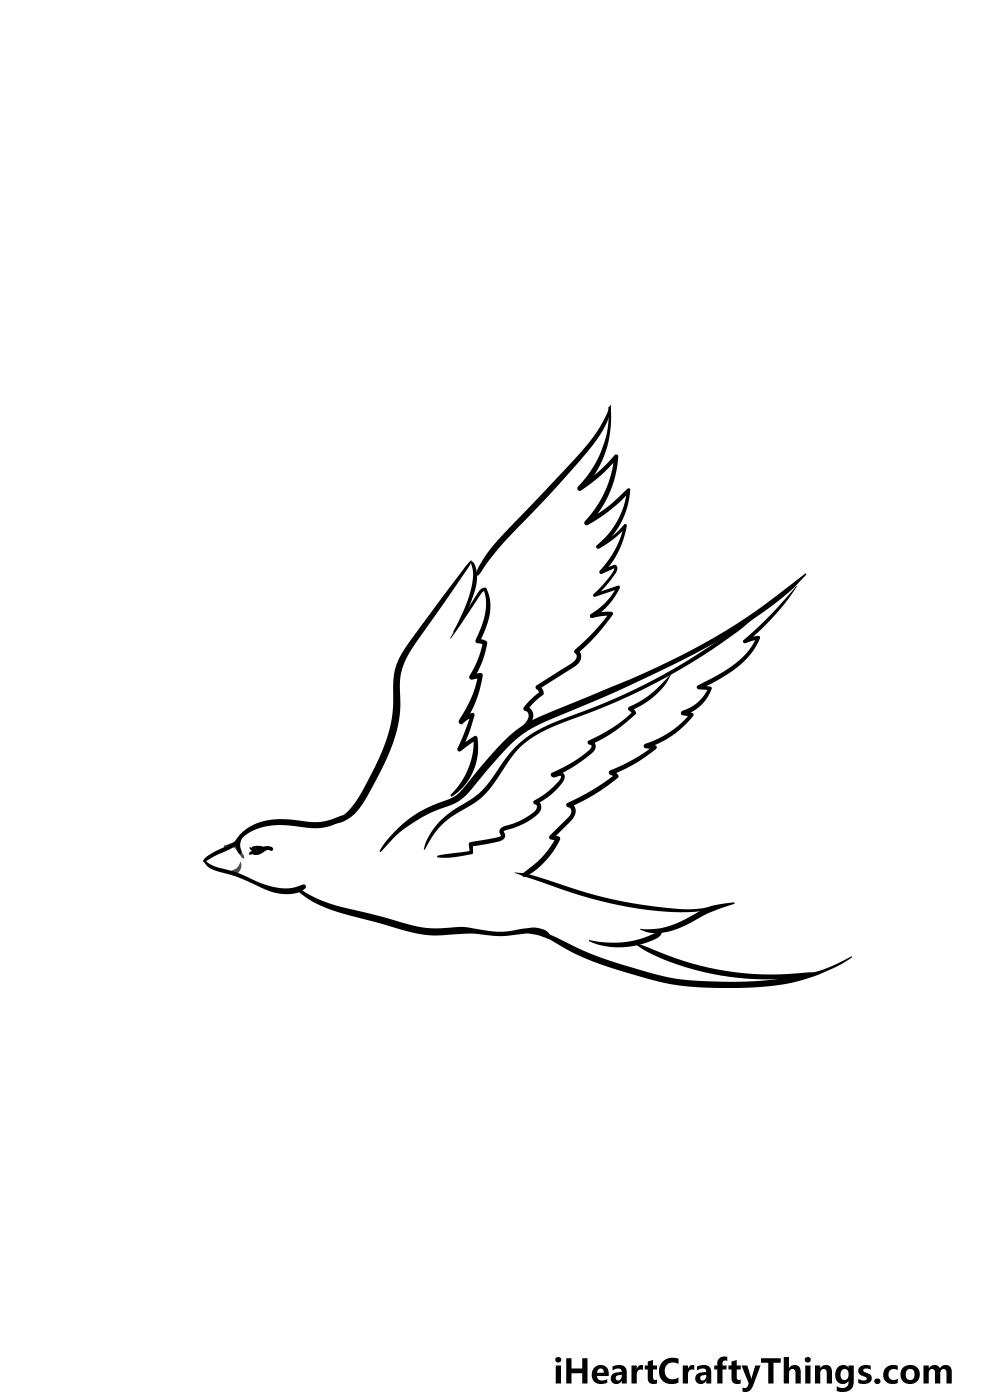
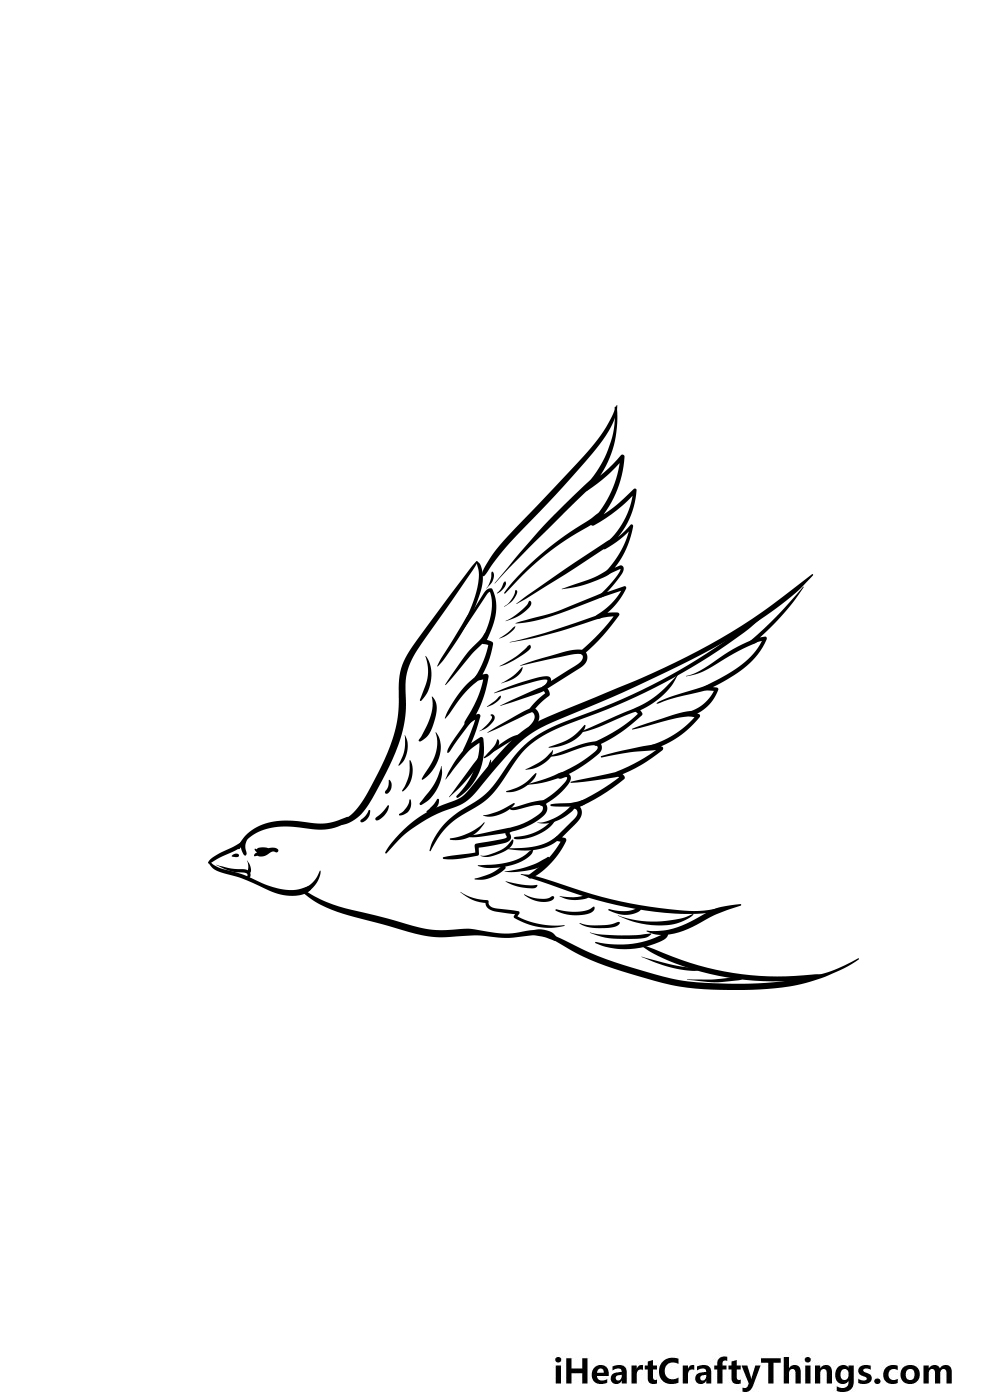
Easy Bird Flying Drawing
Easy Bird Flying Drawing - Web how to draw flying birds. I really hope this is helpful in some way. Sketch the basic shape of the bird. This easy bird drawing tutorial. Draw this flying bird by following this drawing lesson. Below it, trace several partial circles, shading the smallest. On the right side, sketch out the second wing of the same shape. This post shows the process of how to draw birds with some easy worksheets, as well as one step by step tutorial for a flying birds drawing. Begin your drawing with large shapes to establish proportions and posture—an oval for the body, a circle for the head, a line to show the angle of the bill and eye. Here is an adorable drawing of a duck or goose roller skating!
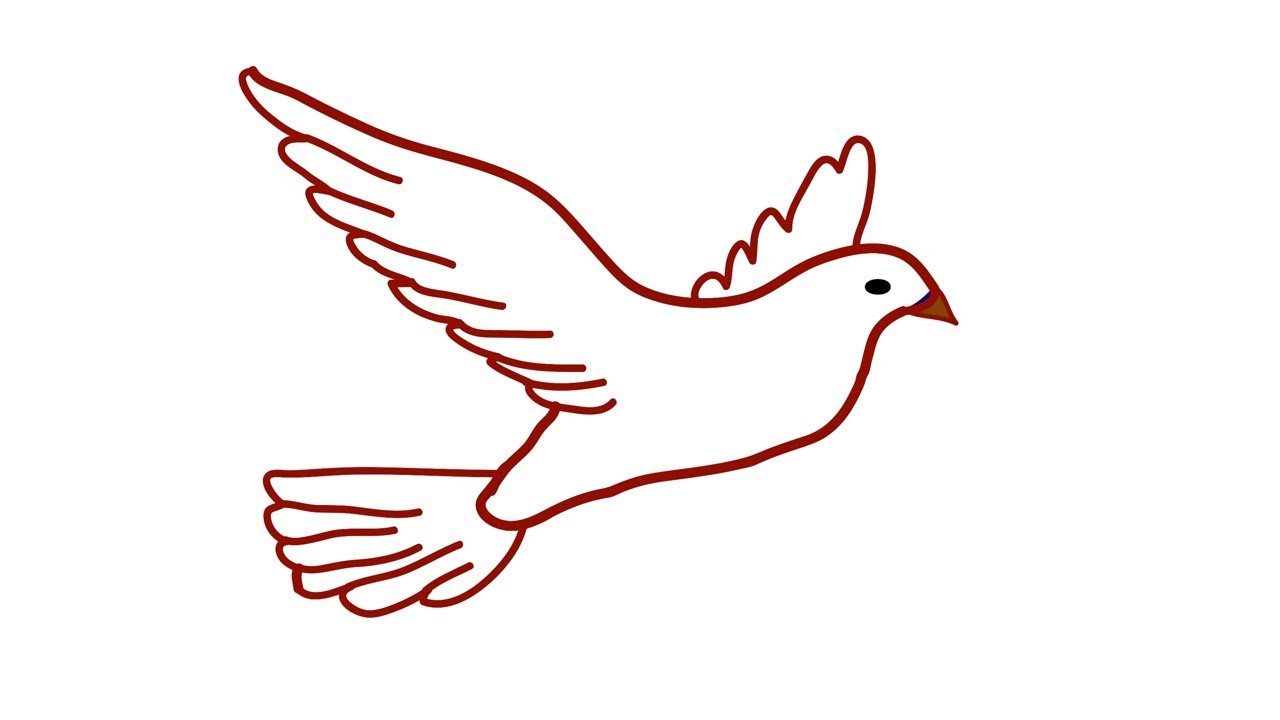
This post shows the process of how to draw birds with some easy worksheets, as well as one step by step tutorial for a flying birds drawing. Learn how to draw a bird flying in the sky using pencil. Use curved lines to outline the triangular beak. If you want to draw a realistic bird in flight, it is important to start by practicing drawing basic shapes. It will be split up into a few different sections, each one focusing on a different type of bird. Keep your lines loose and sketchy at this stage, as you will refine them later. For a perched bird, draw the wings folded against the body. Learn and teach to properly draw a super quick, picture silhouette shape outline of a bird flying in the skies, and. The ability to draw simple birds in flight requires some fundamental knowledge about the bird anatomy, movement patterns, and. Web how to draw flying birds.
Keep your lines loose and sketchy at this stage, as you will refine them later. Showing how to draw a realistic bird flying. I really hope this is helpful in some way. Continue shading the body, wings, head, and tail of our flying bird. Drawing an easy bird in flight captures the imagination, encouraging you to depict the weightlessness and grace of the bird’s movement. Remove all extra lines in your drawing. Connect the head to the body with a short neck.*. Shade a small oval to form the nostril. Color black the bird's head and chest. Imagine the point on which the body would balance, and put a vertical line for the feet right there.
How to draw and colors Flying Bird easy step by step for beginners
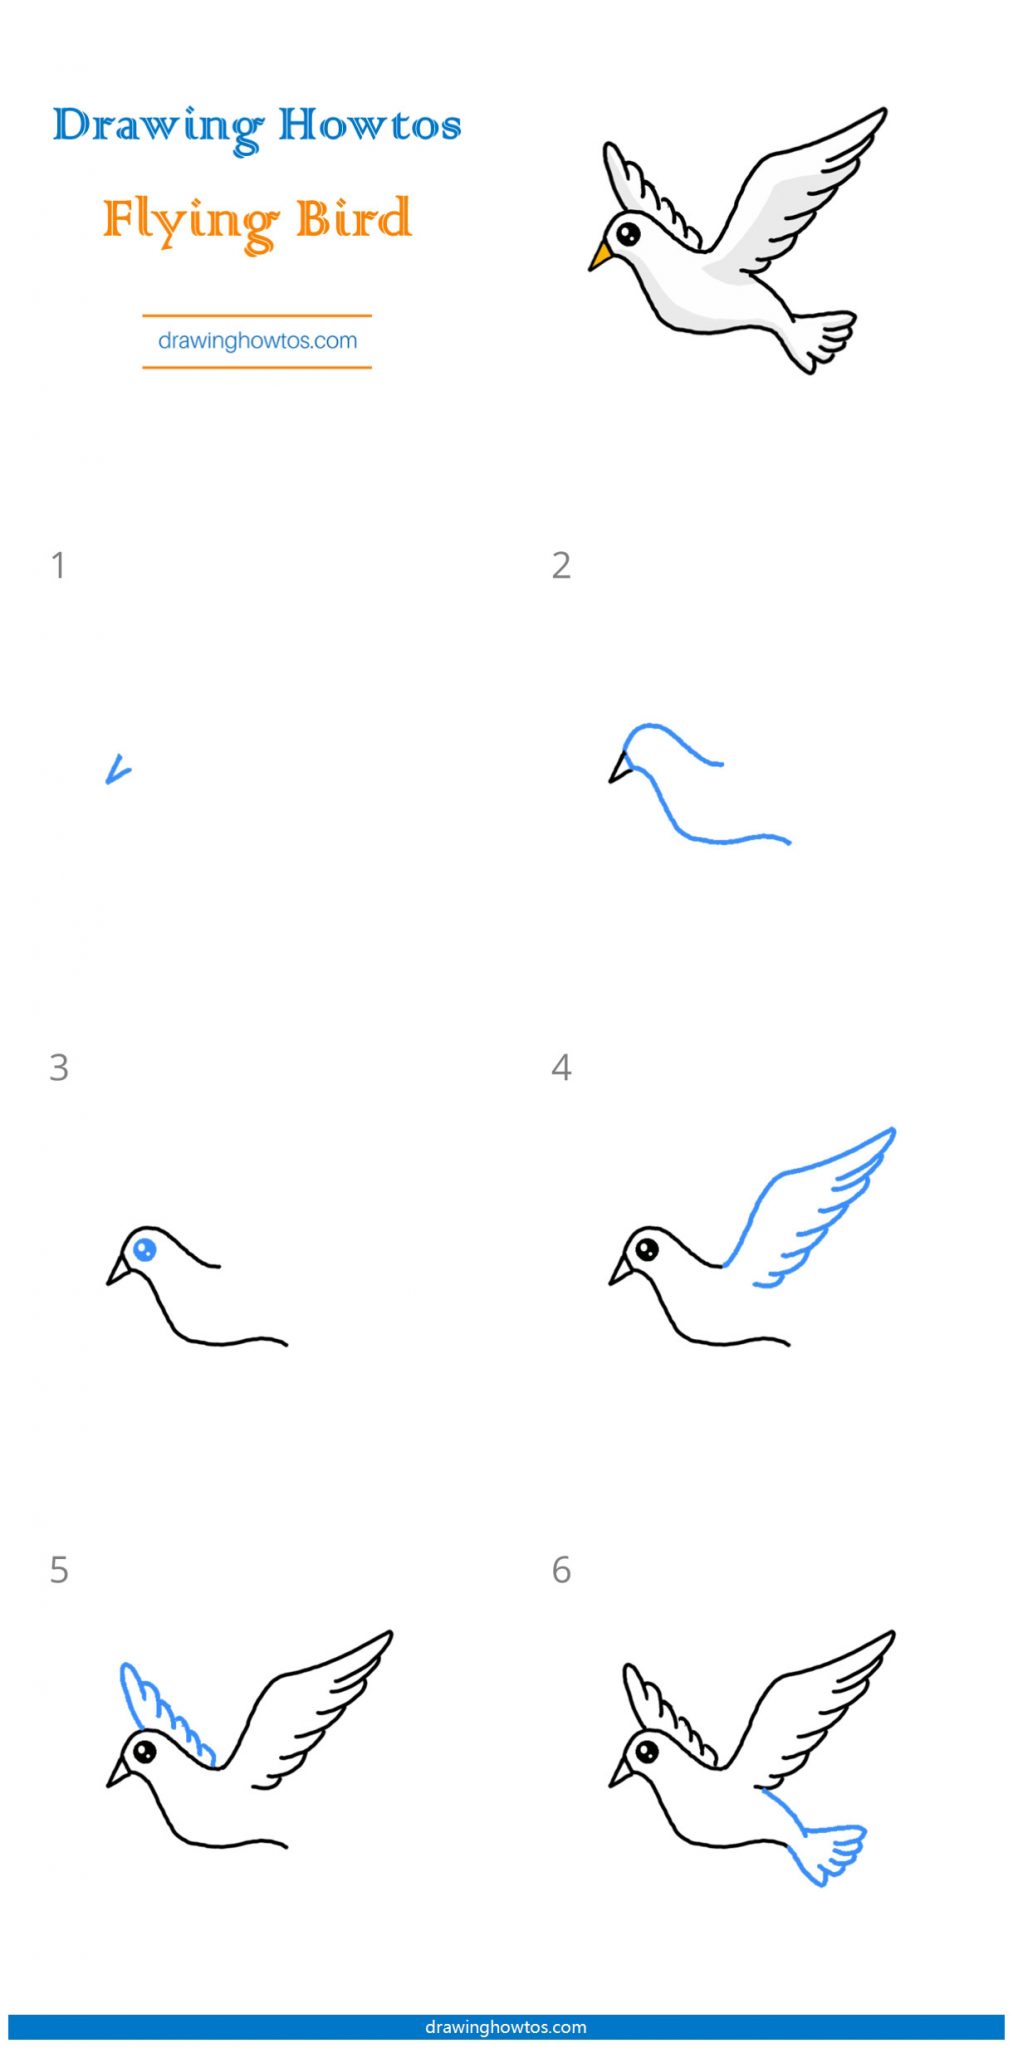
Draw the curves for the bird’s head and abdomen. Begin the bald eagle flying outline by sketching the eagle's head. Connect the head to the body with a short neck.*. You will learn how to make 7 different types of birds! Add the detail of feathers to the bird.
Flying Bird Drawing How To Draw A Flying Bird Step By Step
Web how to draw flying birds. Allow some of the u shaped lines to connect, and others to stand. It will be split up into a few different sections, each one focusing on a different type of bird. Connect the head to the body with a short neck.*. This easy bird drawing tutorial.

How To Draw Birds Flying In The Sky Easy Draw easy
Draw this flying bird by following this drawing lesson. Connect the head to the body with a short neck.*. The lines and the shapes will be quite basic for now, as we will be adding lots of detail in later steps of this guide. The gentle and melodic sounds produced by wind chimes can act as an. Allow some of.
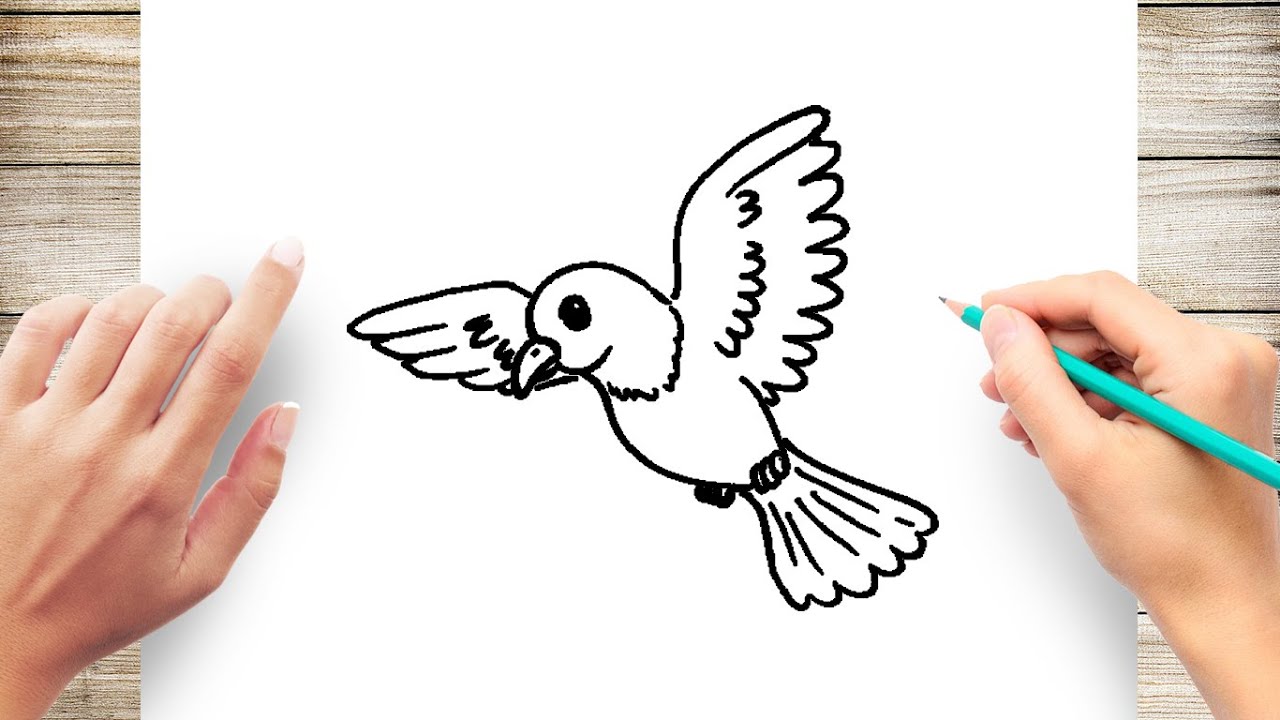
How to Draw a Bird Flying Step by Step for Kids YouTube
It will be split up into a few different sections, each one focusing on a different type of bird. How to draw a flying bird, learn drawing by this tutorial for kids and adults. Draw a series of u shaped lines within each wing, parallel to the flight feathers. Web 🔴 line draw step by step along with us! Web.
How to Draw a Flying Bird Step by Step Easy Drawing Guides Drawing
Color black the bird's head and chest. Shade a small oval to form the nostril. You will learn how to make 7 different types of birds! For a flying bird, draw the wings spread out and slightly raised.*. On the right side, sketch out the second wing of the same shape.
Flying Bird Drawing How To Draw A Flying Bird Step By Step
The lines and the shapes will be quite basic for now, as we will be adding lots of detail in later steps of this guide. These shapes create the foundation for the bird’s body, wings, and tail. Notice how the lines overlap, forming the opening of the mouth. How to draw a flying bird, learn drawing by this tutorial for.
Learn How to Draw a Flying Bird (Birds) Step by Step Drawing Tutorials
Color black the bird's head and chest. Discover (and save!) your own pins on pinterest. Web 🔴 line draw step by step along with us! At the bottom of the torso, depict two thin paws and the add fingers. Shade a small oval to form the nostril.

how to draw a bird easy flying Daniell Munn
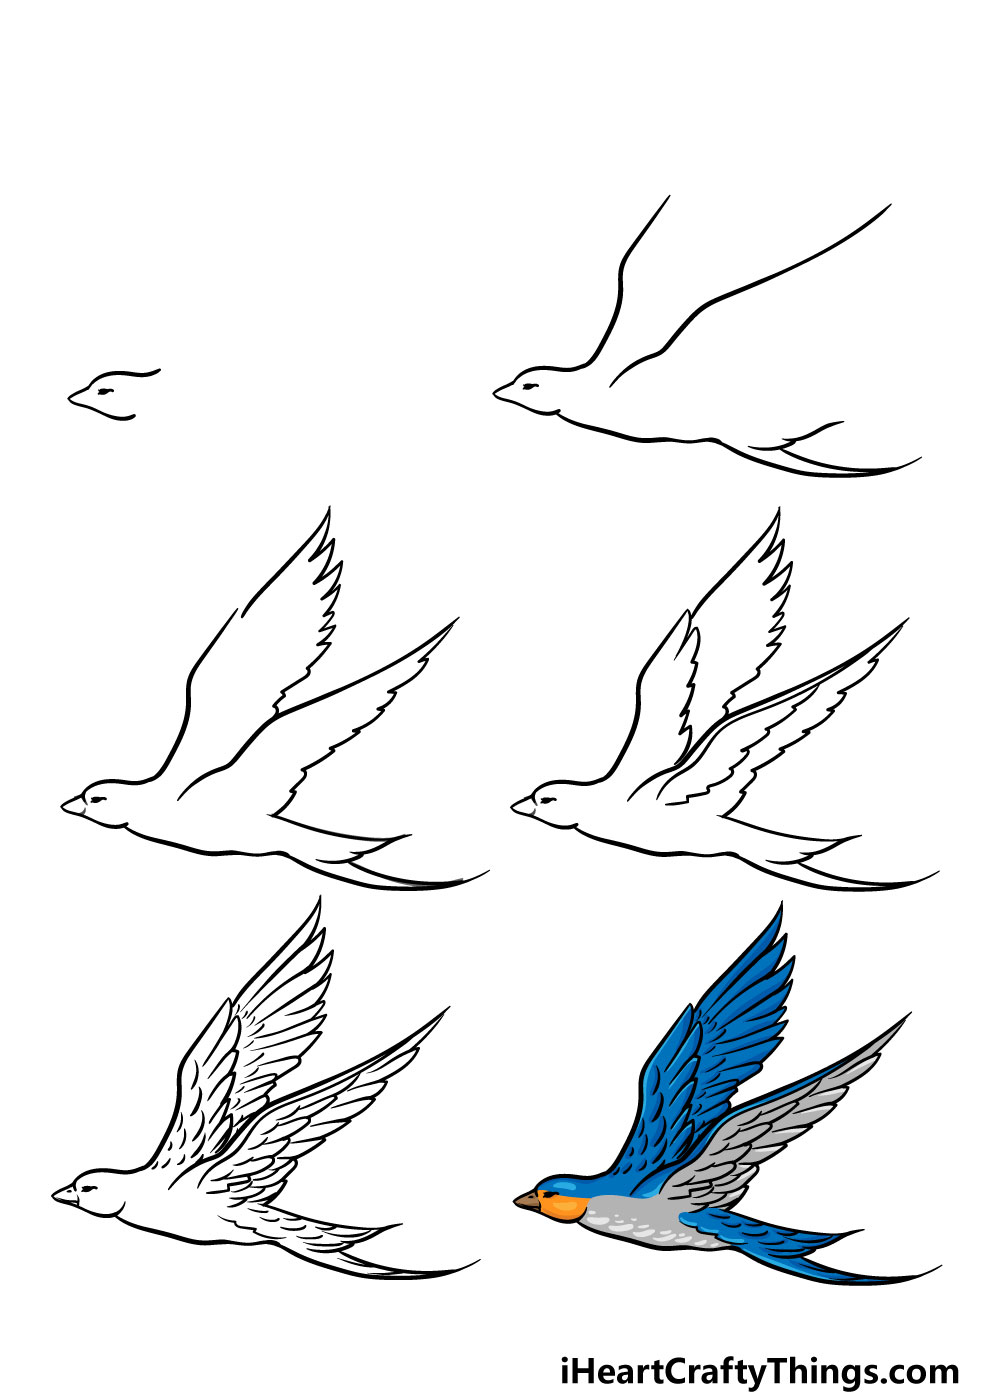
For the outline now, you will be drawing the head, body, wings and tail. Tips for drawing a bird flying practice drawing basic shapes. Web master the art of capturing a bird in motion with open wings. Draw the curves for the bird’s head and abdomen. Imagine the point on which the body would balance, and put a vertical line.
Flying Bird Drawing How To Draw A Flying Bird Step By Step
Begin the bald eagle flying outline by sketching the eagle's head. Add the detail of feathers to the bird. Sketch the basic shape of the bird. The lines and the shapes will be quite basic for now, as we will be adding lots of detail in later steps of this guide. Draw a round eye with two small blank circles.
Flying Bird Drawing How To Draw A Flying Bird Step By Step
The ability to draw simple birds in flight requires some fundamental knowledge about the bird anatomy, movement patterns, and. Web how to draw a flying bird easy step by step, bird drawing tutorial | how to draw a bird flying easywelcome to 'm p drawing tutorial' youtube channel.learn to. Easy bird in flight drawing. Begin your drawing with large shapes.
For Many, Sketching Birds Flying Can Be An Exciting Challenge And An Excellent Way To Hone One’s Artistic Skills.
Draw the spreading wings on the near side. Draw this flying bird by following this drawing lesson. Draw a round eye with two small blank circles inside. Imagine the point on which the body would balance, and put a vertical line for the feet right there.
Web 🔴 Line Draw Step By Step Along With Us!
Showing how to draw a realistic bird flying. The gentle and melodic sounds produced by wind chimes can act as an. Color the flying bird's wing and tail. On the right side, sketch out the second wing of the same shape.
Draw The Contour Of The Flying Bird, Its Tail, Wings, And Feet.
For a flying bird, draw the wings spread out and slightly raised.*. Begin by drawing a basic oval shape for the body of the bird. Draw a series of u shaped lines within each wing, parallel to the flight feathers. If you want to draw a realistic bird in flight, it is important to start by practicing drawing basic shapes.
Draw The Curves For The Bird’s Head And Abdomen.
In this first step of our guide on how to draw a flying bird, we will be using a pencil to draw some rough outlines for the bird. The lines and the shapes will be quite basic for now, as we will be adding lots of detail in later steps of this guide. At the bottom of the torso, depict two thin paws and the add fingers. Below it, trace several partial circles, shading the smallest.