Easy Cherry Drawings
Easy Cherry Drawings - How to draw a cherry blossom. Web start by printing out the cherry drawing tutorial at the bottom of the post. When drawing the upper barrel part where the stem joins the branch, draw the sides with a jagged line to suggest the woody bark. #drawing is defined in many ways. Add the details to your leaf. Begin by drawing a single flower. Let’s begin with the cherry that is closest to us. Then draw the outside shape of the cherry. Depict the volume of a cherry. Discover (and save!) your own pins on pinterest.
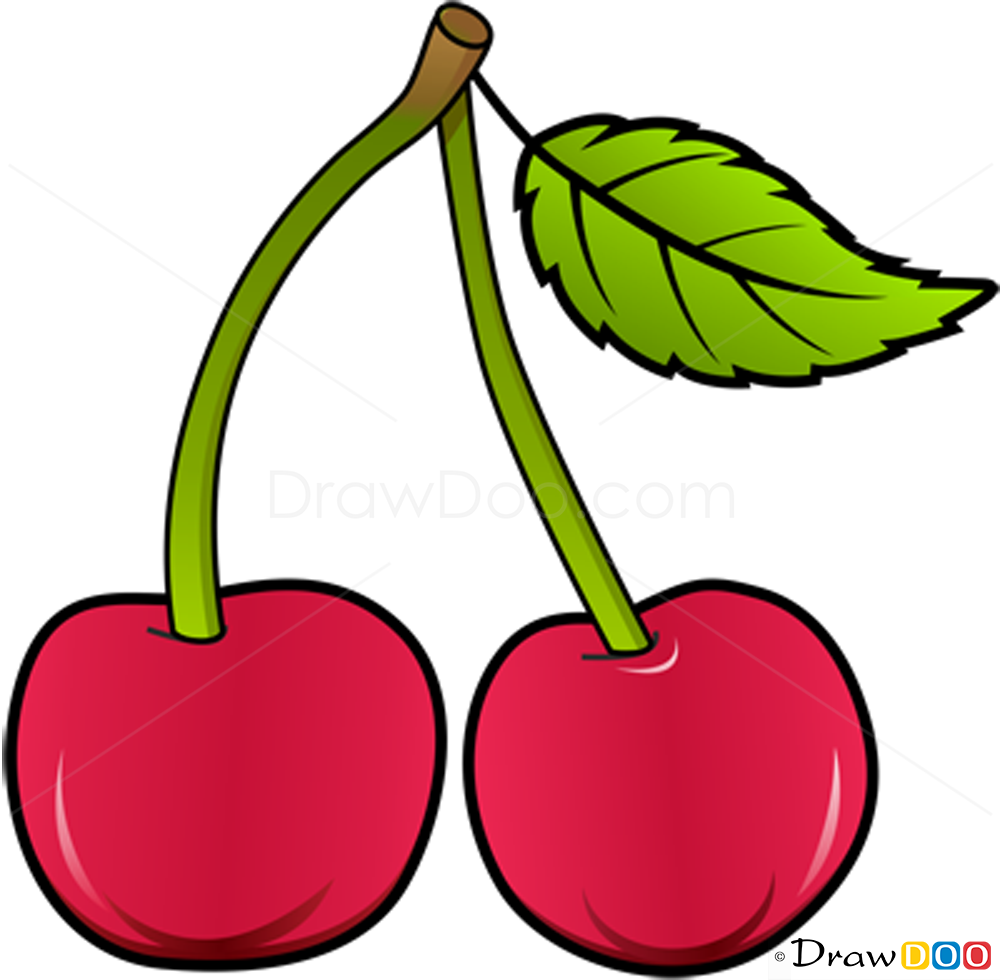
Web learn how to draw a realistic cherry in just 5 minutes! Then add rough edges to the outside of the leaf and on the veins to create a more realistic look. Your cherry drawing is really coming along nicely now! Let’s begin with the cherry that is closest to us. Draw short curved lines, smaller veins, diverging from the central veins. Cherries construction drawing step by step. Trace and add the dark red and green. Web materials for drawing a cherry. Each stem should be about half a cm in width. Web draw the center cherry.
Depict the outline of the cherry. #drawing is defined in many ways. Web materials for drawing a cherry. When drawing the upper barrel part where the stem joins the branch, draw the sides with a jagged line to suggest the woody bark. You can see how this is done with just a few lines in the example above. Frame the shape of the cherry bunch. Now, let’s begin to draw the stems. Add the details to your leaf. You can also use a black pen or fine liner for outlining if you want your drawing to have a more defined look. Depict the volume of a cherry.
Cherry Drawing How To Draw A Cherry Step By Step
Add three horizontal short curved lines as shown in the illustration. Add another on the right side. It's super easy art tutorial for kids and adults, only follow me step by step, if you ne. How to draw a cherry blossom. In this part, we shall add some leaves to the stem of the cherries.

How to Draw Cherries HelloArtsy
Web materials for drawing a cherry. Depict another small branch and two offshoots. Web draw the center cherry. 🎨 art supplies we love (amazon affiliate links): Add a stem to the middle cherry.
How to Draw Cherry, Fruits
🎨 art supplies we love (amazon affiliate links): Too thick and your proportions will look weird and inaccurate. To do so, draw a u shaped line with a little indentation at the bottom of the u, then, draw additional dented, u shaped lines pointed in different directions. Depict the outline of the cherry. Web learn how to draw a realistic.

How to Draw Cherries Really Easy Drawing Tutorial
Web draw the center cherry. In this part, we shall add some leaves to the stem of the cherries. Let’s begin with the cherry that is closest to us. You can see how this is done with just a few lines in the example above. Web #draw #cherry (cherries) step by step.
Easy How to Draw a Cherry Tutorial · Art Projects for Kids
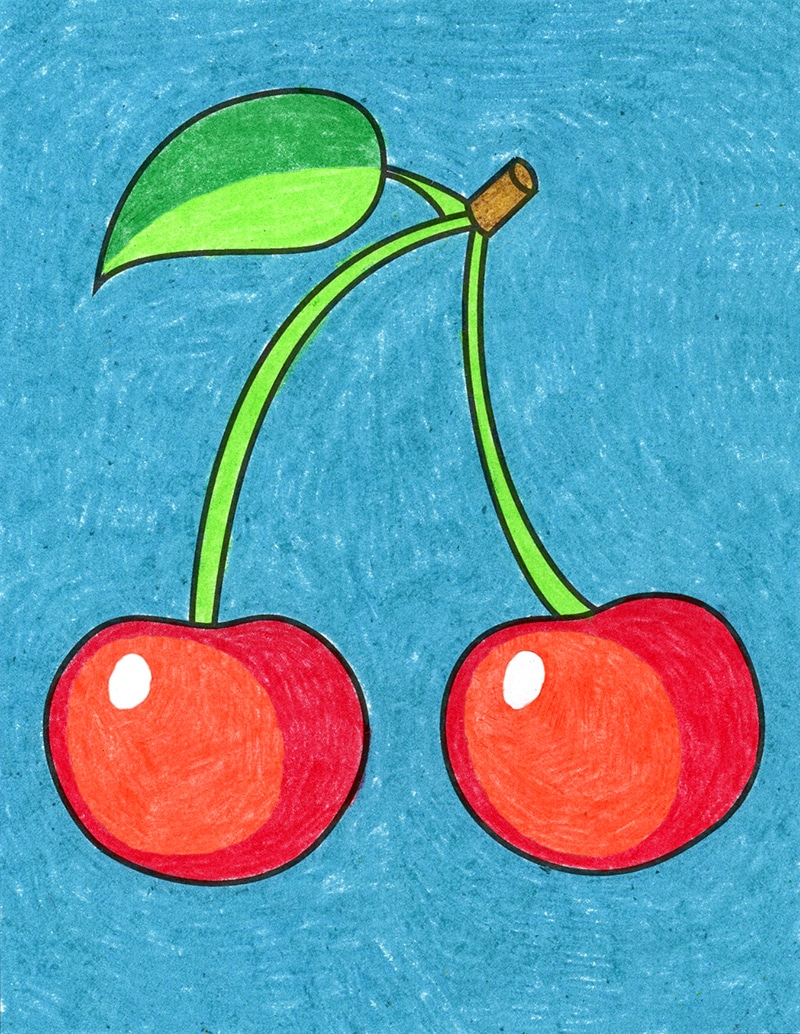
Put in highlights and shading. Draw a small curved line for the indent where the stem comes out of the cherry. Depict another small branch and two offshoots. Web draw the center cherry. Allow the lines to connect at the top of each u, forming a flower.
Cherry Drawing Easy, Blossoms, Simple and Step by Step
Now, let’s begin to draw the stems. Then, draw a few small curved lines connected to the line to create smaller veins. Web materials for drawing a cherry. Web full blog post with text instructions: Start outlining the cherries from the top.

How to Draw Cherry Fruit Cherries Drawing Easy & Coloring Page YouTube
The next step is to. Depict the bottom contours of the buds. These leaves will go near the top of the stem, and will be drawn with two curved lines that meet at. Web do you want to learn how to draw cherries fruits easy for beginners. Trace and add the dark red and green.

How to Draw Cherries Really Easy Drawing Tutorial
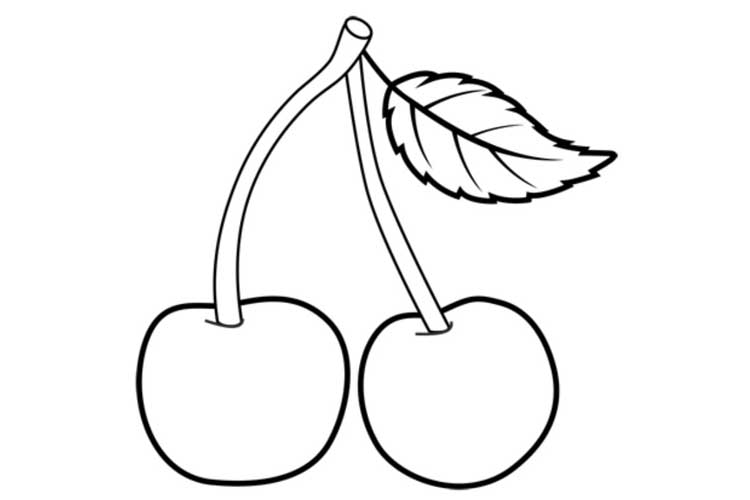
First frame the combined shape of the cherries. Web do you want to learn how to draw cherries fruits easy for beginners. Add another on the right side. Trace and add the dark red and green. Draw short curved lines, smaller veins, diverging from the central veins.

Cherry Drawing Easy, Blossoms, Simple and Step by Step
How to draw a cherry. Draw another on the left. Web learn how to draw a pretty cherry blossom! Drawing is a popular concept over the world. Web black marker (optional) how to draw cherries printable pdf (see bottom of lesson) in this article, we will begin with a blank piece of paper and learn how to draw cherries in.

How to draw a cherries step by step Drawings, Fruits drawing, Drawing
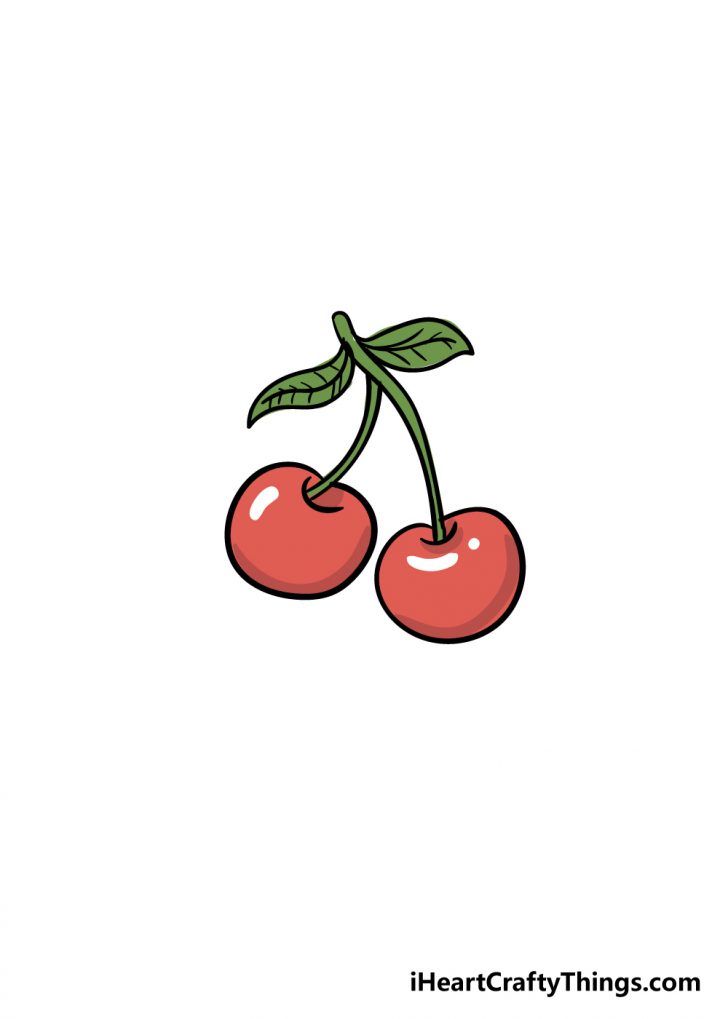
Use a few smooth curved lines to add a stem at the top of the cherry. Web materials for drawing a cherry. Your cherry drawing is really coming along nicely now! It's super easy art tutorial for kids and adults, only follow me step by step, if you ne. Depict the volume of a cherry.
Start By Making A Quick Construction Drawing Of The Cherry Bunch As Shown Above.
Put in highlights and shading. To do so, draw a u shaped line with a little indentation at the bottom of the u, then, draw additional dented, u shaped lines pointed in different directions. Web start by printing out the cherry drawing tutorial at the bottom of the post. On your left cherry, simply draw two lines that are slightly curved.
Draw A Line Through The Center Of The Length Of The Leaf To Create A Vein.
Add a stem to the middle cherry. Frame the shape of the cherry bunch. Using wavy lines, draw three small sepals. Your cherry drawing is really coming along nicely now!
Too Thick And Your Proportions Will Look Weird And Inaccurate.
Depict the bottom contours of the buds. Web draw the center cherry. Draw a curved line down the center of each leaf, forming the vein. 🎨 art supplies we love (amazon affiliate links):
Add A Joining Stem On The Left Cherry.
In this part, we shall add some leaves to the stem of the cherries. Allow the lines to connect at the top of each u, forming a flower. Let’s begin with the cherry that is closest to us. When drawing the upper barrel part where the stem joins the branch, draw the sides with a jagged line to suggest the woody bark.