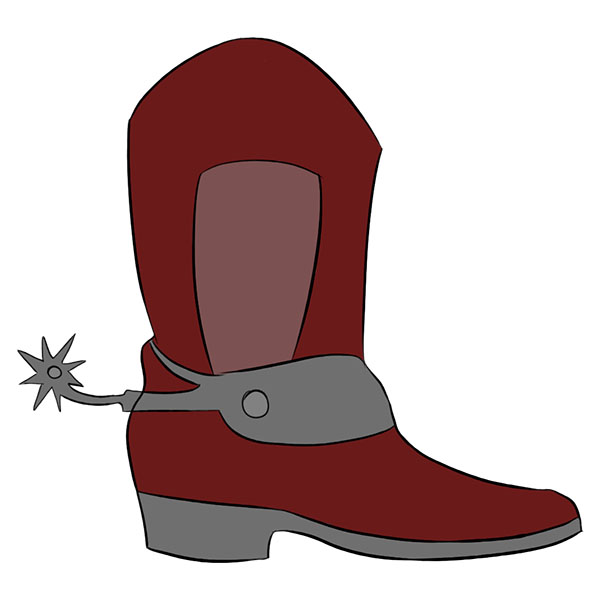
Easy Cowboy Boot Drawing
Easy Cowboy Boot Drawing - Continue to draw the cowboy boot over the outline you’ve already created to complete the design. Let your lines be fluid to convey movement and life. Add the bottom parts of the boots. Remember, it’s in the subtle details—the glint of a buckle, the way the fabric moves—that your cowboy will truly come to life. Finish the bottom of the boot. Add the laces and a double outline. Draw another l shape, mirroring the first one, to complete the sole of the boot. Determine the size and location of your drawing, and use a few thin lines to outline the shaft. Web first, use some more bumpy lines to extend the front and back edges of the boot. Start the top of the boot.
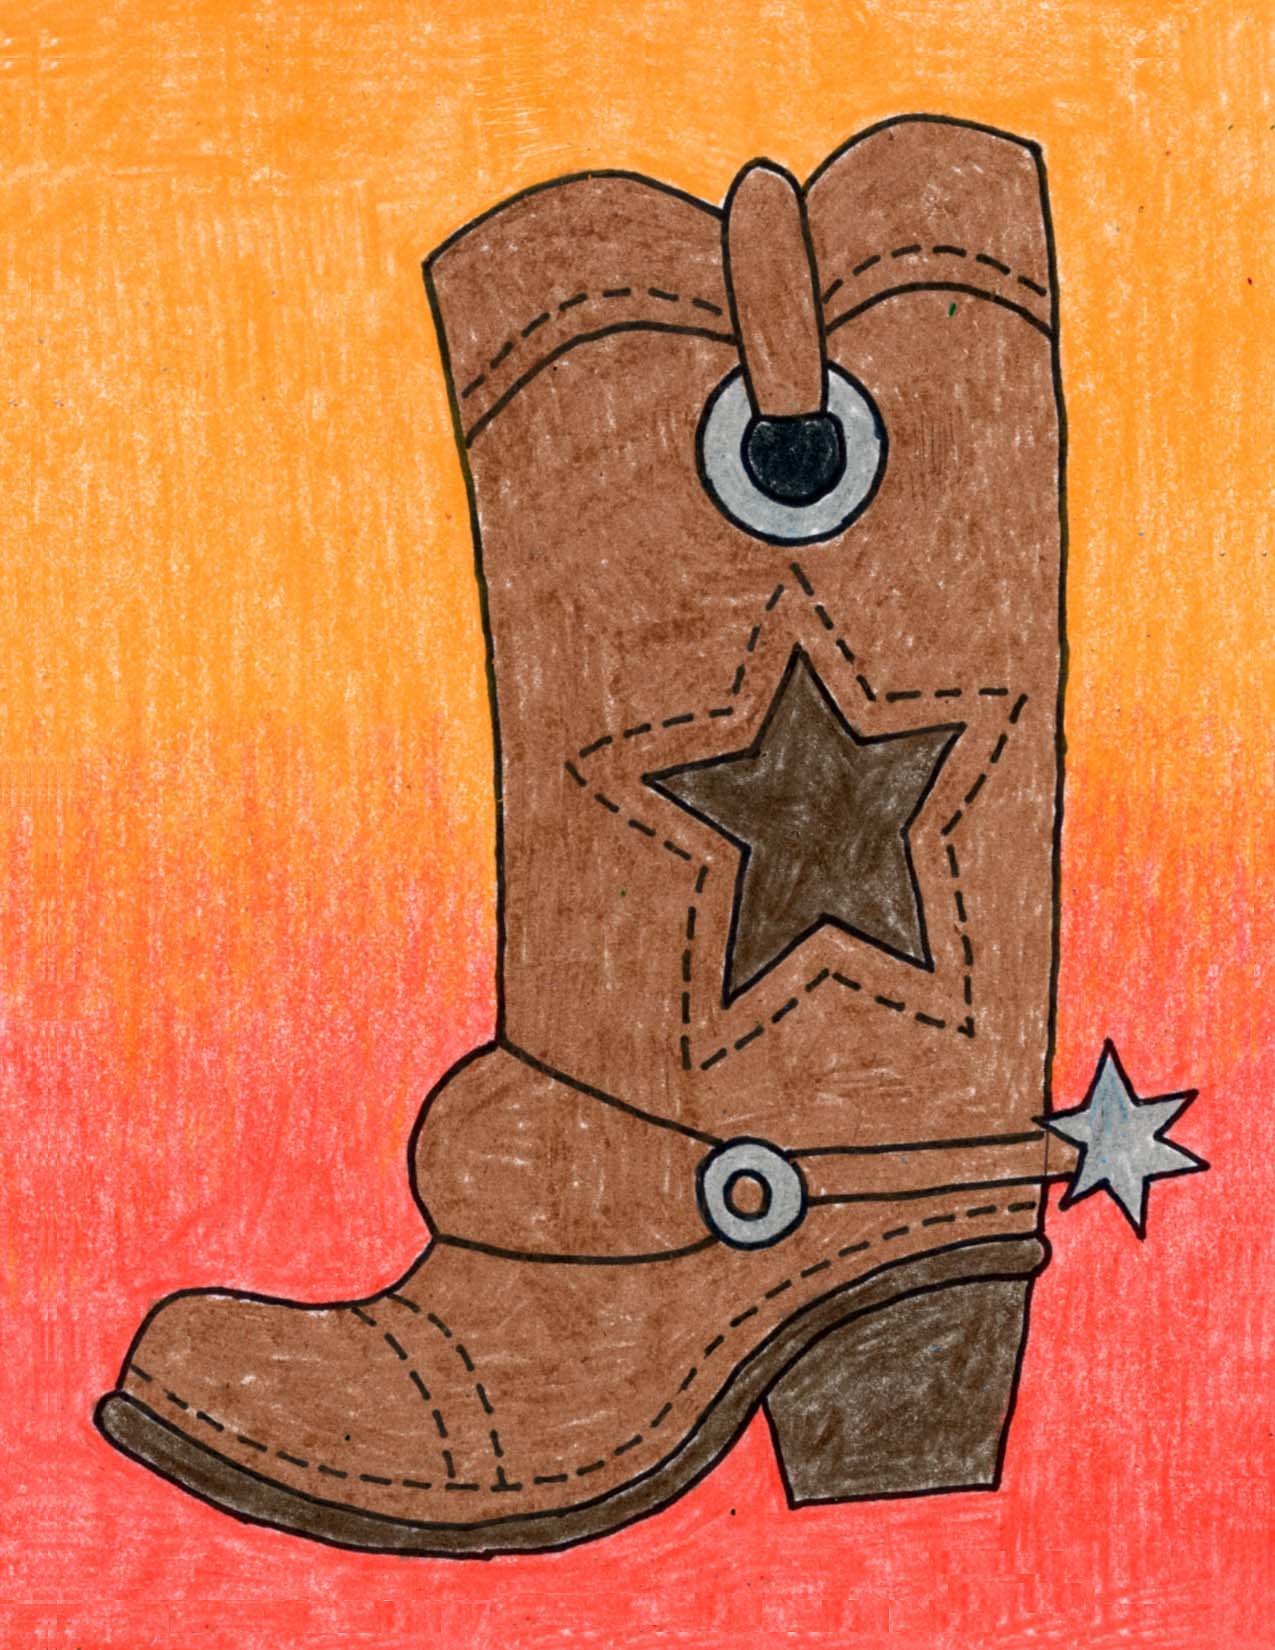
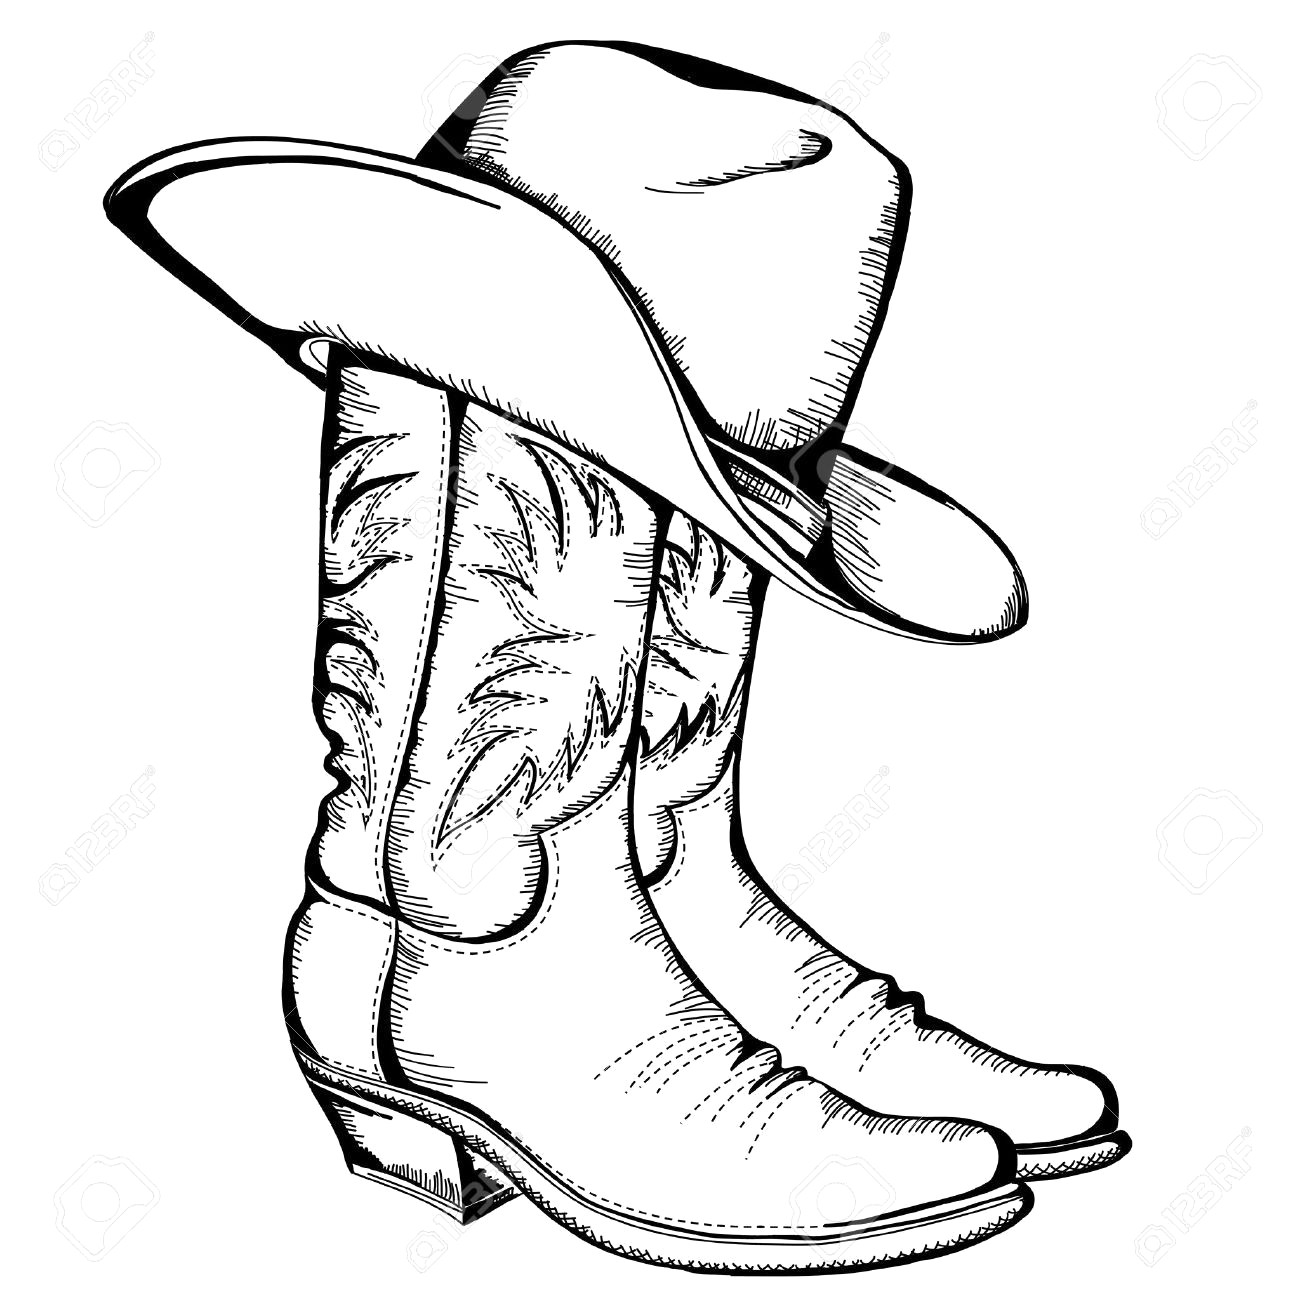
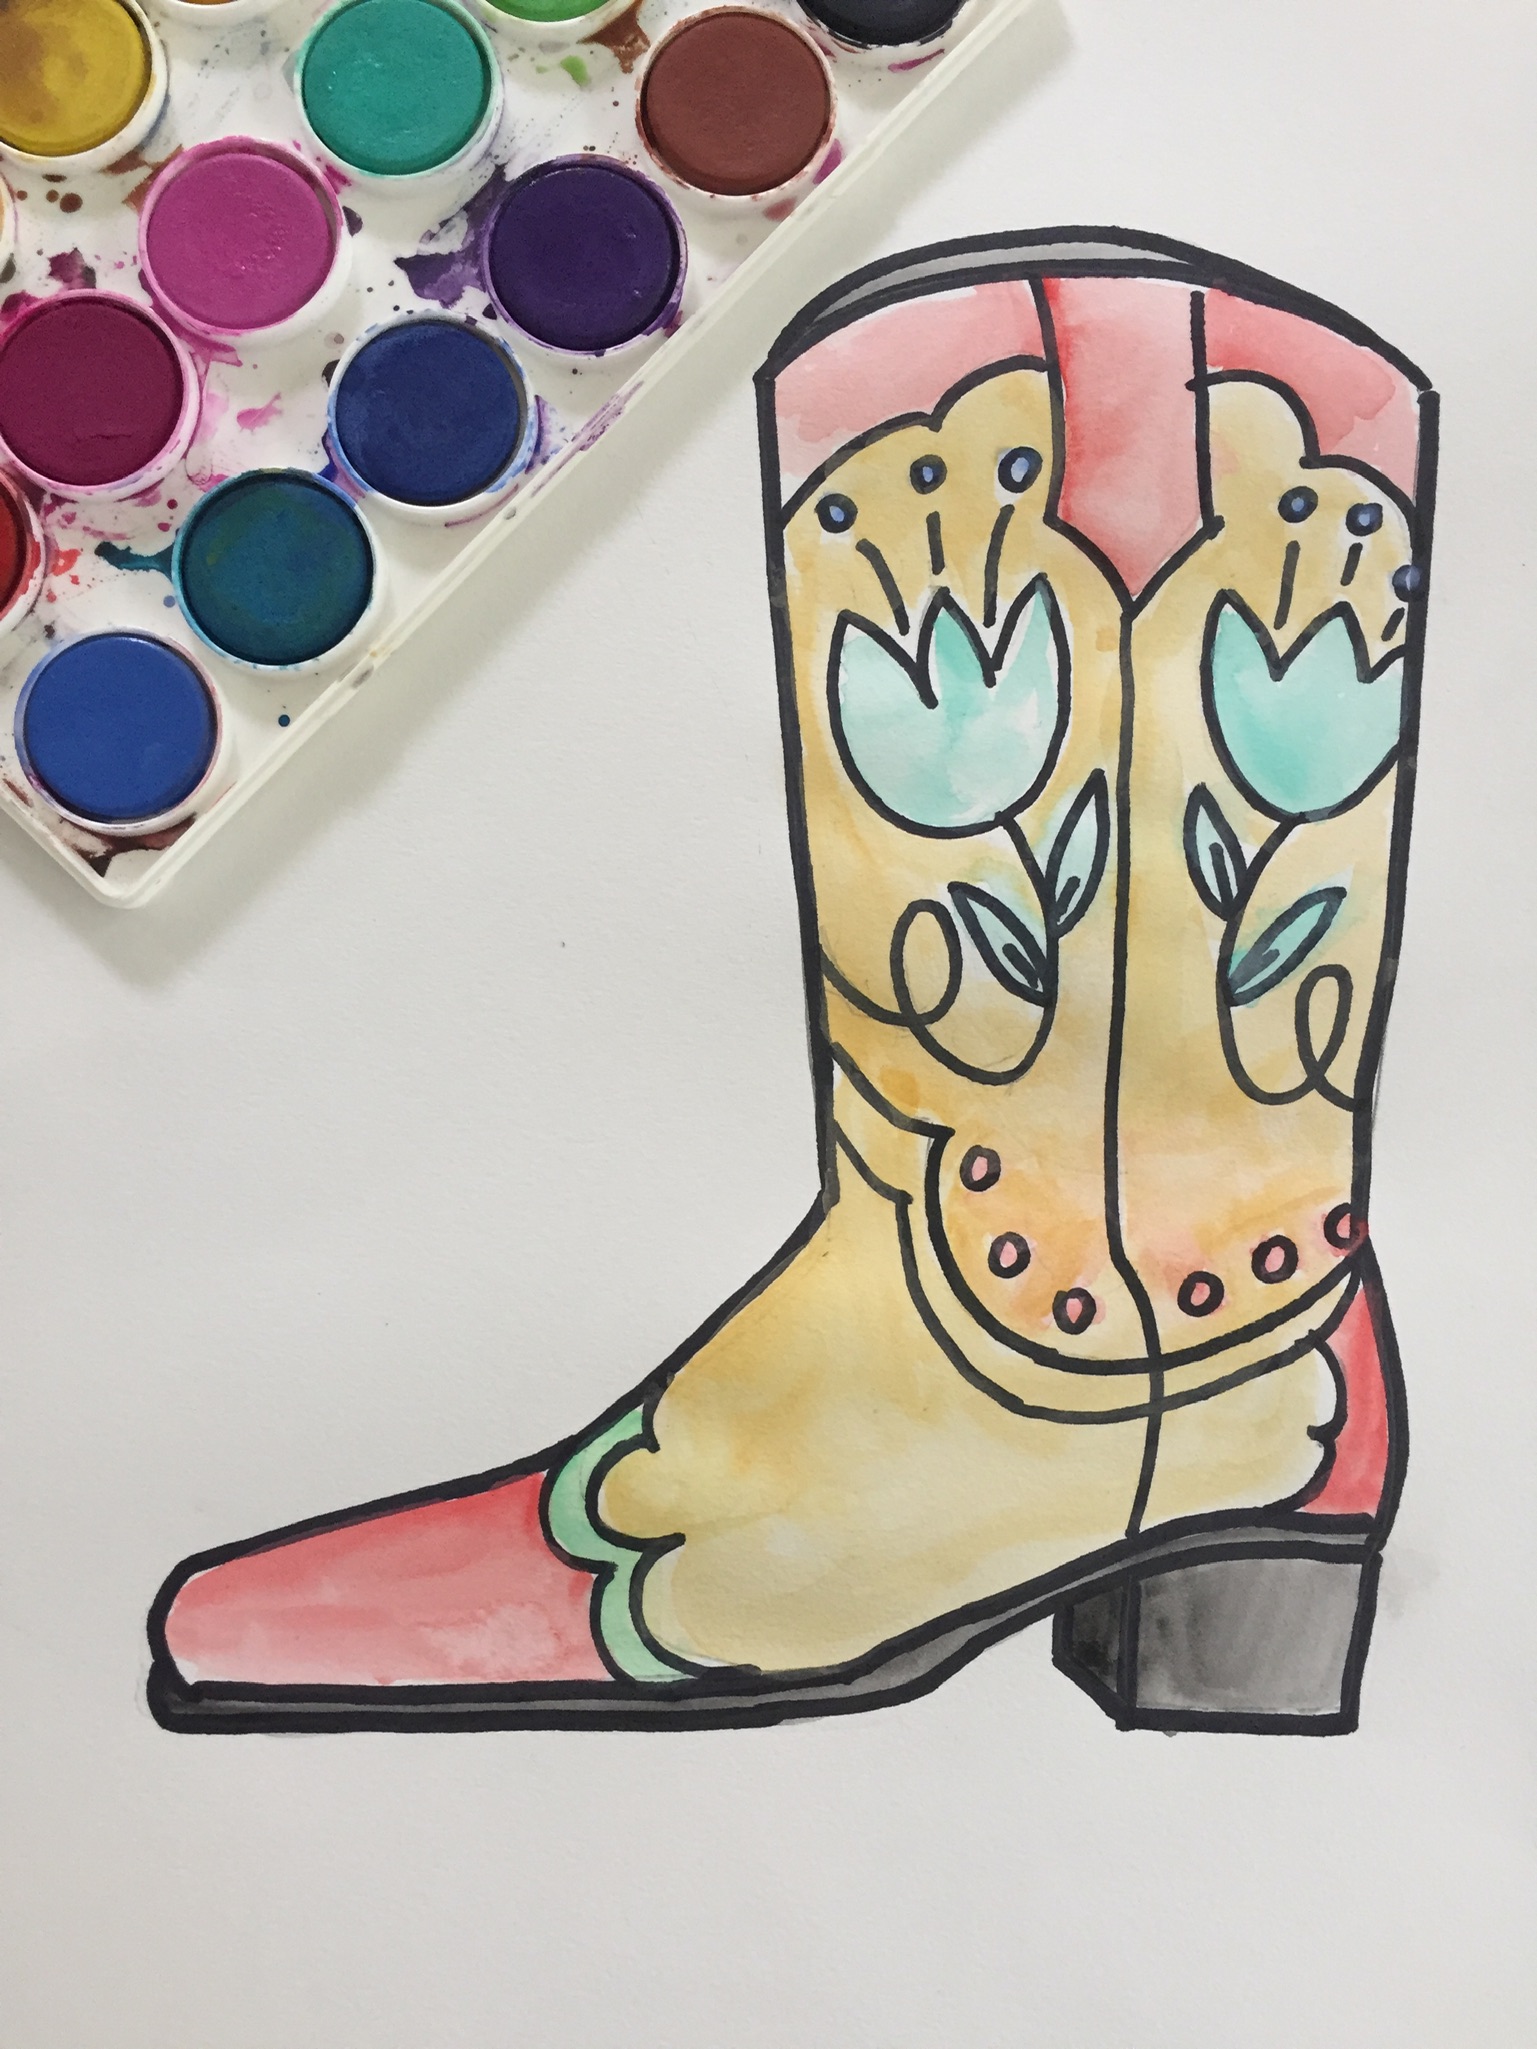
Go finish the bottom of the boot. Now it’s time to add some details to make your cowboy boots look authentic. Start from the bottom and make your way to the top. Then, fill in the upper part of the boots with shades of brown. Sketch out the outline of the spur. You can draw this with a curved line along the length of the sole of the boot. Band the bottom of the heel. Draw a ring as shown. Web start by drawing the basic shape of the boot. Web learn how to draw a cowboy hat and cowboy boots step by step.
How to draw cowboy boots. You can draw this with a curved line along the length of the sole of the boot. Using smooth, curved lines, outline the contours of the lower parts of the boots. Draw a small, rounded triangle at the bottom of the cylinder to indicate the point where the bottom of the shoe meets the heel. Surrounding the lower boot, draw the outsole and curve the rear end into the heel of the cowboy boot. Extend another curved line from the back of the boot. Now it’s time to add some details to make your cowboy boots look authentic. Determine the size and location of your drawing, and use a few thin lines to outline the shaft. Web start by drawing the basic shape of the boot. Create a curved line to form the top of the boot’s shaft, connecting both.
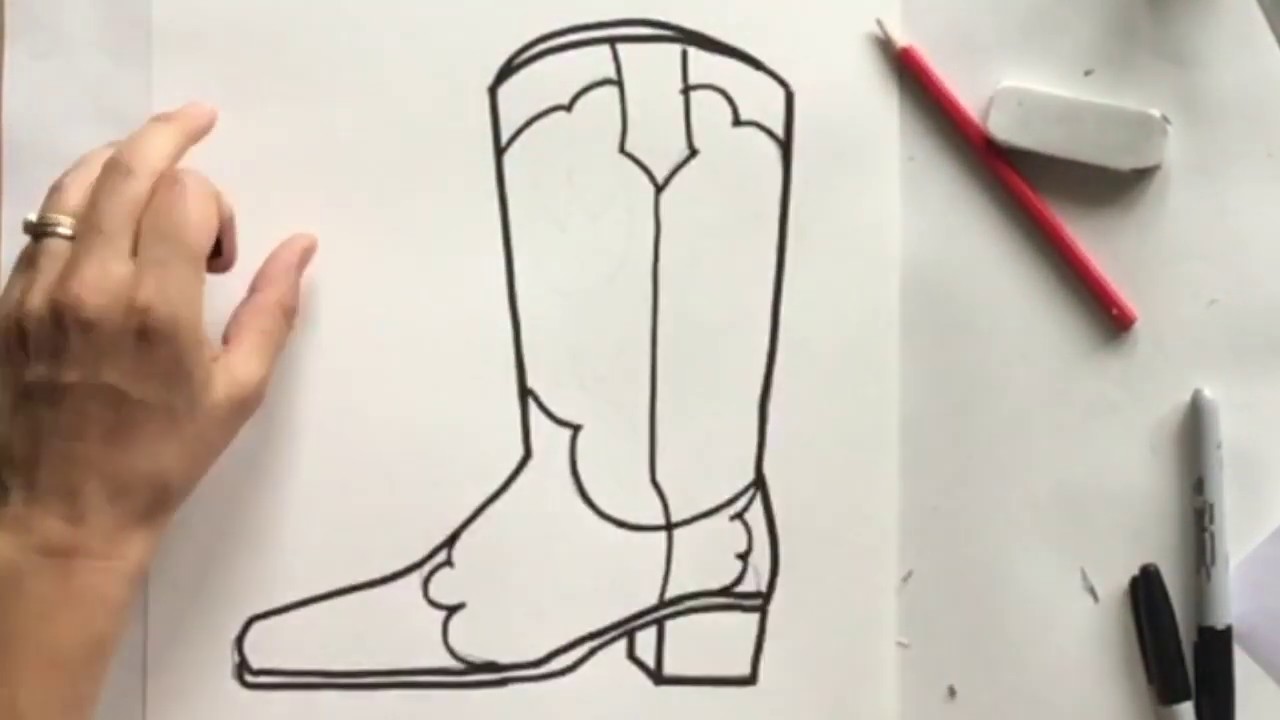
How to Draw a Cowboy Boot Easy Drawing Tutorial For Kids
Cowboy boot drawing in images cowboy boot drawing in videos cowboy boot drawing in templates cowboy boot drawing in premium. A wonderful cowboy drawing captures not just the appearance but the soul of the wild west. Extend another curved line from the back of the boot. Add the laces and a double outline. Add a line separating the sole of.
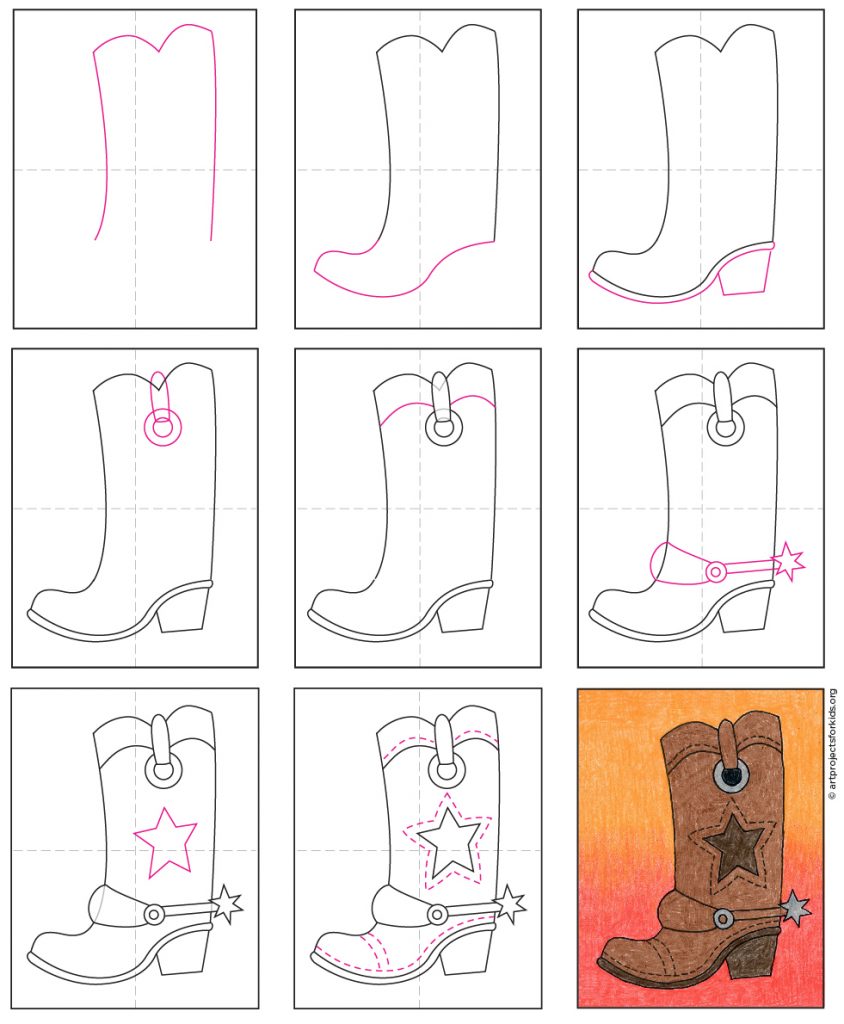
Draw a Cowboy Boot · Art Projects for Kids
Draw the upper parts of the boots. Extend another curved line from the back of the boot. Time to color our cowboy boots drawing! Web complete the drawing of cowboy boots. Go finish the bottom of the boot.
How To Draw Cowboy Boots Step By Step Easy These easy drawings for
Web step by step directions to draw a cowboy boot. Finally for this step, we will draw the base of the boot. Draw two curved lines at the base of the crown to form the hatband. Then, enclose a rectangle to form the boot's heel. Draw the upper parts of the boots.
Learn How to Draw Cowboy Boots (Cowboys) Step by Step Drawing Tutorials
Use a curved, loosely “m” shaped line to draw the top or crown of the hat. Band the bottom of the heel. Make a rough sketch of the wrinkling that appears on the top of the foot. Sketch out the outline of the spur. Try to correctly depict the position of the feet.

How To Draw Cowboy Boots Draw Easy
How to draw cowboy boots. From each side of the hatband, extend a curved line to form the brim. The cowboy boot has a round form at the top and a straight bottom at the base, towards the lower leg, which gives it its name. Once completed, remove any remaining construction lines. Then, fill in the upper part of the.
Draw a Cowboy Boot · Art Projects for Kids
Draw a small, rounded triangle at the bottom of the cylinder to indicate the point where the bottom of the shoe meets the heel. Draw another l shape, mirroring the first one, to complete the sole of the boot. First, fill in the outsoles with a dark brown crayon. Make a rough sketch of the wrinkling that appears on the.
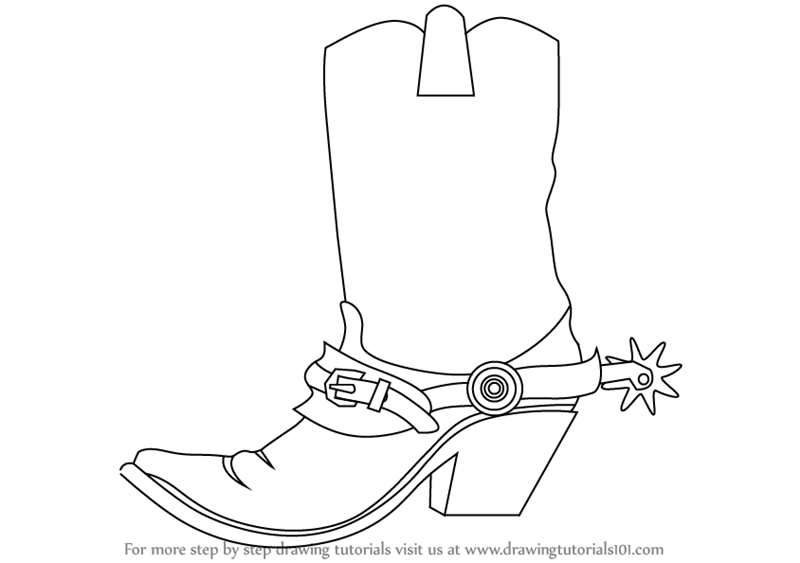
How To Draw Cowboy Boots
Surrounding the lower boot, draw the outsole and curve the rear end into the heel of the cowboy boot. Extend another curved line from the back of the boot. Draw two curved lines at the base of the crown to form the hatband. Web if you want to know how to draw cowboy boots for an illustration or whatever design,.

Easy To Draw Cowboy Boots
First, fill in the outsoles with a dark brown crayon. Extend another curved line from the back of the boot. Web start by drawing the basic shape of the boot. Draw a curved line across the top of the image, forming part of the strap. Remember, it’s in the subtle details—the glint of a buckle, the way the fabric moves—that.

how to draw a cowboy boot step by step draw a cowboy boot YouTube
The cowboy boot has a round form at the top and a straight bottom at the base, towards the lower leg, which gives it its name. Draw another curved line across the front of the hat to form the downturned front of the brim. Web how to draw a cowboy boot. Whether you’re a fan of western fashion, a budding.
How To Draw Cowboy Boots Step By Step
Web cowboy boots are a classic icon of the wild west, representing style, ruggedness, and adventure. Draw another curved line across the front of the hat to form the downturned front of the brim. Add the laces and a double outline. Start the top of the boot. A wonderful cowboy drawing captures not just the appearance but the soul of.
Add The Bottom Parts Of The Boots.
First, fill in the outsoles with a dark brown crayon. Begin by drawing the cowboy hat. Draw another l shape, mirroring the first one, to complete the sole of the boot. Draw two curved lines at the base of the crown to form the hatband.
Another Slightly Bumpy Line Will Be Used For The Downward Angle Of The Front Of The Boot Towards The Tip.
Draw the upper parts of the boots. Sketch out the outline of the spur. Draw a tall oval for the top part of the boot (where your leg goes in) and a slightly wider oval for the bottom part (where your foot goes). The cowboy boot has a round form at the top and a straight bottom at the base, towards the lower leg, which gives it its name.
Using Smooth, Curved Lines, Outline The Contours Of The Lower Parts Of The Boots.
Finish the bottom of the boot. Erase gray lines and add a curved lines. Draw an easy cowboy boot. Once completed, remove any remaining construction lines.
Web Draw The Outline Of The Heel And The Toe Of The Boot Using Curved Lines.
There will then be three straps connecting to one another near the base of the boot. Web how to draw an easy cowboy boot. With a bit of effort, you can easily incorporate all the major elements in this drawing. Now, shade the bottom part of the boots with an orange crayon.