Guinea Pig Drawing
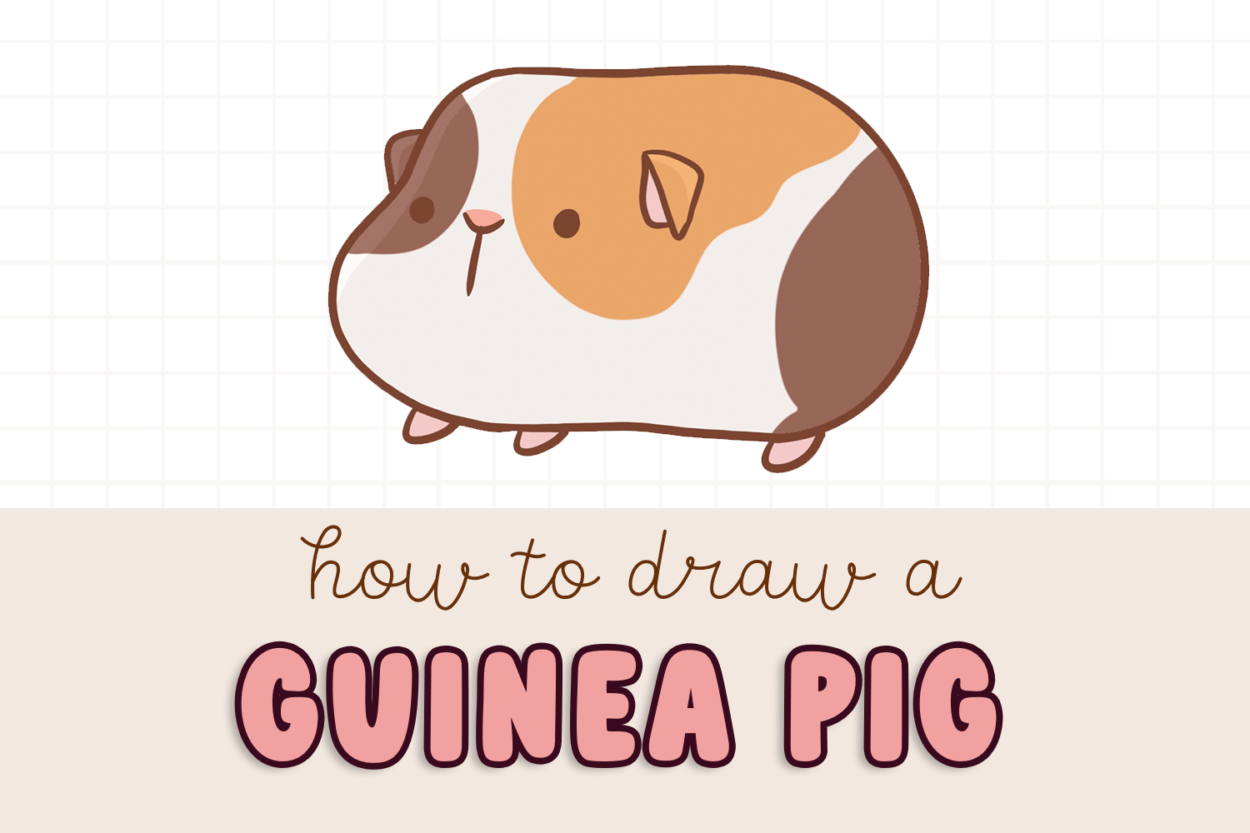
Guinea Pig Drawing - Add guidelines for the guinea pig’s legs. Start by drawing the head. Draw a rounded shape on the snout to form the nose. The pig looks cute and smiling. Web today we’re learning how to draw a super cute guinea pig. Draw an oval and a tiny circle within the smaller circle, and shade around them to form the pupil. Draw a curved line similar to a. For this guinea pig drawing, you can use a simple, horizontal oval shape to represent the main part of the body. Outline the body and head of the guinea pig.first, define the outline of the drawing, denoting the shape of the head and. Use a white crayon to color the teeth and the shimmer on the eyes.
Just start drawing a double curve like this using one of the circles as a guide line. The bottom of the guinea pig will be extremely curved: Hope you will enjoy this drawing lesson.step 1. For an accurate finishing touch, make the tail shorter than the body but roughly the same width. These lines will represent the fur texture. Start by drawing the head. Feel free to adjust the length and thickness of the lines to your liking. See more ideas about guinea pigs, guinea, cute guinea pigs. Guinea pigs have round, plump heads so use a curved line for the side of the head and a small circle for the snout. Web follow along to learn how to draw this cute guinea pig step by step, easy.
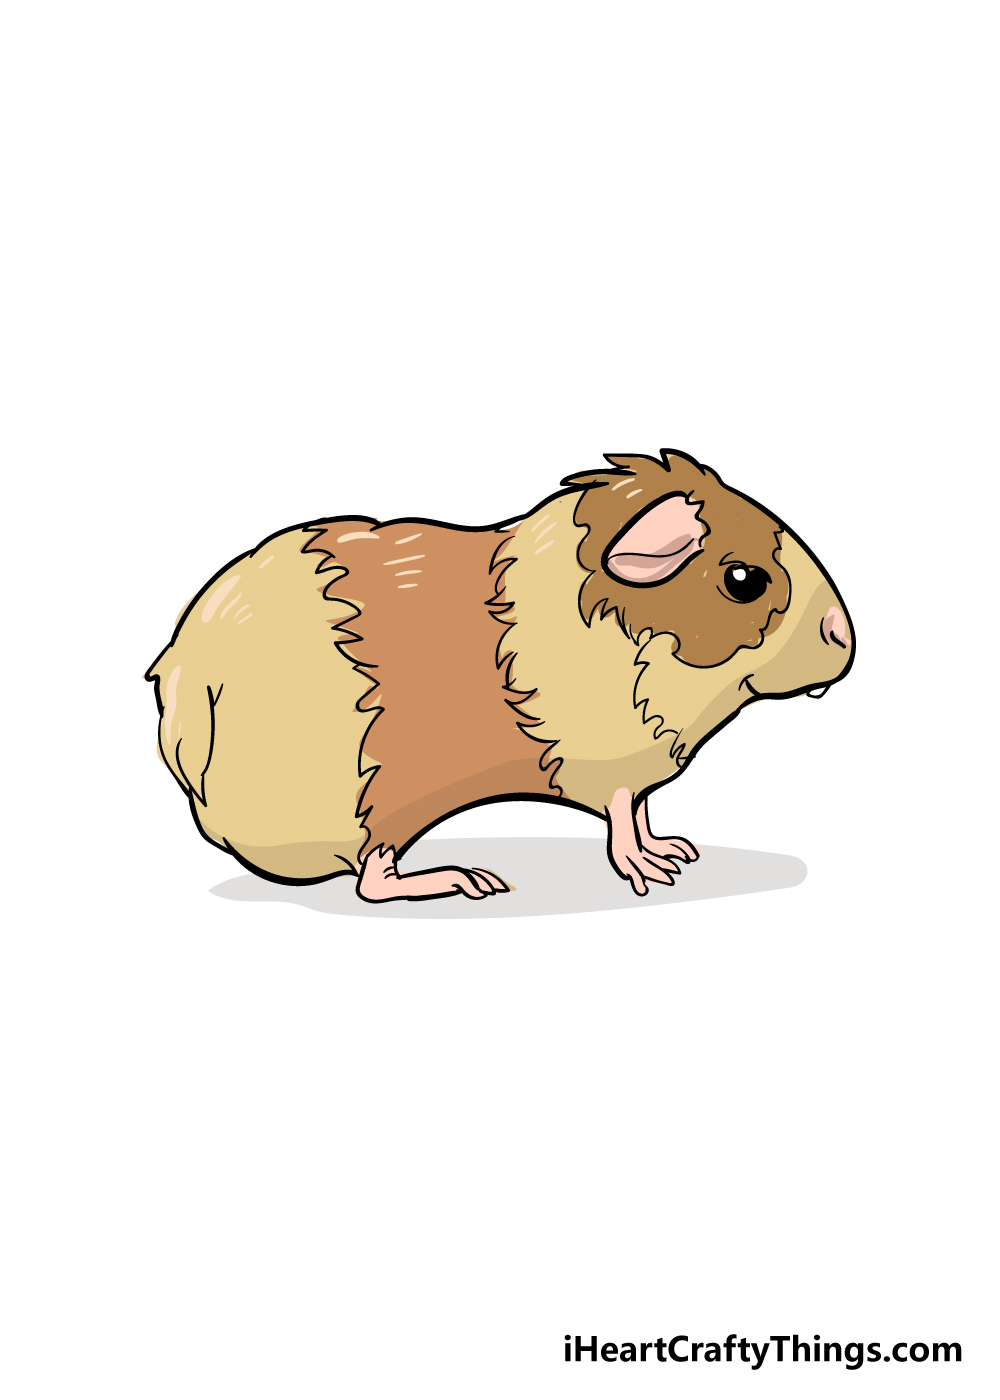
Draw an oval and a tiny circle within the smaller circle, and shade around them to form the pupil. Kawaii animal drawing tutorial lesson.thanks for watching!! Outline the body and head of the guinea pig.first, define the outline of the drawing, denoting the shape of the head and. Depict the ears of the guinea pig. Draw a curved line similar to a. Web use light, smooth strokes to begin. The first line you must draw is a vertical one that makes the halfway line down the middle of the face. The bottom of the guinea pig will be extremely curved: Now you should draw curved lines on the side and inside the outline of the guinea pig’s torso. In the first step of this tutorial, you are going to use a simple construction shape to lay the foundations for the main body of your guinea pig drawing.
Beginners how to draw a guinea pig YouTube
Web complete the guinea pig drawing. Follow along with us, but change the coloring to match your own pet guinea pig. Use long, curved lines to enclose the ears. Constructing the main body of your guinea pig sketch. Start by drawing the head.
How to Draw a Guinea Pig Easy Drawing Tutorial For Kids
The pig looks cute and smiling. Web follow along to learn how to draw this cute guinea pig step by step, easy. Web want to learn how to draw a guinea pig easy? Again, use a curved line to give the guinea pig’s body a nice round shape. Draw a curved line on the left side of the circle as.

How to Draw a Guinea Pig A Guinea Pig Drawing Tutorial for Beginners
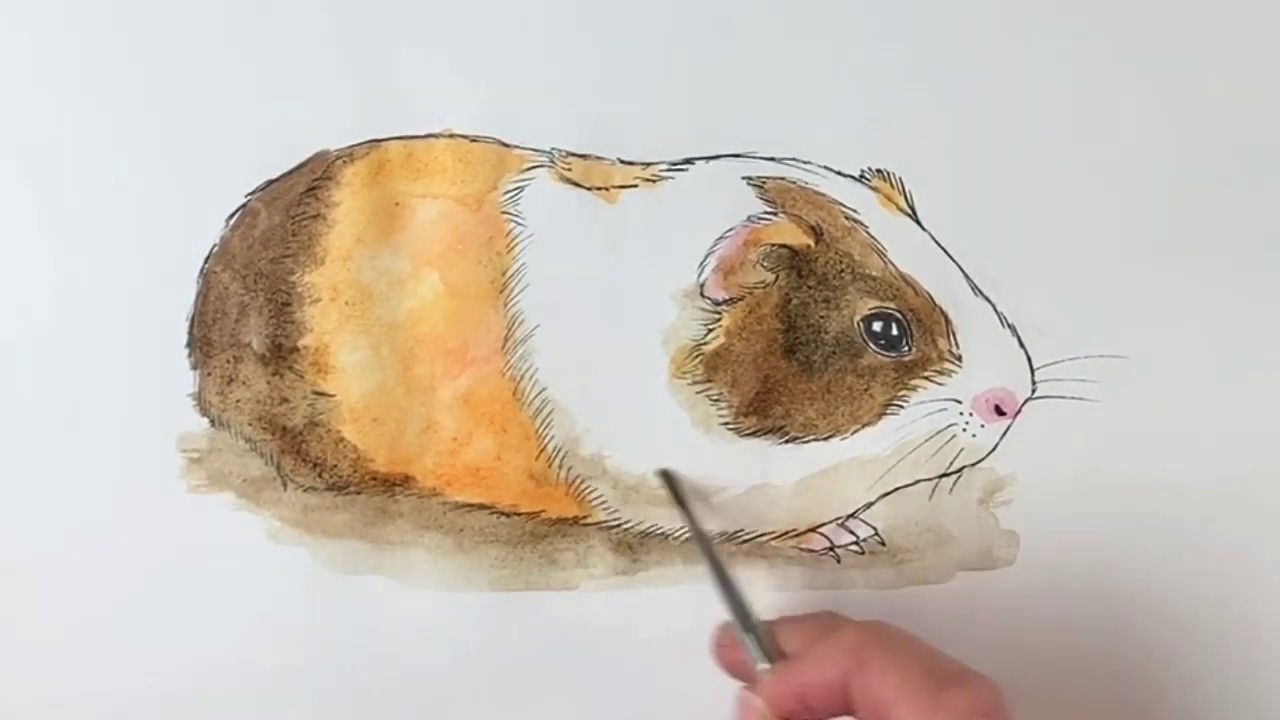
Watch this entire video as we show you step by step cute guinea pig drawing. First, use a pink crayon to color the nose, hands, feet, and inner ears. To depict this, use curved lines. Web this is also a good time to draw in the guinea pig’s tail. Draw a curved line on the left side of the circle.

How to Draw a Guinea Pig A Guinea Pig Drawing Tutorial for Beginners
For an accurate finishing touch, make the tail shorter than the body but roughly the same width. Draw a curved line similar to a. Draw the toes, tail, nose and eye of the guinea pig. Whether you're an aspiring artist or just looking for a creative project, follow these steps to capture the charm of these little rodents on paper..

How to Draw a Guinea Pig A Guinea Pig Drawing Tutorial for Beginners
Now you should draw curved lines on the side and inside the outline of the guinea pig’s torso. Draw the shapes of the legs, ear and muzzle. Web today we’re learning how to draw a super cute guinea pig. To depict this, use curved lines. I always hope that our parents and teachers are having just as much fun as.

How to Draw a Guinea Pig 6 Steps (with Pictures) wikiHow
You will need paper, a pencil, pen and rubber and y. Draw small curved lines on the sides of the body, starting from the head and extending towards the back. Draw a curved line similar to a. You can also add a few details like a line for the fur around the face or eyes for more realism. To give.

How to Draw a Guinea Pig for Kids, Step by Step, Animals For Kids, For
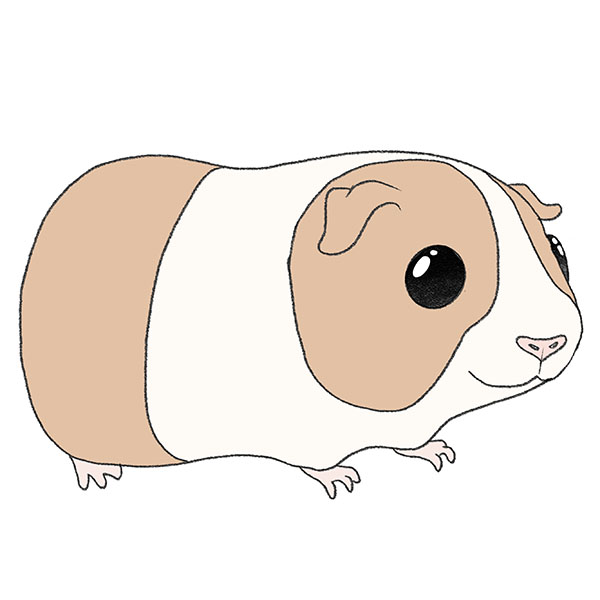
Web next, we’ll use the circles as a template to draw the guinea pig’s face. Whether you're an aspiring artist or just looking for a creative project, follow these steps to capture the charm of these little rodents on paper. Sketch out the guinea pig’s mouth. Draw small curved lines on the sides of the body, starting from the head.
Guinea Pig Drawing How To Draw A Guinea Pig Step By Step
Web complete the guinea pig drawing. Just start drawing a double curve like this using one of the circles as a guide line. Start by filling in the shadows behind the guinea pig, then use a white pencil or crayon to add highlights. Kawaii animal drawing tutorial lesson.thanks for watching!! Feel free to adjust the length and thickness of the.

How To Draw A Cute Guinea Pig at How To Draw
To give your guinea pig a cute and chubby appearance, add some details to the body. Leave enough room on the right side for the body. Now you should draw curved lines on the side and inside the outline of the guinea pig’s torso. Draw a small oval to indicate a shine, and shade the nose. Then, draw two small.
How to Draw a Cute Guinea Pig (Easy StepbyStep for Kids)
The circle doesn't have to be perfect. Feel free to adjust the length and thickness of the lines to your liking. The pig looks cute and smiling. Guinea pigs have round, plump heads so use a curved line for the side of the head and a small circle for the snout. Depict the ears of the guinea pig.
Web Want To Learn How To Draw A Guinea Pig Easy?
Use long, curved lines to enclose the ears. You will need paper, a pencil, pen and rubber and y. Use a white crayon to color the teeth and the shimmer on the eyes. The bottom of the guinea pig will be extremely curved:
I Had A Lot Of Fun Drawing With Hadley During This Lesson (I Always Have Fun, But This One Was Extra Special).
Web use light, smooth strokes to begin. For an accurate finishing touch, make the tail shorter than the body but roughly the same width. Detail the guinea pig's face. Web draw an oval and a curved line inside and on the side of the previously drawn body outline.
We Will First Sketch The Guinea Pig From A Reference, Then Add Under.
Then, draw two small eyes directly over the center of the circle. Hope you will enjoy this drawing lesson.step 1. Next, use a black crayon to shade the outer ears. Web drawing a guinea pig can be a fun and rewarding artistic endeavor.
Constructing The Main Body Of Your Guinea Pig Sketch.
Draw the toes, tail, nose and eye of the guinea pig. Web this is also a good time to draw in the guinea pig’s tail. Guinea pigs have round, plump heads so use a curved line for the side of the head and a small circle for the snout. Web next, we’ll use the circles as a template to draw the guinea pig’s face.