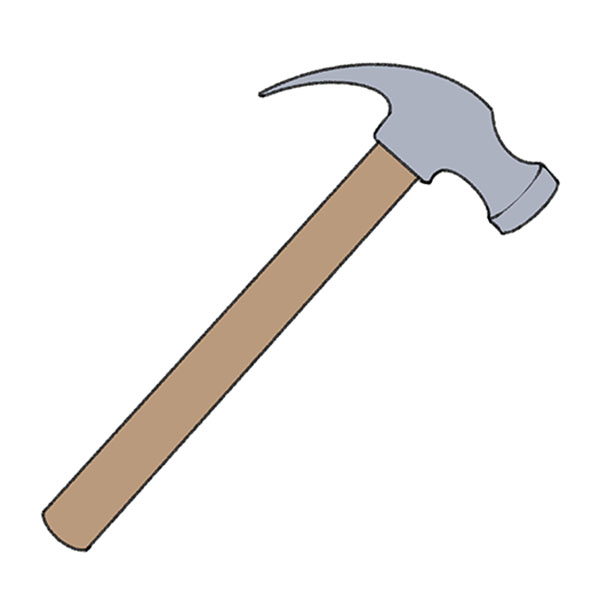
Hammering Drawing
Hammering Drawing - Web in this drawing lesson, we’ll show how to draw a hammer step by step total 6 phase, and it will be easy tutorial Going out of the back of head add the handle. Leave a little room from the bottom of the rectangle and draw a curved like out and down. Then, draw another pair of parallel lines enclosing the section where the handle connects to the hammerhead. Draw an other slanting line parallel to it. Connect both the lines using a small curvy line in the bottom. Web start by drawing a straight, vertical line for the handle of the hammer. One line should curve immediately away from the handle. Draw a line connecting the tip. Depict two parallel lines to draw the impact part of the hammer.
Leave a little room from the bottom of the rectangle and draw a curved like out and down. On the opposite side of the hammerhead, draw a. Draw this cute hammer by following this drawing lesson. At the top of the handle, sketch the hammerhead by drawing a horizontal rectangle, slightly wider than the handle itself. Continue the lines and draw the part of the hammer that is used to drive nails. Web hi everyone, in this video i show you how to draw a hammer step by step 🔨 follow my step by step drawing tutorial and make your own hammer drawing easy!👇 s. (step 12) draw wavy lines at the top of the hammer. Follow my step by step drawing tutorial and make your own ham. Now that your hammer is taking shape, it’s almost ready. Web in this drawing lesson, we’ll show how to draw a hammer step by step total 6 phase, and it will be easy tutorial
Web add the other end of the hammer. Draw a slanting straight line. Begin the drawing with the upper part of the hammer head as shown above. The other should enclose a shape before curving to meet the other line at a sharp point. Web step by step hammer drawing tutorial. Web start by drawing a straight, vertical line for the handle of the hammer. (step 12) draw wavy lines at the top of the hammer. First, use some more curved lines to draw the second half of the claw for the head. Then, draw another pair of parallel lines enclosing the section where the handle connects to the hammerhead. This will give the handle a solid and sturdy appearance.
How to draw a Hammer in easy steps for children. beginners YouTube
Draw a slanting straight line. This will give the handle a solid and sturdy appearance. Follow my step by step drawing tutorial and make your own ham. Web you can also work on your hammer’s shadows for a more realistic look. Web kids, learn how to draw the hammer by following the steps below.
Learn How to Draw a Hammer (Tools) Step by Step Drawing Tutorials
Then, draw another pair of parallel lines enclosing the section where the handle connects to the hammerhead. Depict two parallel lines to draw the impact part of the hammer. Now that your hammer is taking shape, it’s almost ready. One line should curve immediately away from the handle. Draw an other slanting line parallel to it.

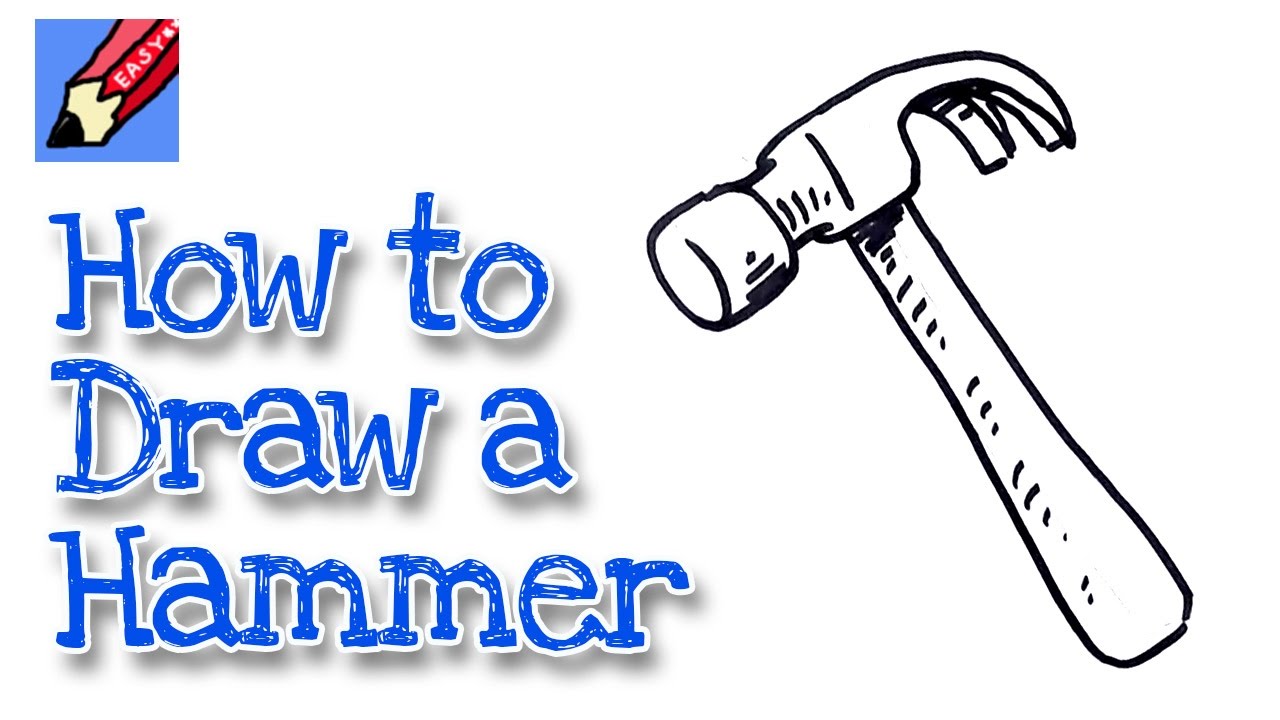
How to Draw a Hammer Easy Drawing Tutorial For Kids
Now that your hammer is taking shape, it’s almost ready. Next, add some details to the handle of the hammer. Add some more detail to the hammerhead. Follow my step by step drawing tutorial and make your own ham. Extend the rectangle on one side to create the flat face of the hammer, curving the end slightly.

how to draw a hammer and nails lineartdrawingssketchessketchbooks
Make this area slightly narrower as it goes towards the back. Web how to draw a hammer for kids easy and step by step. Draw a slanting straight line. For the last part of the hammer’s head draw the area at the back that has the opening for the handle (called the eye). To add more details, take a look.
Hammer Drawing Skill
Web draw the other side of the hammer and the handle as shown. Leave a little room from the bottom of the rectangle and draw a curved like out and down. Enclose the top of the handle with a short straight line. Depict two parallel lines to draw the impact part of the hammer. Web hi everyone, in this video.

Mano con martillo golpeando un clavo. dibujo a tinta en blanco y negro
Extend the rectangle on one side to create the flat face of the hammer, curving the end slightly. Web how to draw a hammer for kids easy and step by step. Web start by drawing a straight, vertical line for the handle of the hammer. Leave a little room from the bottom of the rectangle and draw a curved like.
Hammer Drawing Skill
Continue the lines and draw the part of the hammer that is used to drive nails. At this stage, sketch out a straight line. Web in this drawing lesson, we’ll show how to draw a hammer step by step total 6 phase, and it will be easy tutorial Draw a line connecting the tip. Lightly draw the blue parts of.
How to Draw a Hammer Easy Drawing Tutorial For Kids
To add more details, take a look at a real hammer and note its quirks and nuances. Leave a little room from the bottom of the rectangle and draw a curved like out and down. Next, begin the head of the hammer. The angle of the hammer will make it so that we can see the flatter underside of this.
How to draw a claw hammer real easy Step by Step with Easy, Spoken
Continuing with this hammer drawing, we will add some more detail to the head of the hammer. Now that your hammer is taking shape, it’s almost ready. To add more details, take a look at a real hammer and note its quirks and nuances. Continue the lines and draw the part of the hammer that is used to drive nails..

Hammer drawing easy How to draw hammer tool step by step Outline
Leave a little room from the bottom of the rectangle and draw a curved like out and down. Going out of the back of head add the handle. How to draw hammer and wrench, learn drawing by this tutorial for kids and adults. Draw the impact part of the hammer. Lightly draw the blue parts of the lines, parts of.
Web How To Draw Books.
Web in this drawing lesson, we’ll show how to draw a hammer step by step total 6 phase, and it will be easy tutorial The lines need not be so long! Leave a little room from the bottom of the rectangle and draw a curved like out and down. Continue the lines and draw the part of the hammer that is used to drive nails.
Web Start By Drawing A Straight, Vertical Line For The Handle Of The Hammer.
Draw a slanting straight line. Then, draw another pair of parallel lines enclosing the section where the handle connects to the hammerhead. Draw two parallel lines running vertically along the handle to represent the grip. At the top of the handle, sketch the hammerhead by drawing a horizontal rectangle, slightly wider than the handle itself.
This Will Give The Handle A Solid And Sturdy Appearance.
Add some more detail to the hammerhead. Web step by step hammer drawing tutorial. A little lower from the top, draw a curved line to the right. Draw the impact part of the hammer.
Web Let’s Learn How To Draw A Hammer Easyfollow My Step By Step Drawing Of Hammer And I Am Sure You Will Be Able To Draw In The Same Manner.this Is A Very Easy H.
(step 12) draw wavy lines at the top of the hammer. Now that your hammer is taking shape, it’s almost ready. This template will guide you through drawing it perfectly! This has a bit of an irregular shape but generally it should have the curved part at the top (for pulling out nails) called a “claw”.