How To Draw A Bone
How To Draw A Bone - It may help to look at an anatomical drawing or replica of a real bone to help you out. Depict the top of the right joint. Pull lines from the carpal’s structure to determine the position of the fingers. At this, sketch out a smooth horizontal line from the joint. Use a long, curved line to draw the rounded w shaped ends of the bone, called the proximal and distal epiphysis, and the parallel length of the bone, called the diaphysis. Web how to draw a bone. Web there's one more bone here, the fibula. Sketch the outer lines of the hand, defining the thumb and adding the outlines of the remaining fingers. I go through it sl. Draw the bottom outline of the middle of the bone.
Web this will form the backbone of your drawing. Anatomy is a huge subject and requires a blend of scientific information and artistic practicality. Useful for amateur artists wanting to gain a better underlying of. Visualize the shape of the bone, then use the ruler to help your sketch move in the right direction. Separate the fingers into sections to depict the phalanges. Begin by lightly sketching the basic shapes that make up the bone. Sketch the outer lines of the hand, defining the thumb and adding the outlines of the remaining fingers. To do this, simply extend another straight line from the end that you drew earlier. Drawing the arms and hands in pen. I go through it sl.
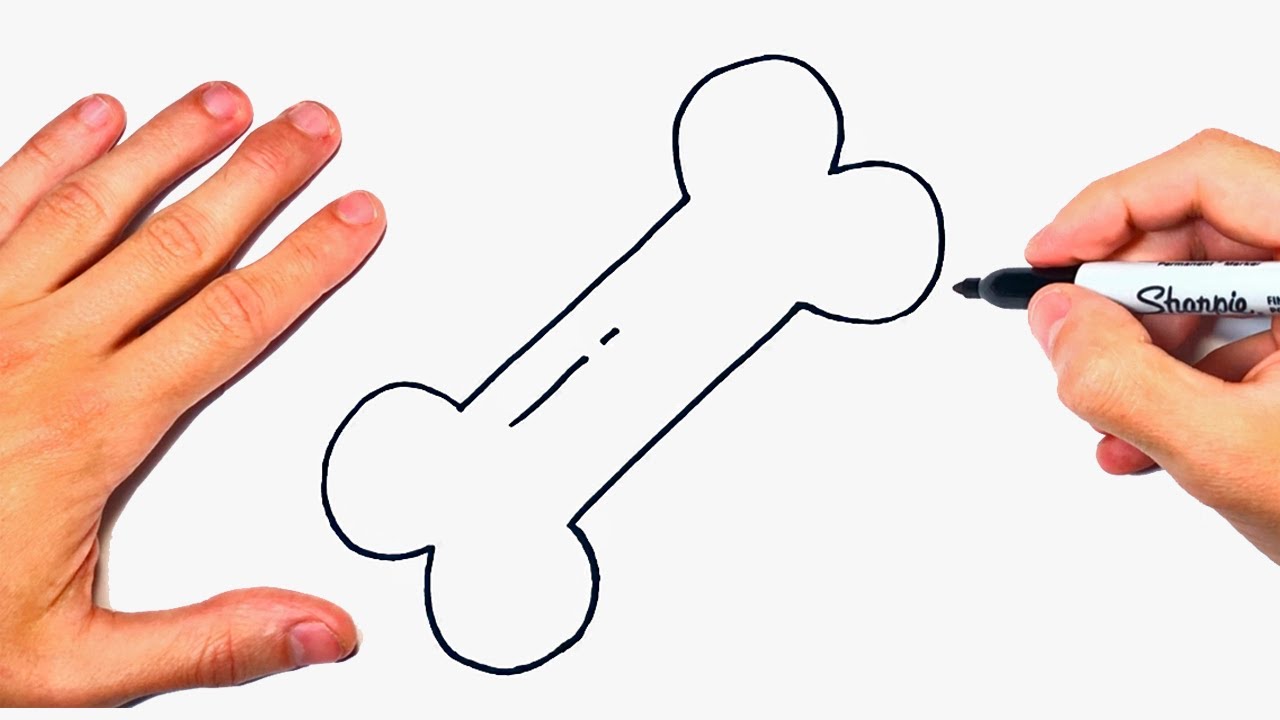
It’s easy to get overwhelmed by the complex details of all the muscles in a body, so instead, think of the body in basic shapes: Connect the circles with two slightly curved lines, creating the main body of the bone. At the top, the humerus has a rounded head that fits into the shoulder joint, allowing for a wide range of motion. The humerus bone is very similar to the femur. Draw this bone by following this drawing lesson. Draw a pair of lines on a sheet of paper for the diaphysis of the bone. As it moves towards the elbow, the humerus widens and becomes slightly more angular in. Draw lines to determine the fingers’ positions. Web easy stepwise instructions on how to draw a bone. Draw this bone by following this drawing lesson.

How to Draw a Bone VERY EASY FOR KIDS YouTube
Sketch the outer lines of the hand, defining the thumb and adding the outlines of the remaining fingers. At the top, the humerus has a rounded head that fits into the shoulder joint, allowing for a wide range of motion. I go over this super simple and recognizable shape. Web a step by step tutorial showing the major bones in.

How to Draw a Bone Easy with Step by Step Guideline
Add ovals to the joints. It’s easy to get overwhelmed by the complex details of all the muscles in a body, so instead, think of the body in basic shapes: Web step 12 — draw the hands and feet to the skeleton. To do this, simply extend another straight line from the end that you drew earlier. We now can.
How to Draw a Bone Easy Drawing Tutorial For Kids
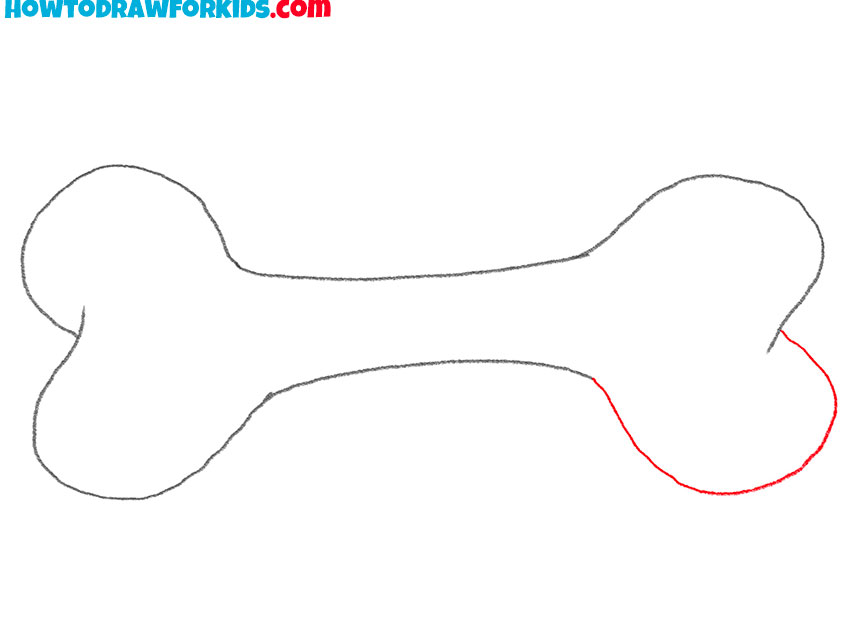
Then, this line will end in a rounded line at the end. The size of the line will depend on how long you want to see that bone. Draw lines to determine the fingers’ positions. At this, sketch out a smooth horizontal line from the joint. Depict the top of the right joint.

Bone Drawing How To Draw A Bone Step By Step
Sketch the outer lines of the hand, defining the thumb and adding the outlines of the remaining fingers. On the right side, draw a smooth, rounded line. Draw this bone by following this drawing lesson. But before this, draw three small vertical straight lines. I go over this super simple and recognizable shape.

How to Draw a Bone Easy with Step by Step Guideline
Sketch the outer lines of the hand, defining the thumb and adding the outlines of the remaining fingers. Add some detail to the knee. Remember, the thumb bones have a wider movement range than the other fingers. But before this, draw three small vertical straight lines. Separate the fingers into sections to depict the phalanges.
How to Draw a Bone Easy Drawing Tutorial For Kids
Visualize the shape of the bone, then use the ruler to help your sketch move in the right direction. Web time to jump right into the biggest and strongest bones in the human body. Draw it in a similar way: Web crayons or colored pencils. Draw two curved lines extending outward from each circle, resembling the shape of a teardrop.

How to Draw a Bone A StepbyStep Tutorial for Kids
The size of the line will depend on how long you want to see that bone. Web how to draw humerus bone/humerus bone drawingit is very easy drawing detailed method to help you.i draw the humerus bone with pencil on art paper on my easy. Draw the bones of the ankle. The humerus bone is very similar to the femur..
How to draw a Bone Step by Step Drawing a Bone YouTube
Web easy stepwise instructions on how to draw a bone. I go over this super simple and recognizable shape. Next, you gotta build your bone! But before this, draw three small vertical straight lines. Draw the bones of the ankle.
How to Draw a Bone Easy Drawing Tutorial For Kids
It may help to look at an anatomical drawing or replica of a real bone to help you out. For this section of your bone drawing, you will be extending the center of the bone on the other side from the one that you drew previously. Then, add the shape of the feet with clear heel and toe outlines. Useful.
How to draw a Bone Step by Step Bone Drawing Lesson
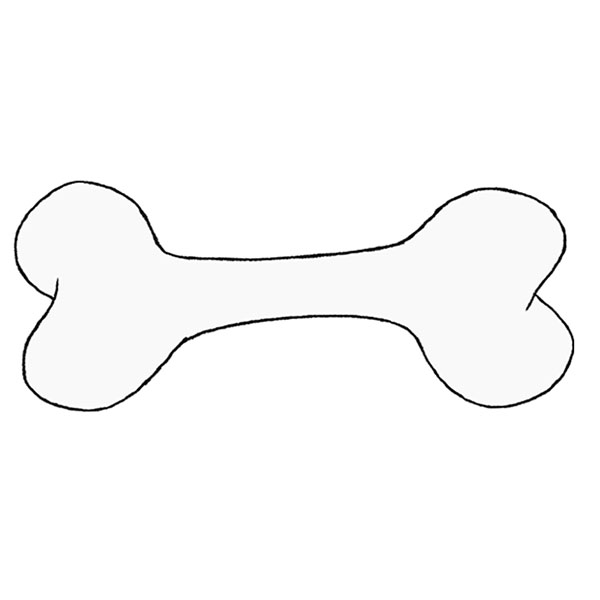
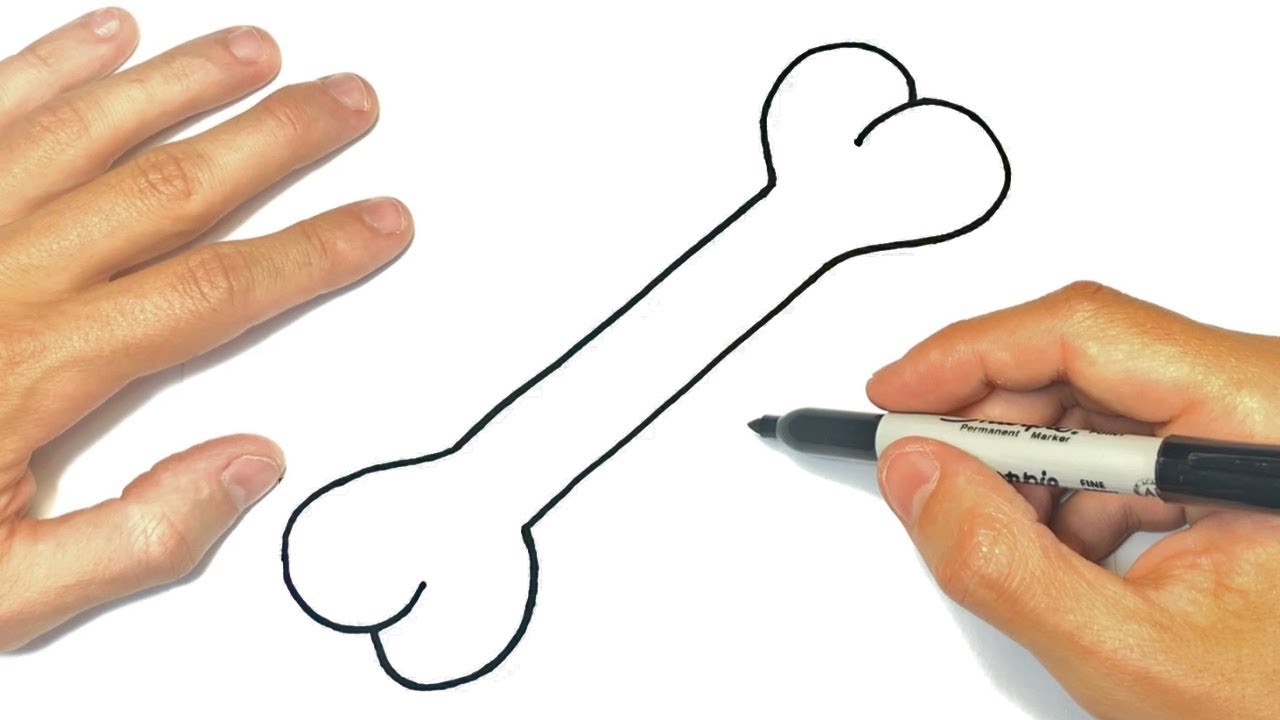
Draw this bone by following this drawing lesson. Next, you gotta build your bone! After that, draw two small hoops at both ends of the straight line to indicate the head part. Web my new pen & ink drawing workbook: Drawing the arms and hands in pen.
The Condition Also Affects Bone Growth, And Those With The Disease Have A Smaller Stature.
After that, draw two small hoops at both ends of the straight line to indicate the head part. Web this initial observation will help you understand the bone’s structure and guide your drawing. Web easy stepwise instructions on how to draw a bone. At this, sketch out a smooth horizontal line from the joint.
How To Finish A Drawing Of.
Web my new pen & ink drawing workbook: Make better art by understanding the human skeleton and mastering muscle structure. Next, draw the notch of the bone. Draw the toes with their full length.
Web How To Draw A Bone Step By Step.
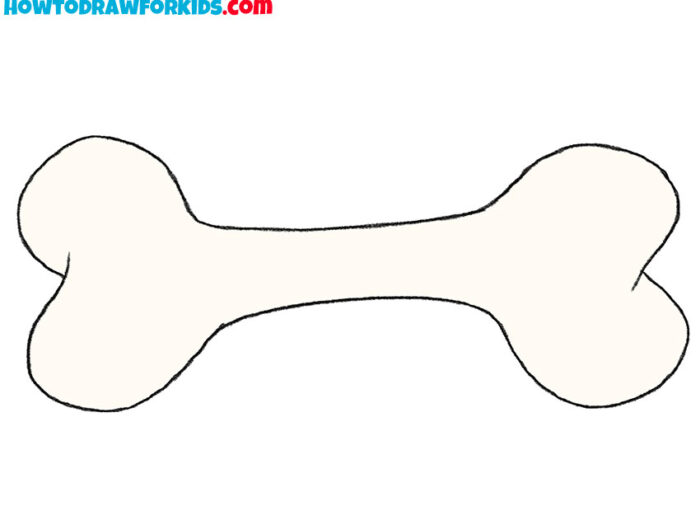
Remember, the thumb bones have a wider movement range than the other fingers. Use a long, curved line to draw the rounded w shaped ends of the bone, called the proximal and distal epiphysis, and the parallel length of the bone, called the diaphysis. Web step 12 — draw the hands and feet to the skeleton. Next, you gotta build your bone!
Web How To Draw A Bone Easy And Step By Step.
To do this, simply extend another straight line from the end that you drew earlier. The size of the line will depend on how long you want to see that bone. Repeat the previous step and draw another smooth horizontal line. At the top, the humerus has a rounded head that fits into the shoulder joint, allowing for a wide range of motion.