How To Draw Bart
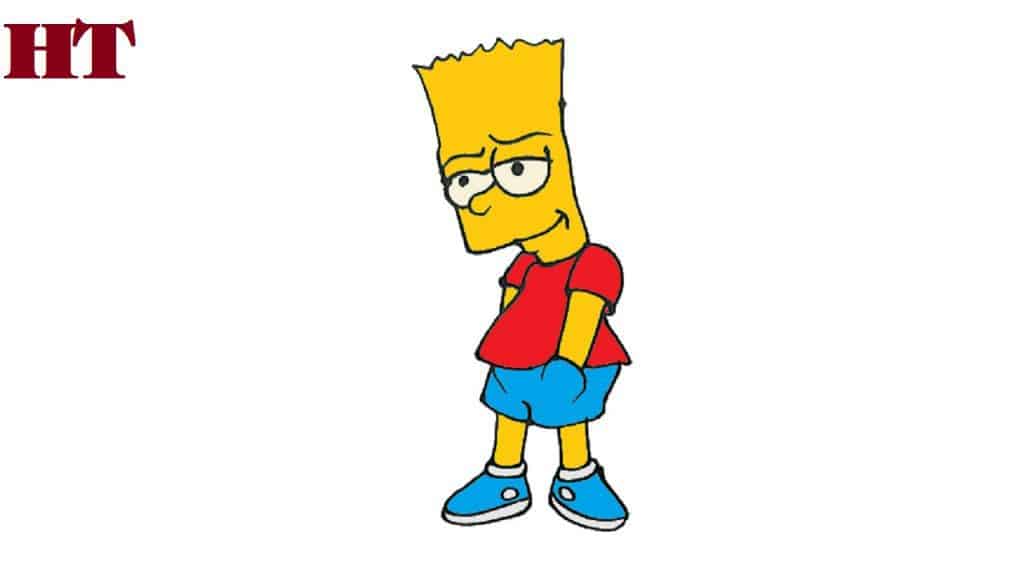
How To Draw Bart - First, make a small line for the center of the mouth. Web imagine where you want bart’s chest to be placed. Then, add two curved lines on either side to complete the smile. Detail the inside with additional curved lines. Add a bigger circle for the guideline of the tummy and hips. Draw a laugh line at the end of bart's mouth. Web check out our video: The drawing will take 9 steps to complete as we continue to draw each section moving closer to the completed drawing. The top of his mouth is slightly to the left of the main head shape. If you’re enjoying this drawing guide and want to see more, consider supporting sketchok by making a donation on buy me a coffee.
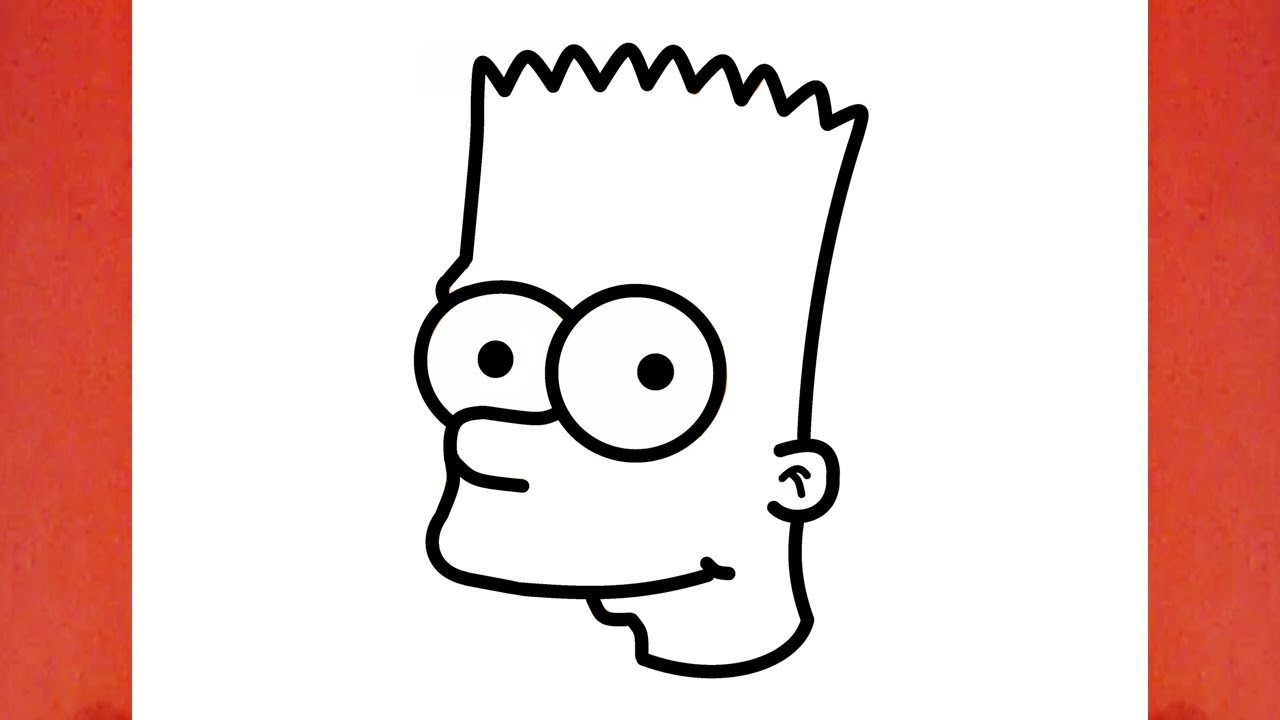
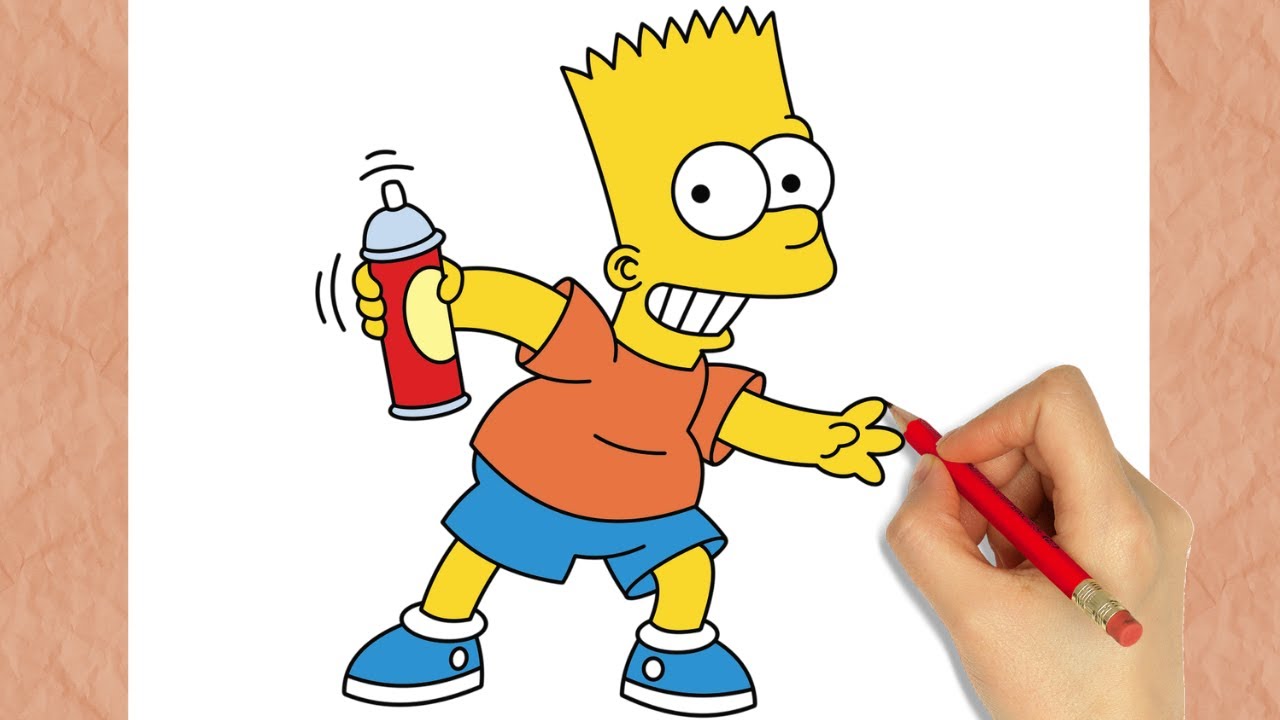
Join our community of aspiring artists. Use a curved line to extend one side of the head, looping it around beneath the shape to form the upper lip. Now you’re equipped with the knowledge and tips to draw bart simpson in your own unique style. Web check out our video: Web how to draw bart simpson printable pdf (see bottom of lesson) the goal is to complete a drawing of bart simpson by drawing one section at a time. Draw two curved lines to show the center of the body. Web draw the bottom of bart's face. Curve the bottom of the can shape to give him a smile. The finished work of art will be perfected with color resulting in a drawing you. Draw a small bulge on top of his neck to represent his bottom lip.
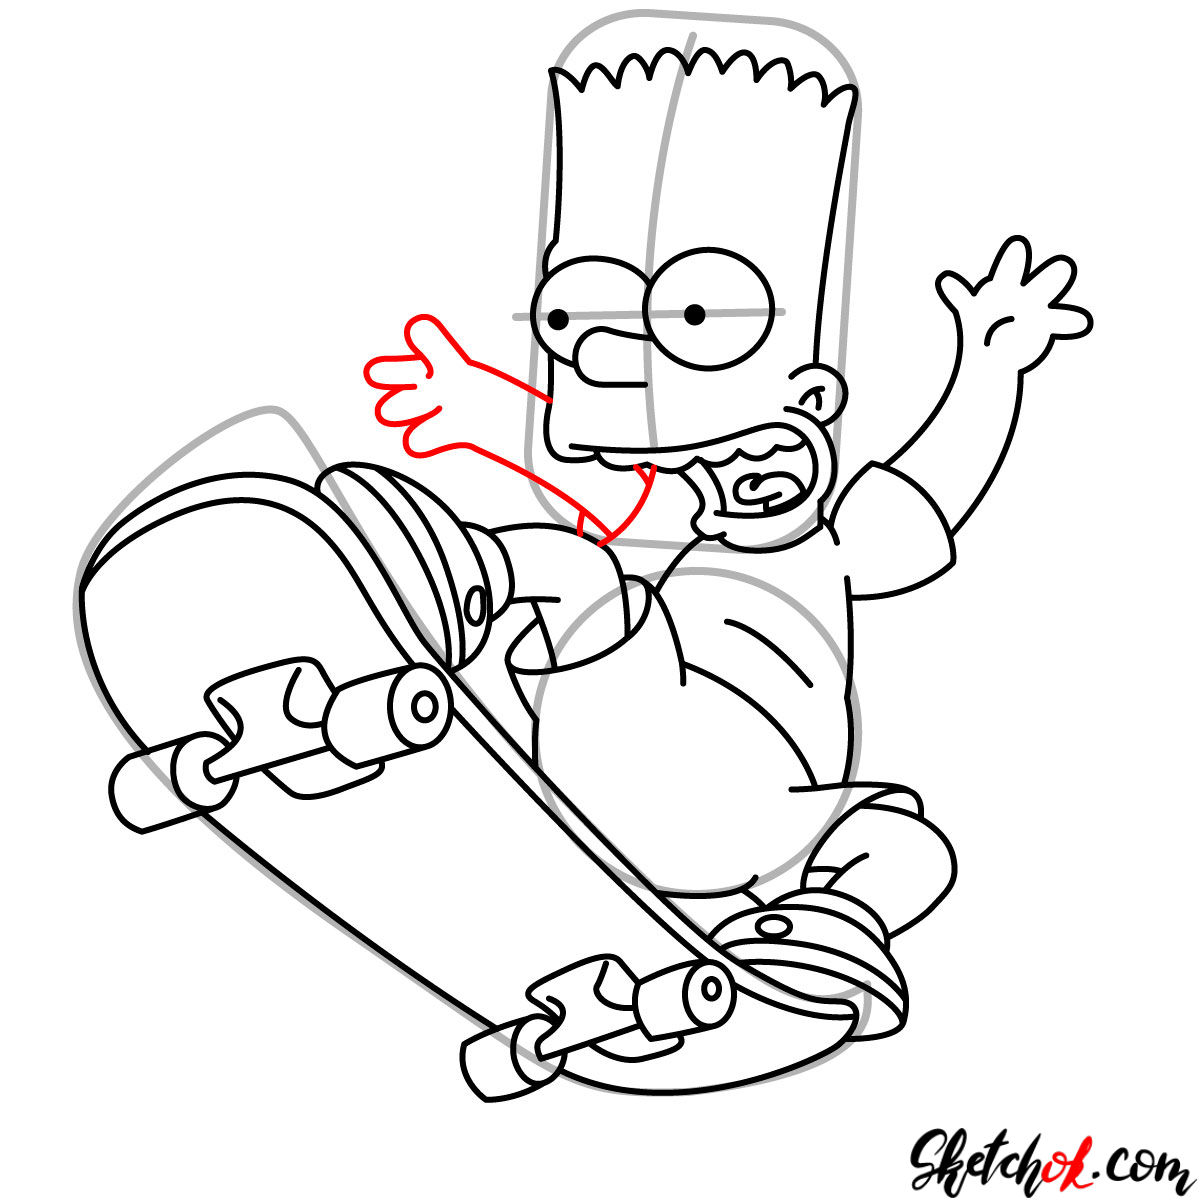
Web how to draw bart simpson printable pdf (see bottom of lesson) the goal is to complete a drawing of bart simpson by drawing one section at a time. These are construction lines that will help you when. Use a curved line to extend one side of the head, looping it around beneath the shape to form the upper lip. Draw a small bulge on top of his neck to represent his bottom lip. One should be slightly below the top of bart simpson's head and the other below the middle of his head. Web imagine where you want bart’s chest to be placed. If you’re enjoying this drawing guide and want to see more, consider supporting sketchok by making a donation on buy me a coffee. Web then, draw a small triangle for the nose. Bart simpson typically has a mischievous grin, so keep that in mind as you draw his mouth. The finished work of art will be perfected with color resulting in a drawing you.
HOW TO DRAW BART SIMPSON
Then, add two curved lines on either side to complete the smile. Draw a curved line beneath it, completing the mouth and the neck. Use a curved line to extend one side of the head, looping it around beneath the shape to form the upper lip. Draw a small bulge on top of his neck to represent his bottom lip..

How To Draw Bart Simpson
Your support will help release regular free drawing guides for fans like you! Detail the inside with additional curved lines. Web then, draw a small triangle for the nose. Draw a laugh line at the end of bart's mouth. Web this will be bart simpson's head and neck.
Learn How To Draw Bart Simpson With This Step By Step vrogue.co
Next, add a mouth to your drawing. Add a bigger circle for the guideline of the tummy and hips. Web imagine where you want bart’s chest to be placed. Draw a small bulge on top of his neck to represent his bottom lip. Web how to draw bart simpson printable pdf (see bottom of lesson) the goal is to complete.

How to Draw Bart Simpson A Fun and Creative Guide Bestfashi
That's it for the initial sketch! Web draw in the left side of his neck. Your support will help release regular free drawing guides for fans like you! Next, add a mouth to your drawing. Web how to draw bart simpson printable pdf (see bottom of lesson) the goal is to complete a drawing of bart simpson by drawing one.
![How to draw Bart [The Simpsons] Drawing Tutorial YouTube](https://i.ytimg.com/vi/ojcxsdlAM1k/maxresdefault.jpg)
How to draw Bart [The Simpsons] Drawing Tutorial YouTube
Web draw in the left side of his neck. Your support will help release regular free drawing guides for fans like you! Join our community of aspiring artists. Web then, draw a small triangle for the nose. Now you’re equipped with the knowledge and tips to draw bart simpson in your own unique style.

How to draw Bart Simpson Step by step drawing tutorials Nhật ký
Then, add two curved lines on either side to complete the smile. Join our community of aspiring artists. Today you can learn how to draw bart simpson from the simpsons :) we know, we know, he's really bad. Web check out our video: Web follow along with us and learn how to draw bart simpsons!
How Draw Bart Simpson Easy Step by Step YouTube
Your support will help release regular free drawing guides for fans like you! The top of his mouth is slightly to the left of the main head shape. One should be slightly below the top of bart simpson's head and the other below the middle of his head. That's it for the initial sketch! Sketch the outline of the body.

How to Draw Bart Simpson Easy Step by Step
Bart simpson typically has a mischievous grin, so keep that in mind as you draw his mouth. On the opposite side, use a c shaped line to form the ear. Draw a small bulge on top of his neck to represent his bottom lip. Now you’re equipped with the knowledge and tips to draw bart simpson in your own unique.
Learn To Draw Bart Simpson
Web draw the bottom of bart's face. First, make a small line for the center of the mouth. If you’re enjoying this drawing guide and want to see more, consider supporting sketchok by making a donation on buy me a coffee. Web then, draw a small triangle for the nose. Bart simpson typically has a mischievous grin, so keep that.

How To Draw Bart Simpson Art For Kids Hub
Web how to draw bart simpson printable pdf (see bottom of lesson) the goal is to complete a drawing of bart simpson by drawing one section at a time. Now you’re equipped with the knowledge and tips to draw bart simpson in your own unique style. One should be slightly below the top of bart simpson's head and the other.
The Top Of His Mouth Is Slightly To The Left Of The Main Head Shape.
Now you’re equipped with the knowledge and tips to draw bart simpson in your own unique style. Use a curved line to extend one side of the head, looping it around beneath the shape to form the upper lip. Detail the inside with additional curved lines. Web draw the bottom of bart's face.
Next, Add A Mouth To Your Drawing.
One should be slightly below the top of bart simpson's head and the other below the middle of his head. These are construction lines that will help you when. Web draw in the left side of his neck. Bart simpson typically has a mischievous grin, so keep that in mind as you draw his mouth.
Web Check Out Our Video:
Your support will help release regular free drawing guides for fans like you! Web how to draw bart simpson printable pdf (see bottom of lesson) the goal is to complete a drawing of bart simpson by drawing one section at a time. First, make a small line for the center of the mouth. The drawing will take 9 steps to complete as we continue to draw each section moving closer to the completed drawing.
The Finished Work Of Art Will Be Perfected With Color Resulting In A Drawing You.
Draw a small bulge on top of his neck to represent his bottom lip. Next, draw a vertical line down the head shape that is in between the center and the right side of the shape. Then, add two curved lines on either side to complete the smile. On the opposite side, use a c shaped line to form the ear.