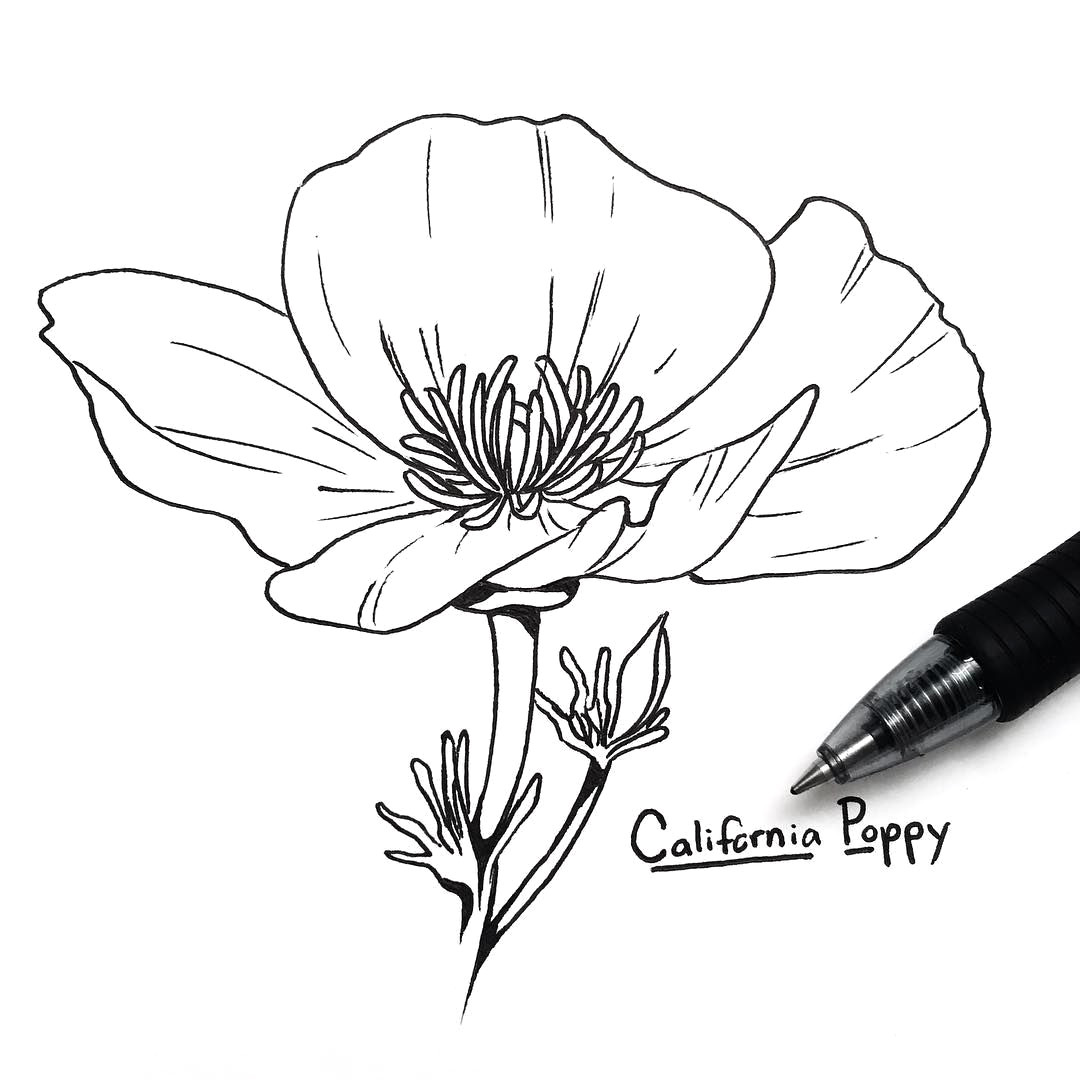
How To Draw California Poppy
How To Draw California Poppy - Using your rotary cutter and mat, cut four 2” x 1¾” rectangles per flower. Wrap around the stem as shown in fig. Add a few diagonal lines across the stem to indicate texture. Web learn how to draw the golden poppy or california poppy! Web shade the edges of all the petals and leaves using short lines. Then, use a series of u shaped lines to draw the flower's center. You’ll begin by planning the space to place your poppies. You’ll learn how to develop poppy details working from large shapes to smaller line details and values. Vary the length of the lines. Next, draw the leaves, erasing as necessary.
Highlights and shadows will be considered to emphasize the realistic look of your poppies. Put a thin bead of hot glue along the bottom edge of the center rectangle. Web extend a vertical line from the bottom of the poppy flower’s base to create the stem. Attach the center to the stem: Your poppy drawing is complete! Next, draw the leaves, erasing as necessary. Next, draw two elongated, curving lines on either side of the stem to create the poppy flower’s leaves. Add a few diagonal lines across the stem to indicate texture. Then draw a series of branching, u shaped lines. Web learn how to draw the golden poppy or california poppy!
Then draw a series of branching, u shaped lines. The first step will be to draw the center of the flower by drawing a circle and then small dashes all the way around it. Web extend a vertical line from the bottom of the poppy flower’s base to create the stem. Shade the bottoms of the flower and bud. You’ll learn how to develop poppy details working from large shapes to smaller line details and values. Web shade the edges of all the petals and leaves using short lines. Using your rotary cutter and mat, cut four 2” x 1¾” rectangles per flower. Click image for bigger version. Add a few diagonal lines across the stem to indicate texture. Home catalog all drawing member exclusive folding surprise painting origami cutout sculpting art core parent & teacher info extras.

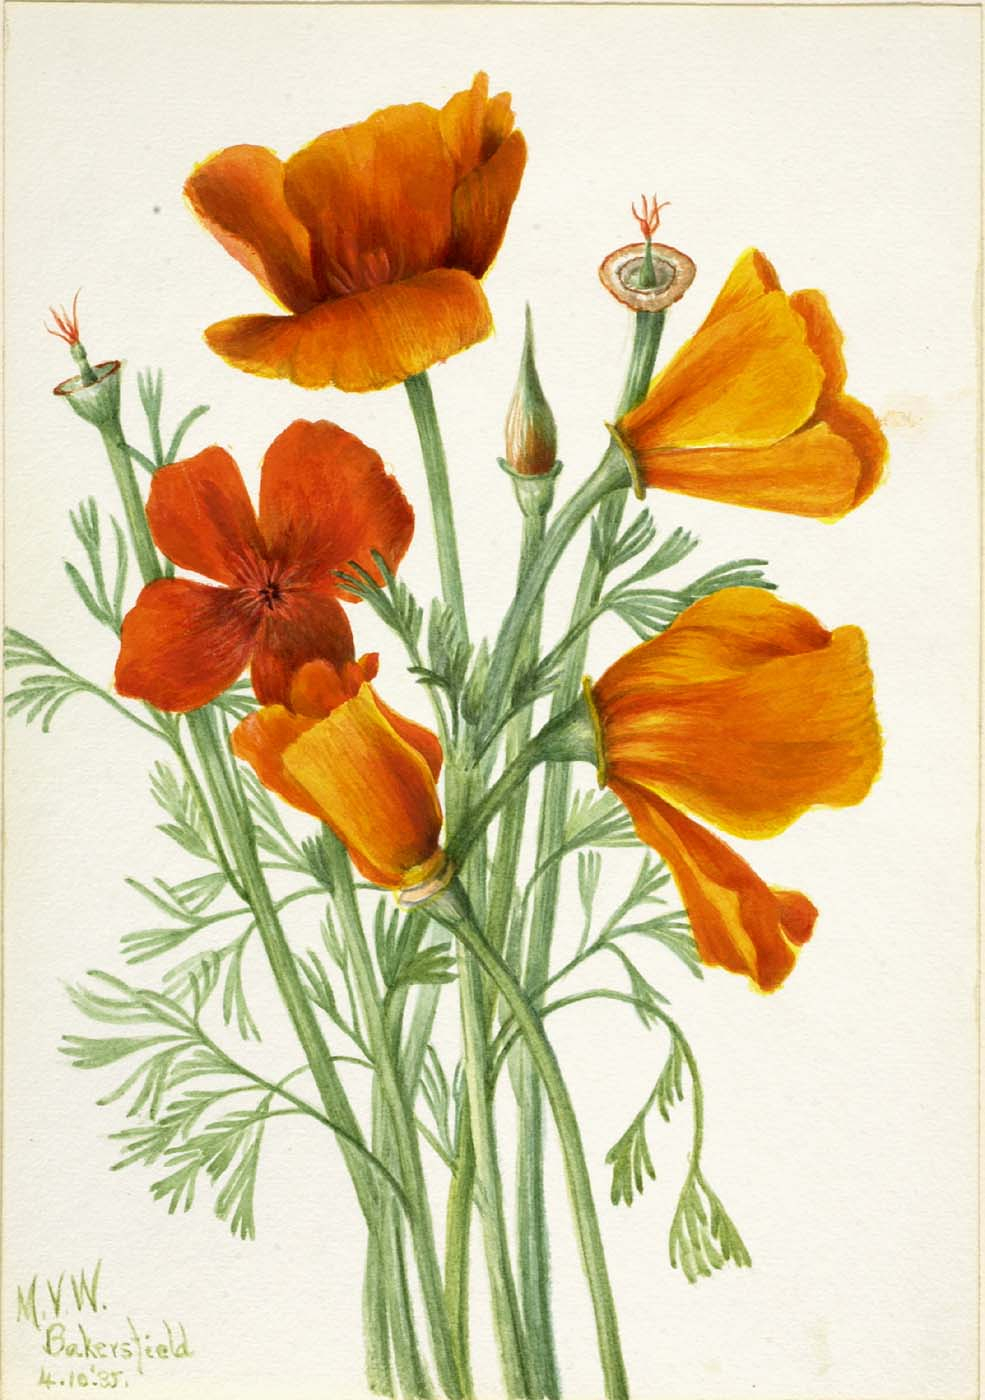
California Poppy Botanical Drawing 21 1 Botanical drawings
Then, use a series of u shaped lines to draw the flower's center. Put a thin bead of hot glue along the bottom edge of the center rectangle. Home catalog all drawing member exclusive folding surprise painting origami cutout sculpting art core parent & teacher info extras. Using your rotary cutter and mat, cut four 2” x 1¾” rectangles per.

How to Draw a Poppy · Art Projects for Kids Art For Kids, Sketch
Highlights and shadows will be considered to emphasize the realistic look of your poppies. Use wavy lines to enclose the remaining petals. Using your rotary cutter and mat, cut four 2” x 1¾” rectangles per flower. Home catalog all drawing member exclusive folding surprise painting origami cutout sculpting art core parent & teacher info extras. Shade the bottoms of the.

spring drawings Easy Drawing Guides
Attach the center to the stem: Use wavy lines to enclose the remaining petals. Then draw a series of branching, u shaped lines. Next draw the large flower petals be creating half circles around the center. No obligationreview portfolio of work.sin obligación
California Poppy Sketch at Explore collection of
Add a few diagonal lines across the stem to indicate texture. Vary the length of the lines. Next, draw the leaves, erasing as necessary. You’ll begin by planning the space to place your poppies. Remove a portion of the stem and extend parallel, curved lines from it.

poppies drawing Google Search Poppy flower drawing, Poppy flower
Shade the bottoms of the flower and bud. Next, draw two elongated, curving lines on either side of the stem to create the poppy flower’s leaves. To make the leaves more realistic, draw small veins running through them. Using your rotary cutter and mat, cut four 2” x 1¾” rectangles per flower. Wrap around the stem as shown in fig.
California Poppy Botanical Drawing at GetDrawings Free download
Using your rotary cutter and mat, cut four 2” x 1¾” rectangles per flower. Use very short lines to shade one side of each stem. Click image for bigger version. Remove a portion of the stem and extend parallel, curved lines from it. No obligationreview portfolio of work.sin obligación
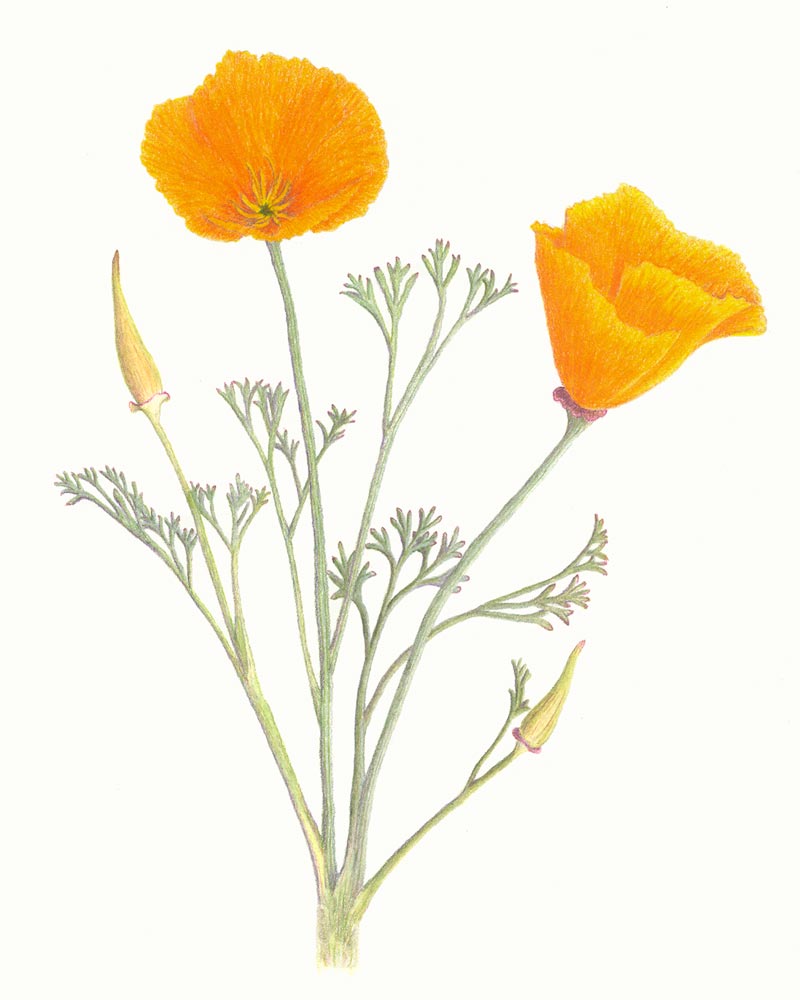
California Poppy Botanical Drawing at GetDrawings Free download
The first step will be to draw the center of the flower by drawing a circle and then small dashes all the way around it. No obligationreview portfolio of work.sin obligación Your poppy drawing is complete! Then, use a series of u shaped lines to draw the flower's center. Next, draw two elongated, curving lines on either side of the.

California Poppies Allyson Kramer Poppy drawing, California poppy
Web (#shorts) let's learn how to draw flower shapes! To make the leaves more realistic, draw small veins running through them. Click image for bigger version. Using your rotary cutter and mat, cut four 2” x 1¾” rectangles per flower. Web download a free printable outline of this video and draw along with us:

How to Draw a Poppy Really Easy Drawing Tutorial
Vary the length of the lines. Put a thin bead of hot glue along the bottom edge of the center rectangle. You’ll begin by planning the space to place your poppies. Web shade the edges of all the petals and leaves using short lines. The first step will be to draw the center of the flower by drawing a circle.

How to Draw Worksheets for The Young Artist How To Draw A California
Shade the bottoms of the flower and bud. Wrap around the stem as shown in fig. You’ll begin by planning the space to place your poppies. Click image for bigger version. You’ll learn how to develop poppy details working from large shapes to smaller line details and values.
Attach The Center To The Stem:
Remove a portion of the stem and extend parallel, curved lines from it. Web (#shorts) let's learn how to draw flower shapes! Next, draw the leaves, erasing as necessary. Next, draw two elongated, curving lines on either side of the stem to create the poppy flower’s leaves.
Add A Few Diagonal Lines Across The Stem To Indicate Texture.
Shade the bottoms of the flower and bud. Make one stem/center for each flower. Wrap around the stem as shown in fig. To make the leaves more realistic, draw small veins running through them.
Click Image For Bigger Version.
Put a thin bead of hot glue along the bottom edge of the center rectangle. Click image for bigger version. You’ll learn how to develop poppy details working from large shapes to smaller line details and values. Next draw the large flower petals be creating half circles around the center.
Home Catalog All Drawing Member Exclusive Folding Surprise Painting Origami Cutout Sculpting Art Core Parent & Teacher Info Extras.
Vary the length of the lines. Use very short lines to shade one side of each stem. Use wavy lines to enclose the remaining petals. Then, use a series of u shaped lines to draw the flower's center.