How To Draw Hummingbird
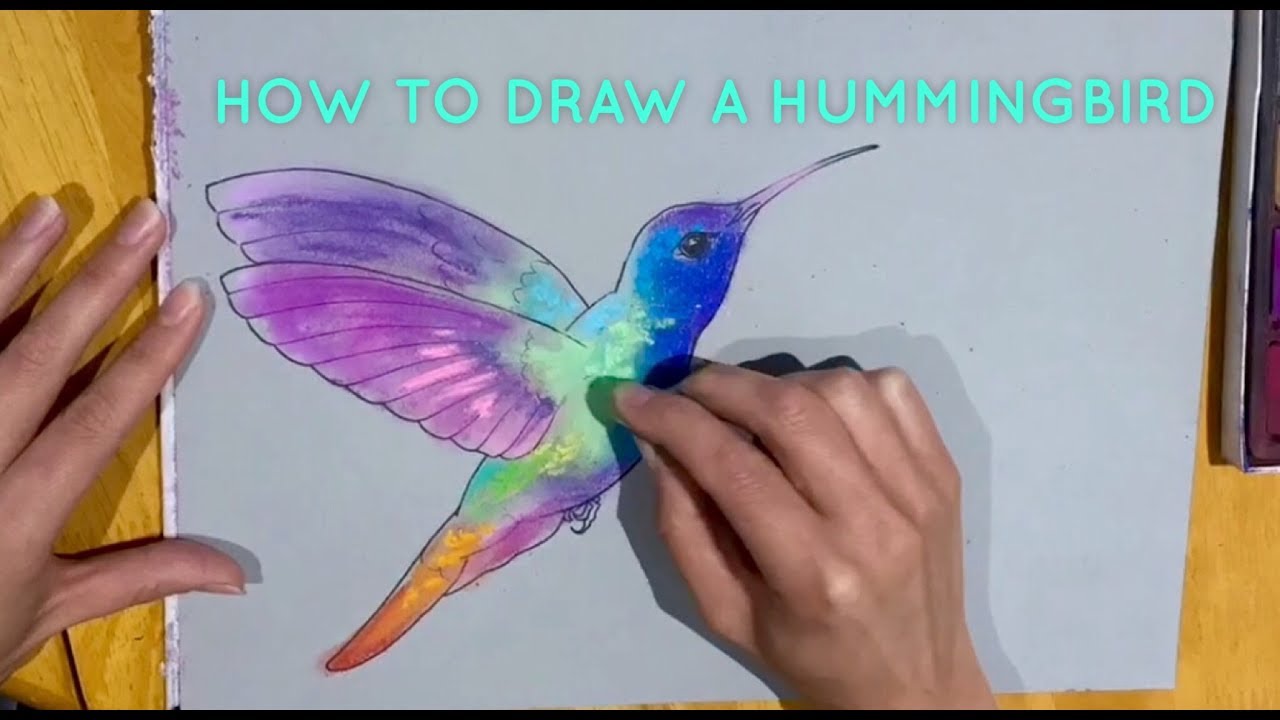
How To Draw Hummingbird - We're using sharpies and prismacolor colored pencils in this lesson.here are the links to amazon, for these. Try to make a modular line, which passes from a thin to a thick line and vice versa. This is a simple lesson designed for beginners and kids with real easy to follow steps. Draw a curved line down the center of the beak to separate the upper. In this step, you will draw a fully visible wing that will overlap the body. Draw a sharp, thin beak attached to the head. Web learn how to draw a hummingbird with artist harriet muller. This lesson is meant for younger artists, but older artists will have fun too. Next, draw an oval shape for the body and a circle for the head. Make the shape of the wings and draw both small and big feathers inside.
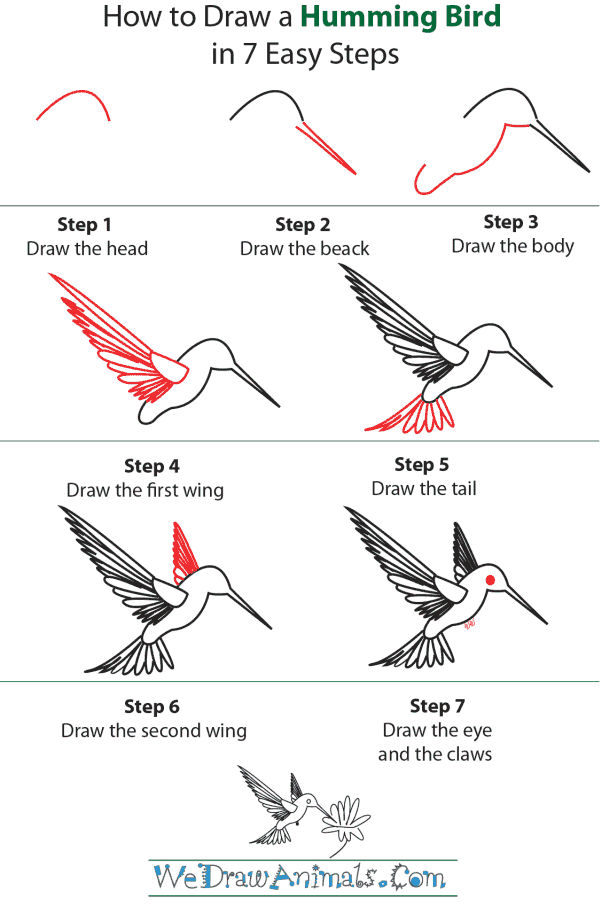
We're using sharpies and prismacolor colored pencils in this lesson.here are the links to amazon, for these. Outline the bird's shape over the sketch. Use a fringe line for the body to reproduce the shape of small feathers. Web learn how to draw a cute hummingbird! We’ll also add a line where the top beak meets the bottom beak. This line will help you visualize the overall flow and movement of the hummingbird. Use two long curved lines for the beak, allowing them to meet at a point. Web follow along and learn how to draw a hummingbird! In this drawing lesson, we’ll show how to draw a hummingbird step by step total 12 phase, and it will be easy tutorial [video guide added] Try to make a modular line, which passes from a thin to a thick line and vice versa.
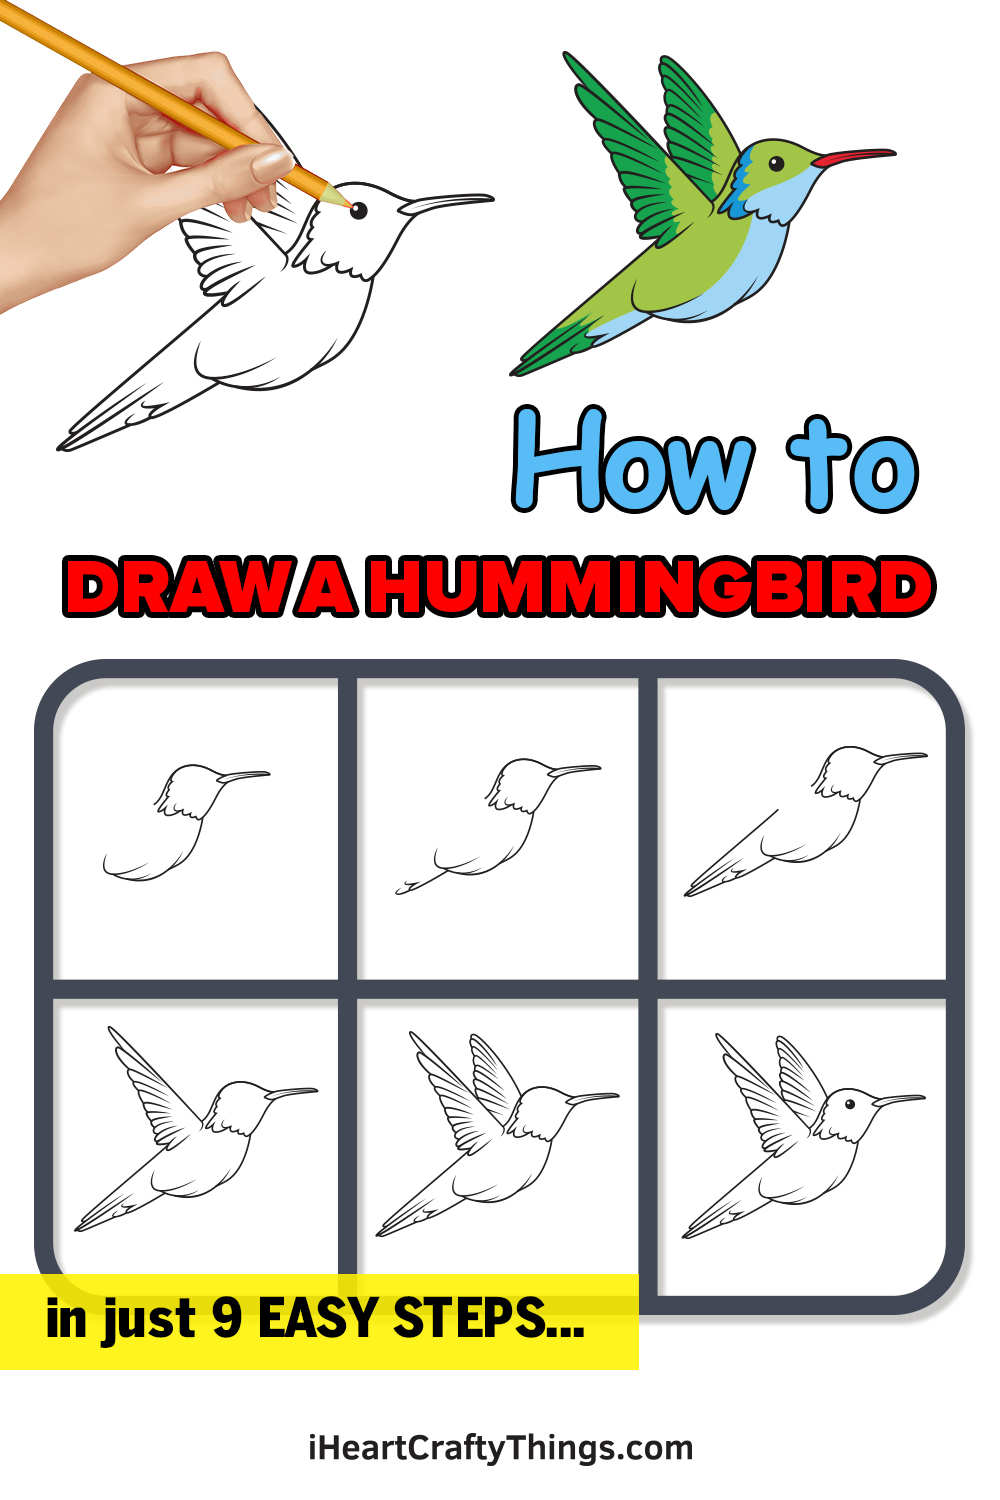
This lesson is meant for younger artists, but older artists will have fun too. Web learn how to draw a cute hummingbird! Draw a sharp, thin beak attached to the head. This is a simple lesson designed for beginners and kids with real easy to follow steps. In this drawing lesson, we’ll show how to draw a hummingbird step by step total 12 phase, and it will be easy tutorial [video guide added] Draw the wings of your hummingbird illustration. Web by tom maple • march 18, 2024. We’ll next draw a couple of talons under the body. Draw a second partially visible wing, behind the main wing. Begin by sketching the hummingbird's head.

How To Draw A Hummingbird Step By Step Hummingbird Drawing Easy YouTube
Web first, start with a simple line to indicate the bird’s posture. Web follow along and learn how to draw a hummingbird! Draw a curved line down the center of the beak to separate the upper. In this step, you will draw a fully visible wing that will overlap the body. Draw a sharp, thin beak attached to the head.

How to Draw a Hummingbird
Use a fringe line for the body to reproduce the shape of small feathers. This line marks where we see a darker shadow next to the lighter, longer feathers. We're using sharpies and prismacolor colored pencils in this lesson.here are the links to amazon, for these. In this step, you will draw a fully visible wing that will overlap the.

How to Draw Hummingbird HelloArtsy
You will need paper, a pencil, pen, rubber and your choice of coloured media. Draw the wings of your hummingbird illustration. Outline the bird's shape over the sketch. Web learn how to draw a cute hummingbird! This line will help you visualize the overall flow and movement of the hummingbird.
How To Draw A Simple Hummingbird Draw easy
Web first, start with a simple line to indicate the bird’s posture. In this drawing lesson, we’ll show how to draw a hummingbird step by step total 12 phase, and it will be easy tutorial [video guide added] This is a simple lesson designed for beginners and kids with real easy to follow steps. This lesson is meant for younger.

How To Draw a Hummingbird EASY Drawing Tutorial!
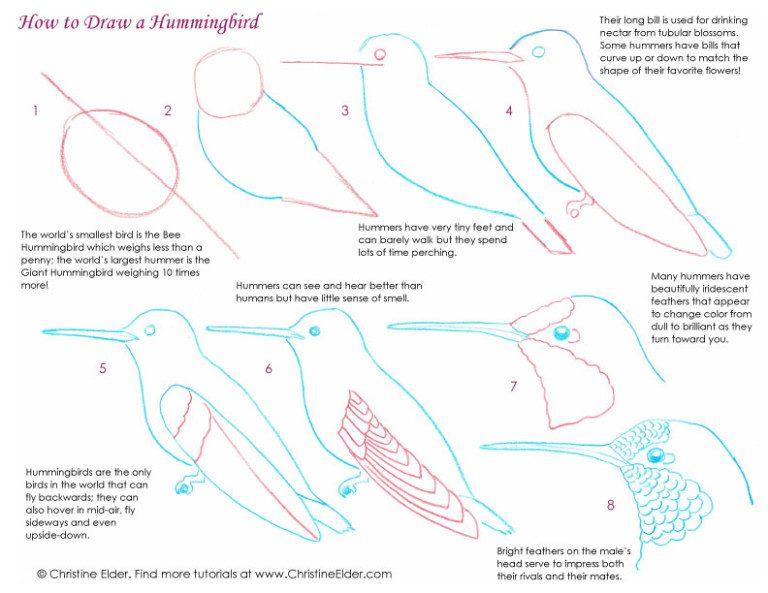
We’ll next draw a couple of talons under the body. Next, draw an oval shape for the body and a circle for the head. Web follow along and learn how to draw a hummingbird! Line the drawing with black ink. These basic shapes help create the bird’s silhouette, making it easier to visualize the final drawing.
How to Draw Hummingbirds
This line marks where we see a darker shadow next to the lighter, longer feathers. These basic shapes help create the bird’s silhouette, making it easier to visualize the final drawing. This line will help you visualize the overall flow and movement of the hummingbird. Line the drawing with black ink. Draw the wings of your hummingbird illustration.

How to Draw a Hummingbird Really Easy Drawing Tutorial
Web learn how to draw a cute hummingbird! Begin by sketching the hummingbird's head. Draw a second partially visible wing, behind the main wing. Draw a curved line down the center of the beak to separate the upper. This free step by step drawing lesson progressively builds upon each previous step until you get to the final rendering of a.

Hummingbird Drawing — How To Draw A Hummingbird Step By Step
This line will help you visualize the overall flow and movement of the hummingbird. Draw curved lines above and below the beak to outline the head and neck. This lesson is meant for younger artists, but older artists will have fun too. We’ll next draw a couple of talons under the body. Draw feathers for the tail as well.
Hummingbird Drawing — How To Draw A Hummingbird Step By Step
This is a simple lesson designed for beginners and kids with real easy to follow steps. We’ll next draw a couple of talons under the body. Draw a second partially visible wing, behind the main wing. We're using sharpies and prismacolor colored pencils in this lesson.here are the links to amazon, for these. In this step, you will draw a.
How to Draw a Hummingbird
In this drawing lesson we’ll show you how to draw a hummingbird in 8 easy steps. Use two long curved lines for the beak, allowing them to meet at a point. Draw the wings of your hummingbird illustration. We're using sharpies and prismacolor colored pencils in this lesson.here are the links to amazon, for these. This is a simple lesson.
These Basic Shapes Help Create The Bird’s Silhouette, Making It Easier To Visualize The Final Drawing.
This free step by step drawing lesson progressively builds upon each previous step until you get to the final rendering of a hummingbird. Use two long curved lines for the beak, allowing them to meet at a point. Begin by sketching the hummingbird's head. You will need paper, a pencil, pen, rubber and your choice of coloured media.
In This Step, You Will Draw A Fully Visible Wing That Will Overlap The Body.
In this drawing lesson, we’ll show how to draw a hummingbird step by step total 12 phase, and it will be easy tutorial [video guide added] Next, draw an oval shape for the body and a circle for the head. Draw a curved line down the center of the beak to separate the upper. Draw a second partially visible wing, behind the main wing.
This Is A Simple Lesson Designed For Beginners And Kids With Real Easy To Follow Steps.
Use a fringe line for the body to reproduce the shape of small feathers. Make the shape of the wings and draw both small and big feathers inside. Draw curved lines above and below the beak to outline the head and neck. Draw a sharp, thin beak attached to the head.
This Line Marks Where We See A Darker Shadow Next To The Lighter, Longer Feathers.
We’ll also add a line where the top beak meets the bottom beak. Web learn how to draw a cute hummingbird! Draw the wings of your hummingbird illustration. This lesson is meant for younger artists, but older artists will have fun too.