How To Draw Microscope
How To Draw Microscope - Place the cover slip on top of the specimen and gently press down to flatten it. Web the goal is to complete a drawing of a microscope by creating each part one part at a time. Click on any image below to view this guide in gallery mode. Lines should be clear, single lines (no thick shading); Web pacers coach rick carlisle’s handling of t.j. Web select your specimen and place it on a microscope slide. These two oblongs should have one inch apart. Then, extend two straight lines down from this shape to extend. Whether you’re a parent, teacher, or art enthusiast, our newsletter is packed with fun activities, inspiring artwork, and. Pay attention to the details, such as the texture, the color, and the arrangement of the cells or structures.
Notice the bend in the middle of each line. Place the slide onto the microscope stage and adjust the. Look into your microscope and find the largest shape in your field. Get the latest updates, news, and exciting announcements from art for kids hub delivered straight to your inbox! Place the cover slip on top of the specimen and gently press down to flatten it. Attached to the top of the arm, draw the head unit, which connects the nosepiece and lenses with the tube above. It’s is consists of many small tubes. Mike jones identified one microscope player from each team, and it’s mccarthy for. The circle represents what you see through the eyepiece of the microscope. This will help the cover slip stick to the slide and prevent air bubbles from forming.
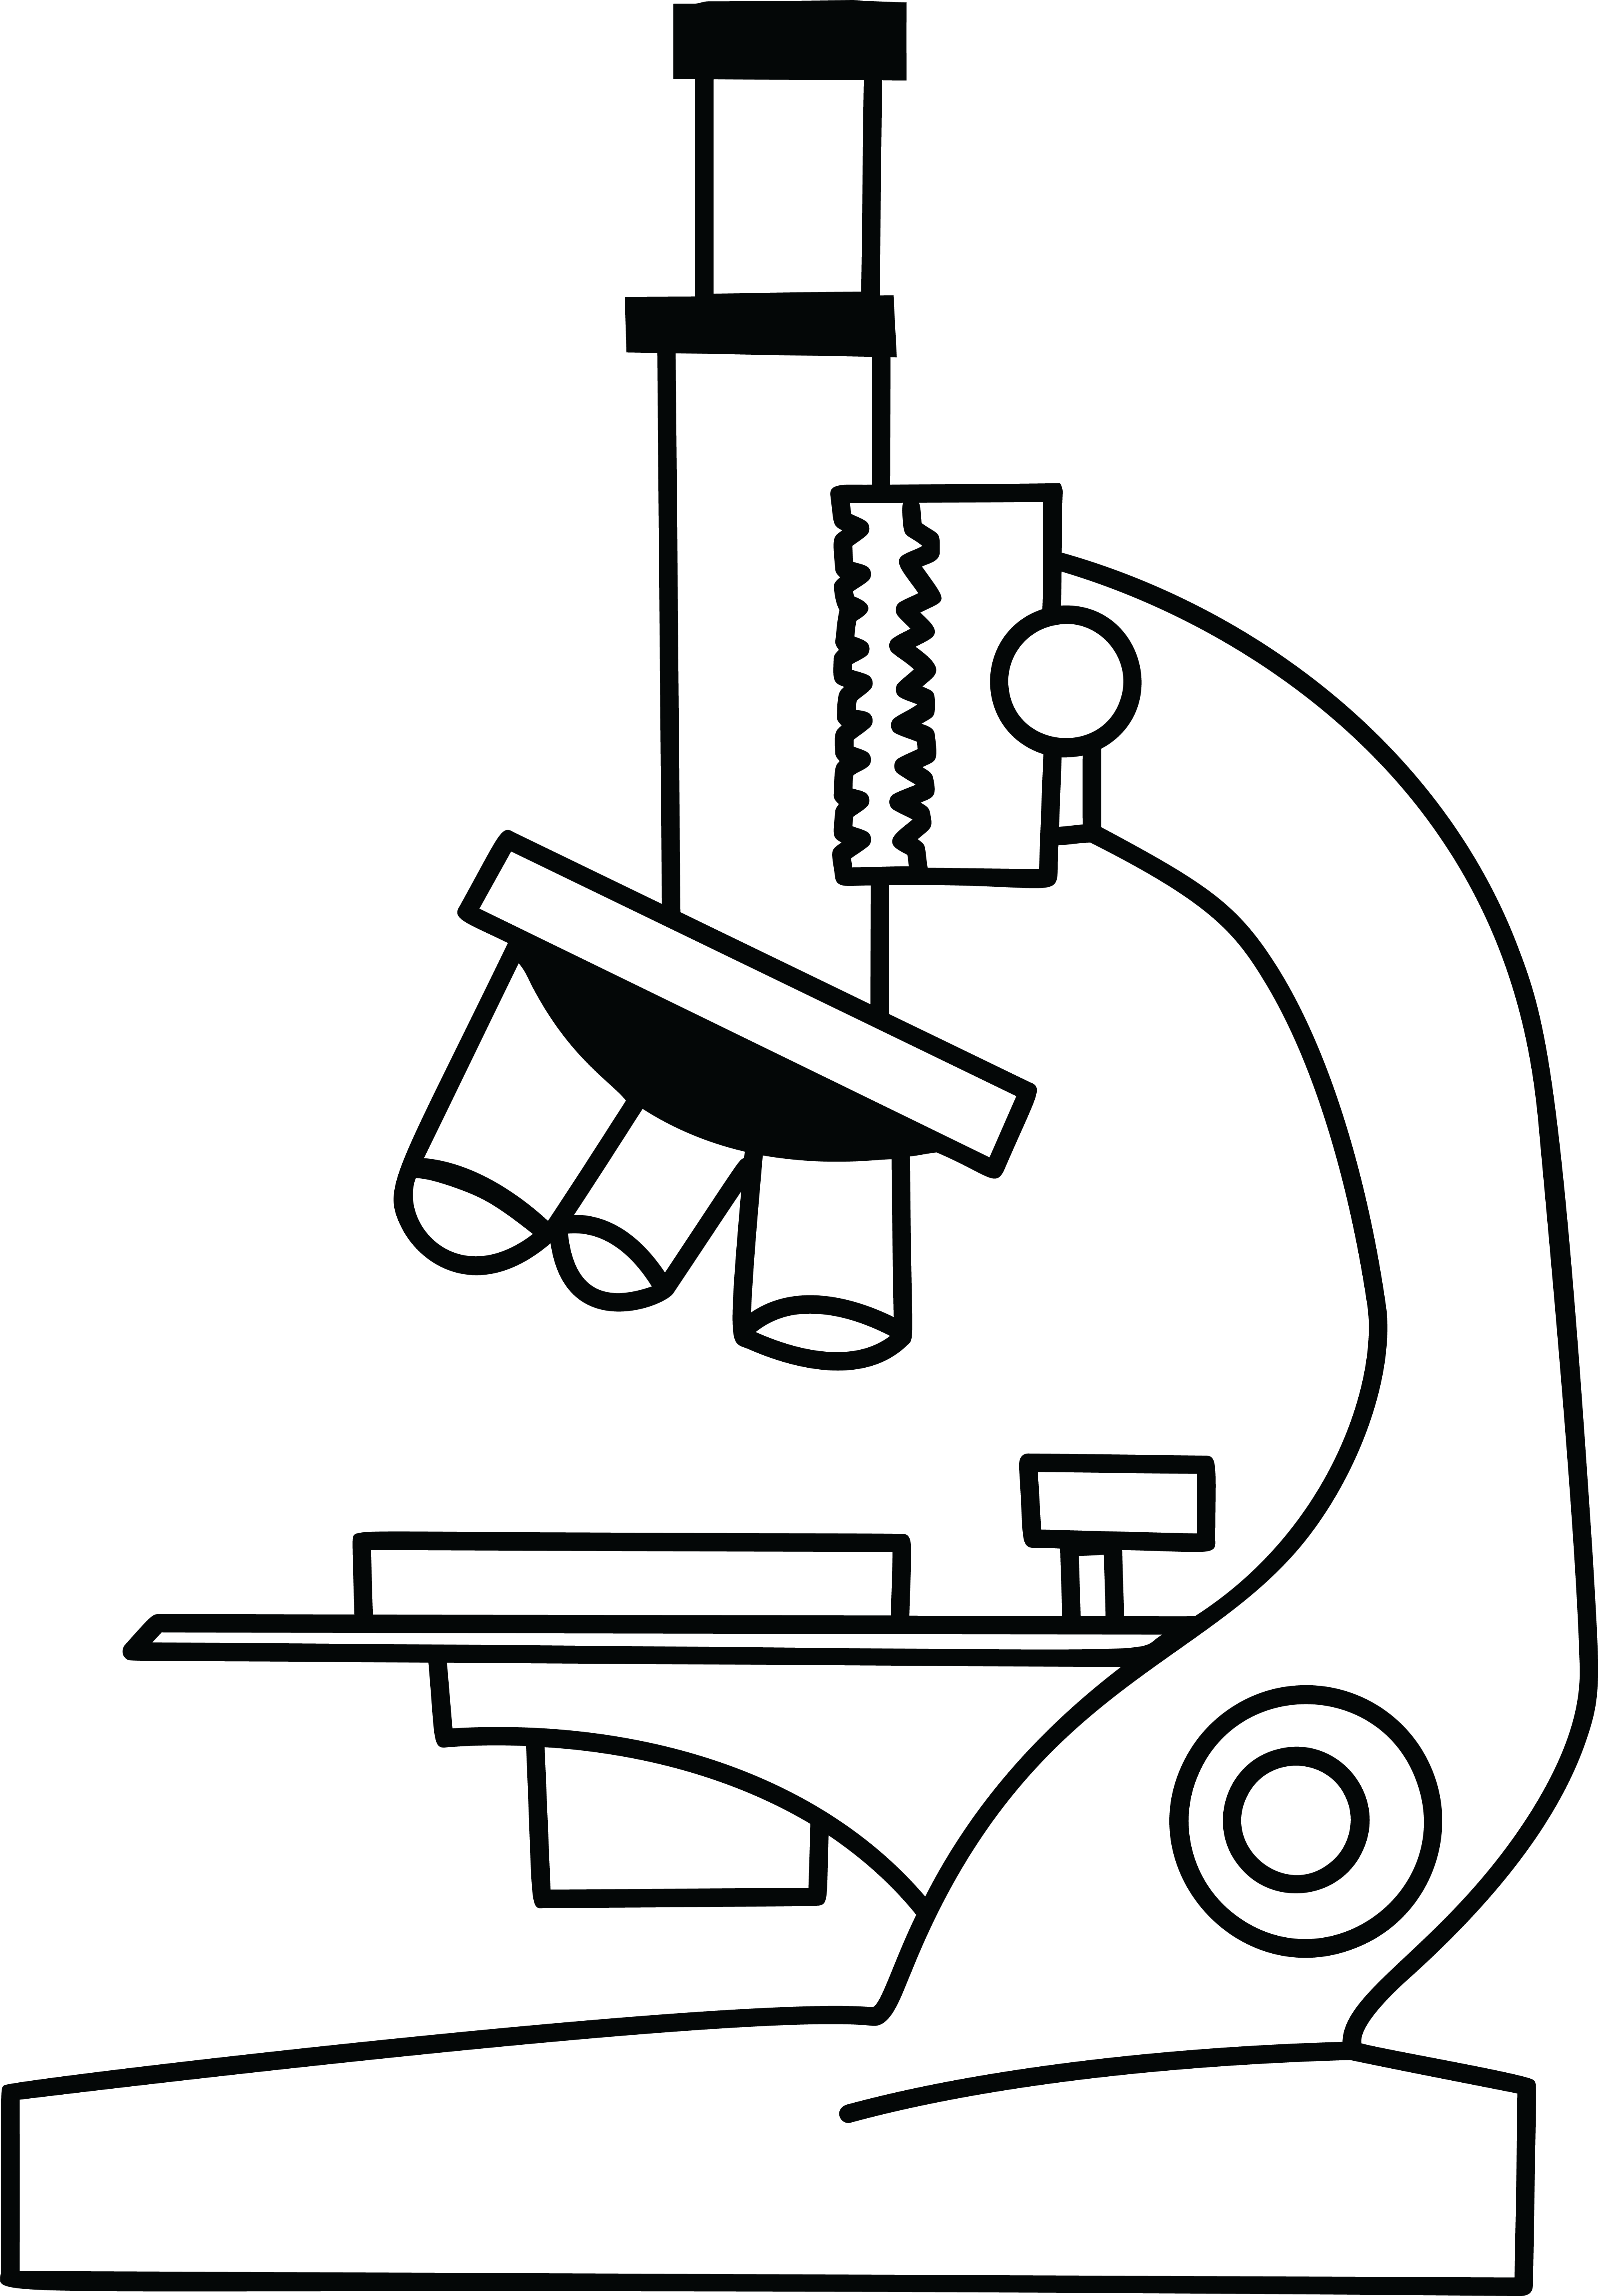
In this tutorial, writing master shows you how to draw a realistic microscope with labels step by step. Web select your specimen and place it on a microscope slide. In this first step of our guide on how to draw a microscope, we will be starting with the top of the microscope. It’s is consists of many small tubes. Web using a light microscope. Web here’s how you can draw a microscope beginning with the arm: Join the art for kids hub newsletter! Having one or two curve part and one base. The drawing should take up as much. Web the first step in drawing microscope images is to observe the specimen carefully.

How to Draw a Microscope Really Easy Drawing Tutorial
Web the first step in drawing microscope images is to observe the specimen carefully. Web how to draw a microscope diagram. Place the slide onto the microscope stage and adjust the. Web based on my drawing experience i will teach you how you can draw a microscope in 11 easy steps. Use a light microscope to make observations of biological.

how to draw microscope step by step slow and medium speed YouTube
Look into your microscope and find the largest shape in your field. Continue follow my channel and like, share,comm. In this first step of our guide on how to draw a microscope, we will be starting with the top of the microscope. Web watch how to draw a microscope. Web using a light microscope.

How to Draw a Microscope Really Easy Drawing Tutorial
If you are using a graticule slide (a microscope slide with millimeter grid lines), lightly sketch a grid over your circle. The circle represents what you see through the eyepiece of the microscope. Using thin lines, divide the circle into quarters in order to organize the picture. In this tutorial, writing master shows you how to draw a realistic microscope.

How to Draw a Microscope VERY EASY YouTube
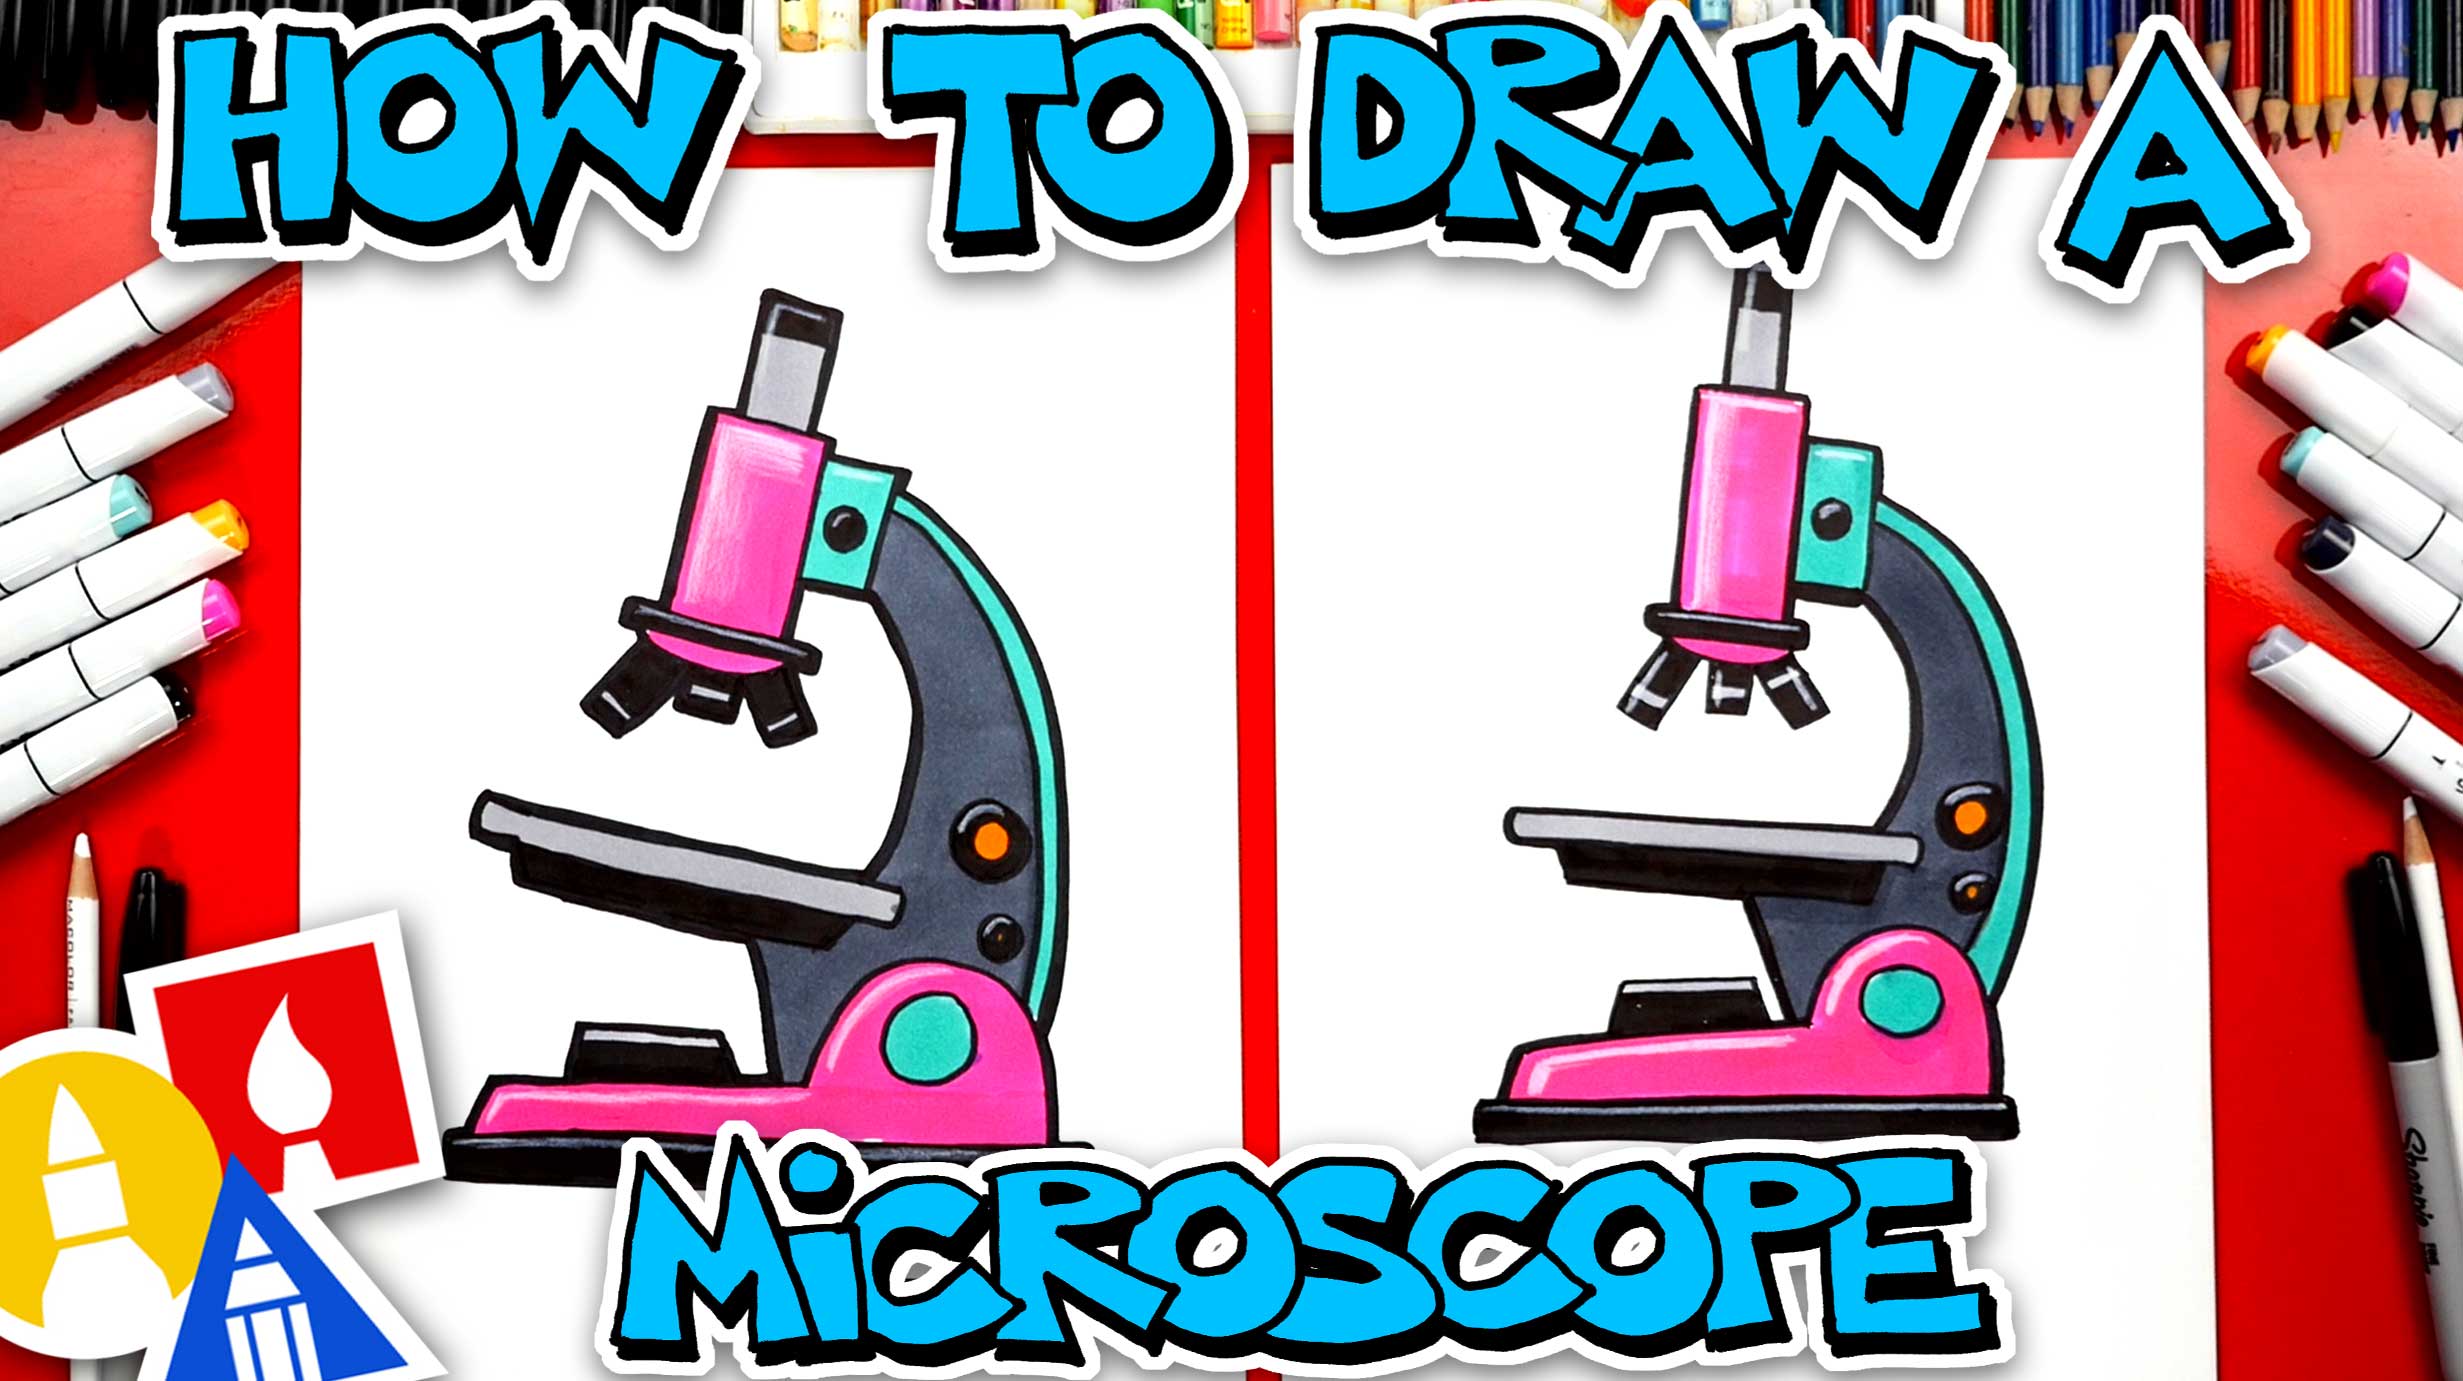
Join the art for kids hub newsletter! Web today, we're learning how to draw a cool microscope!👩🎨 join our art hub membership! Connect them at the bottom using curved lines. Web how to draw a microscope diagram. Whether you’re a parent, teacher, or art enthusiast, our newsletter is packed with fun activities, inspiring artwork, and.

How to draw microscope/Draw microscope in simple way. YouTube
We are now going to draw the arm that the microscope uses to swivel back and forth. Below this, draw another curved line, leaving the shape open on one side. Notice the bend in the middle of each line. A sharp hb pencil should be used (and a good eraser!); If you are using a graticule slide (a microscope slide.

How to Draw a Microscope Really Easy Drawing Tutorial
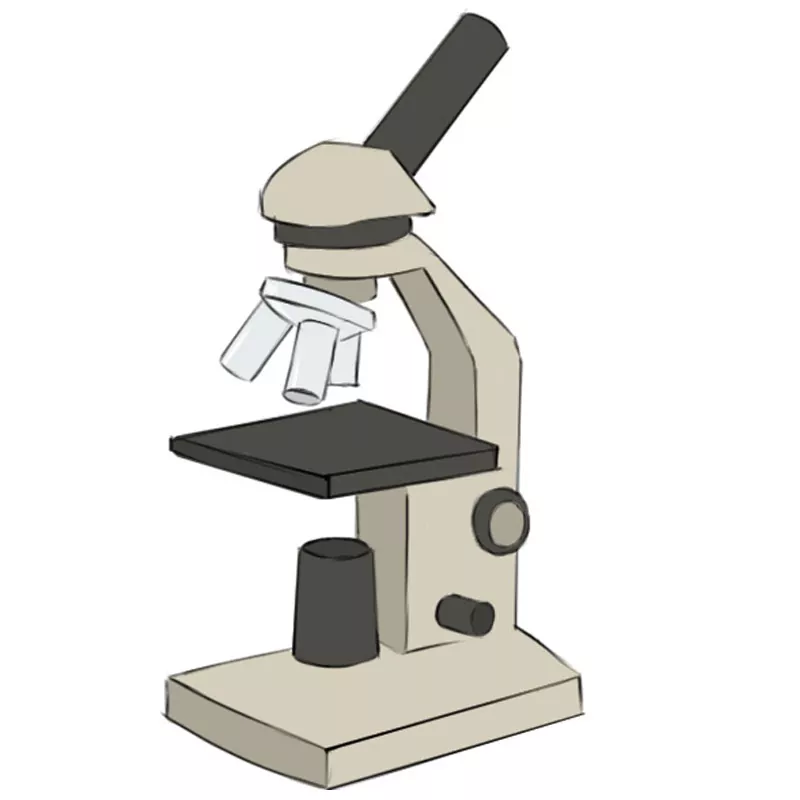
Begin your invention by sketching the base of the microscope. Web to begin, draw a circle as large as possible with a pencil. And that’s evidently why the athletic defined mccarthy as the vikings’ one player under a microscope this week. In this tutorial, writing master shows you how to draw a realistic microscope with labels step by step. Using.
Microscope Drawing Easy at Explore collection of
Web based on my drawing experience i will teach you how you can draw a microscope in 11 easy steps. Web select your specimen and place it on a microscope slide. Take your time and look at different parts of the specimen to get an overall idea of its shape, size, and features. Web watch how to draw a microscope..
How To Draw A Microscope Art For Kids Hub
The drawing must have a title; The circle represents what you see through the eyepiece of the microscope. Draw the objective lens for this microscope. Web today, we're learning how to draw a cool microscope!👩🎨 join our art hub membership! This will help the cover slip stick to the slide and prevent air bubbles from forming.
How to Draw a Microscope Easy Drawing Art
Web how to draw a microscope diagram. Mike jones identified one microscope player from each team, and it’s mccarthy for. Using thin lines, divide the circle into quarters in order to organize the picture. The magnification under which the observations shown by the drawing are made must be recorded; In this tutorial, writing master shows you how to draw a.
How to Draw a Microscope Easy Drawing Art
Draw the eyepiece for this microscope. Begin your invention by sketching the base of the microscope. Add two lines on top of it at a 45° angle to make the eye tube. Continue follow my channel and like, share,comm. The finished drawing will be embellished with a tad bit of color making it a drawing you will be proud to.
Web Ready To Take Your Drawing Skills To The Next Level?
Add two lines on top of it at a 45° angle to make the eye tube. Lines should be clear, single lines (no thick shading); Take your time and look at different parts of the specimen to get an overall idea of its shape, size, and features. Notice the bend in the middle of each line.
These Two Oblongs Should Have One Inch Apart.
Web based on my drawing experience i will teach you how you can draw a microscope in 11 easy steps. Alternatively, draw light lines to separate the circle into a four equal. Begin your invention by sketching the base of the microscope. Web using a light microscope.
Indianapolis — Pacers Coach Rick Carlisle Is Drawing Attention For Critiquing The Officials.
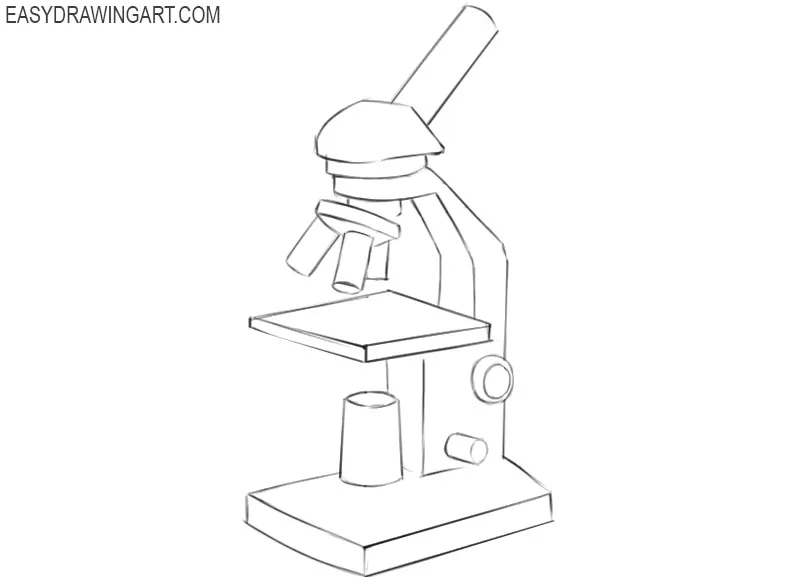
It will take 9 steps in total to complete the drawing. Lay the foundation of the microscope by making two long parallel lines that will be the arm or body of the microscope. Web to begin, draw a circle as large as possible with a pencil. Web to draw a microscope, begin by mapping out its structure in three dimensions, start adding in the characteristic details, and shade one side of it to give it.
The Drawing Should Take Up As Much.
This forms the arm of the microscope. Get the latest updates, news, and exciting announcements from art for kids hub delivered straight to your inbox! Web the goal is to complete a drawing of a microscope by creating each part one part at a time. Use a curved line to enclose a rounded shape beneath the head.