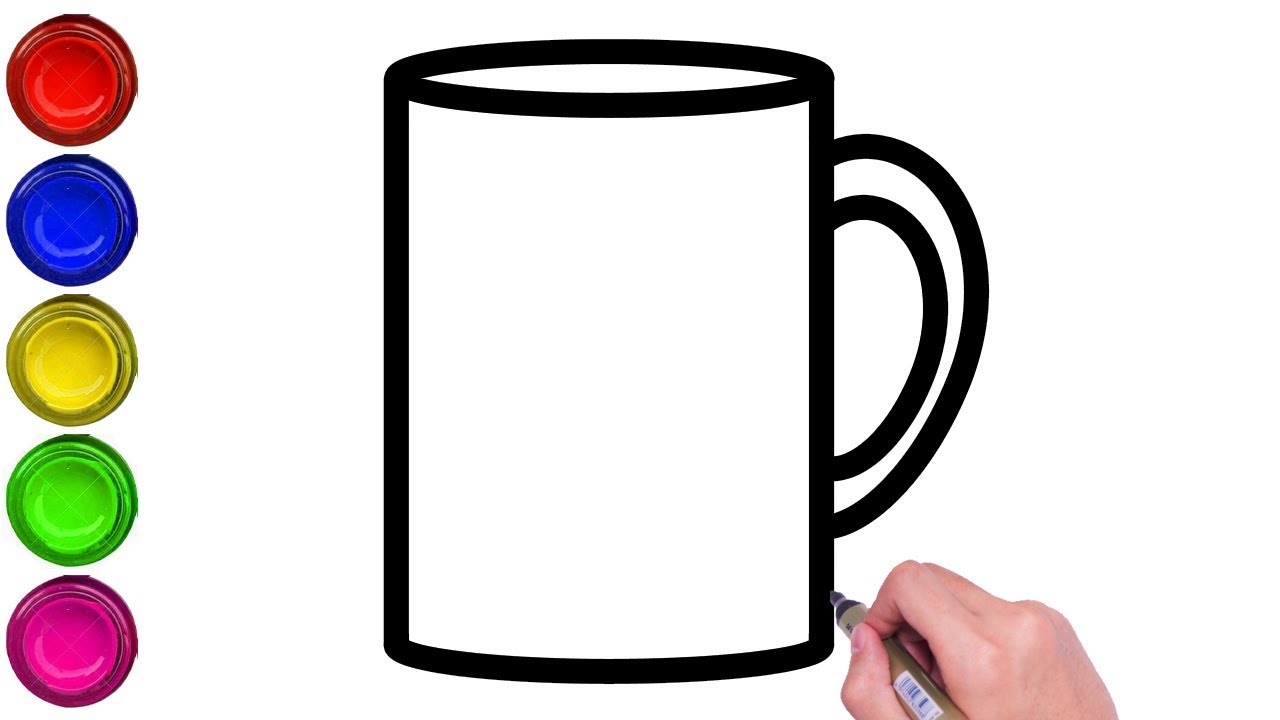
How To Draw On Mugs
How To Draw On Mugs - You can also draw a few vertical lines on the body of the mug to indicate a texture or pattern. From the top a cylinder. Web add the bottom of the mug. Only the infusible ink transfer sheet design is on the mug at this point. Web draw a flat oval shape at the bottom, connecting both ends of the u shape, to form the mug’s base. I left mine in the oven for a few hours. Do this in a way where it will make the handle’s overall shape slightly thicker near the mug (as shown in the example). Place your mugs on a rimmed baking sheet (makes getting them in and out of the oven easier) and place them in a cold oven. Sketch your ideas on a paper. Bake the mug in the oven for 30 minutes at 350°f.
Clean mug & tape on design. Web this will also make your mug design dishwasher safe (top rack). Wash and then of course, fill and enjoy with your favorite beverage to enjoy. Kawaii cup of hot coco with a heart marshmallow on top. Go back to the handle of the mug and refine its. Inside the outline from the previous step draw the inner part of the handle (as shown in the example). The mug will be hot (like, lose your fingerprints hot) so make sure to only touch the handle. Web first, we need to draw a rectangle (a) with widths at the top and bottom. Web learn how to draw a mug of coffee with easy step by step instructions, perfect for beginners. From the top a cylinder.
Web first, we need to draw a rectangle (a) with widths at the top and bottom. Once cool, remove the infusible ink transfer sheet to reveal your base design. Add a horizontal line across the middle of the mug to create a separation between the body and the base. Web draw a flat oval shape at the bottom, connecting both ends of the u shape, to form the mug’s base. You can also draw a few vertical lines on the body of the mug to indicate a texture or pattern. Remember to place the mug in the oven before it heats up and leave it in until the oven cools completely so there won't be any cracks. Lastly, draw an oval (c) on top of the mug with the top base of the rectangle intersecting the oval right in the middle. Twe close the bottom of the mug with a curved line that mirrors the top oval. Wash and then of course, fill and enjoy with your favorite beverage to enjoy. Web how to draw tea/coffee mug💕//easy way drawing/coloring for kids🤗#drawing#coloring#shortsfeed#kids#creative ideas#shorts#subscribe🙏🏻

DRAW A MUG OF COFFEE Easy step by step instructions YouTube
Once cool, remove the infusible ink transfer sheet to reveal your base design. Kawaii cup of hot coco with a heart marshmallow on top. To solidify the sharpie drawing on the ceramic mug, you need to bake it in the oven. These can look discolored after you transfer the design in the heat press. Inside the outline from the previous.

How to draw a mug Easy drawings YouTube
Only the infusible ink transfer sheet design is on the mug at this point. Once preheated, let the mugs bake for 25 minutes. Kawaii cup of hot coco with a heart marshmallow on top. Place your mugs on a rimmed baking sheet (makes getting them in and out of the oven easier) and place them in a cold oven. Please.
HOW TO DRAW CUP FOR KIDS CUP DRAWING FOR KIDS, EASY EASY CUP
Web set your mugs inside the oven, on the rake and let them bake for about 30 minutes. Next, add your “draw” design on top. Web add the bottom of the mug. Do this in a way where it will make the handle’s overall shape slightly thicker near the mug (as shown in the example). Web first, we need to.

How To Draw A Mug (easy) YouTube
Only the infusible ink transfer sheet design is on the mug at this point. Cut a piece of laser copy paper to fit where you want to place the design on the mug. Wash and then of course, fill and enjoy with your favorite beverage to enjoy. These can look discolored after you transfer the design in the heat press..

How to Draw a Mug For Kids Drawing for kids, Drawing lessons, Drawings
Web add the bottom of the mug. Place your mugs on a rimmed baking sheet (makes getting them in and out of the oven easier) and place them in a cold oven. Cut a piece of laser copy paper to fit where you want to place the design on the mug. Web let’s learn how to draw coffee mug easyfollow.
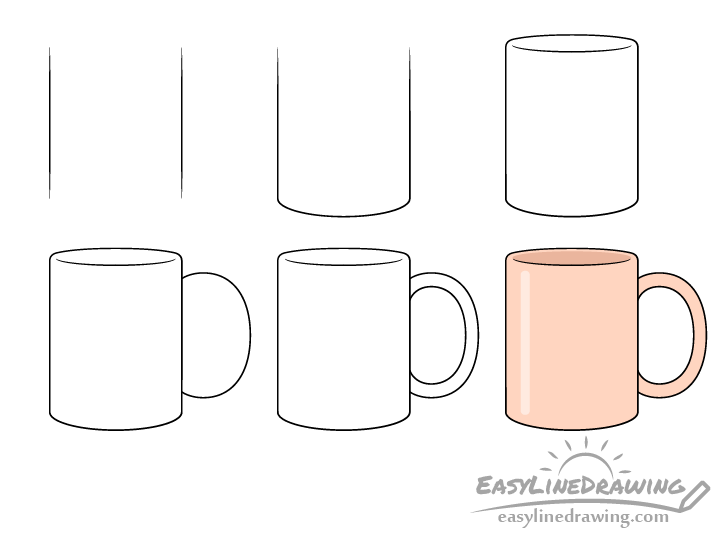
How to Draw a Mug Step by Step EasyLineDrawing
To solidify the sharpie drawing on the ceramic mug, you need to bake it in the oven. Sketch your ideas on a paper. Web follow along to learn how to draw a cute mug of hot chocolate easy, step by step. When done, remove from oven. Wash and then of course, fill and enjoy with your favorite beverage to enjoy.

How to draw cute mugs YouTube
The curve should touch the bottom of the vertical lines and be symmetrical to maintain the mug’s form. Only the infusible ink transfer sheet design is on the mug at this point. Web place your mug in the heated mug press and press down on the lever. A mug is basically a cylinder or tube. Please like and comment down.
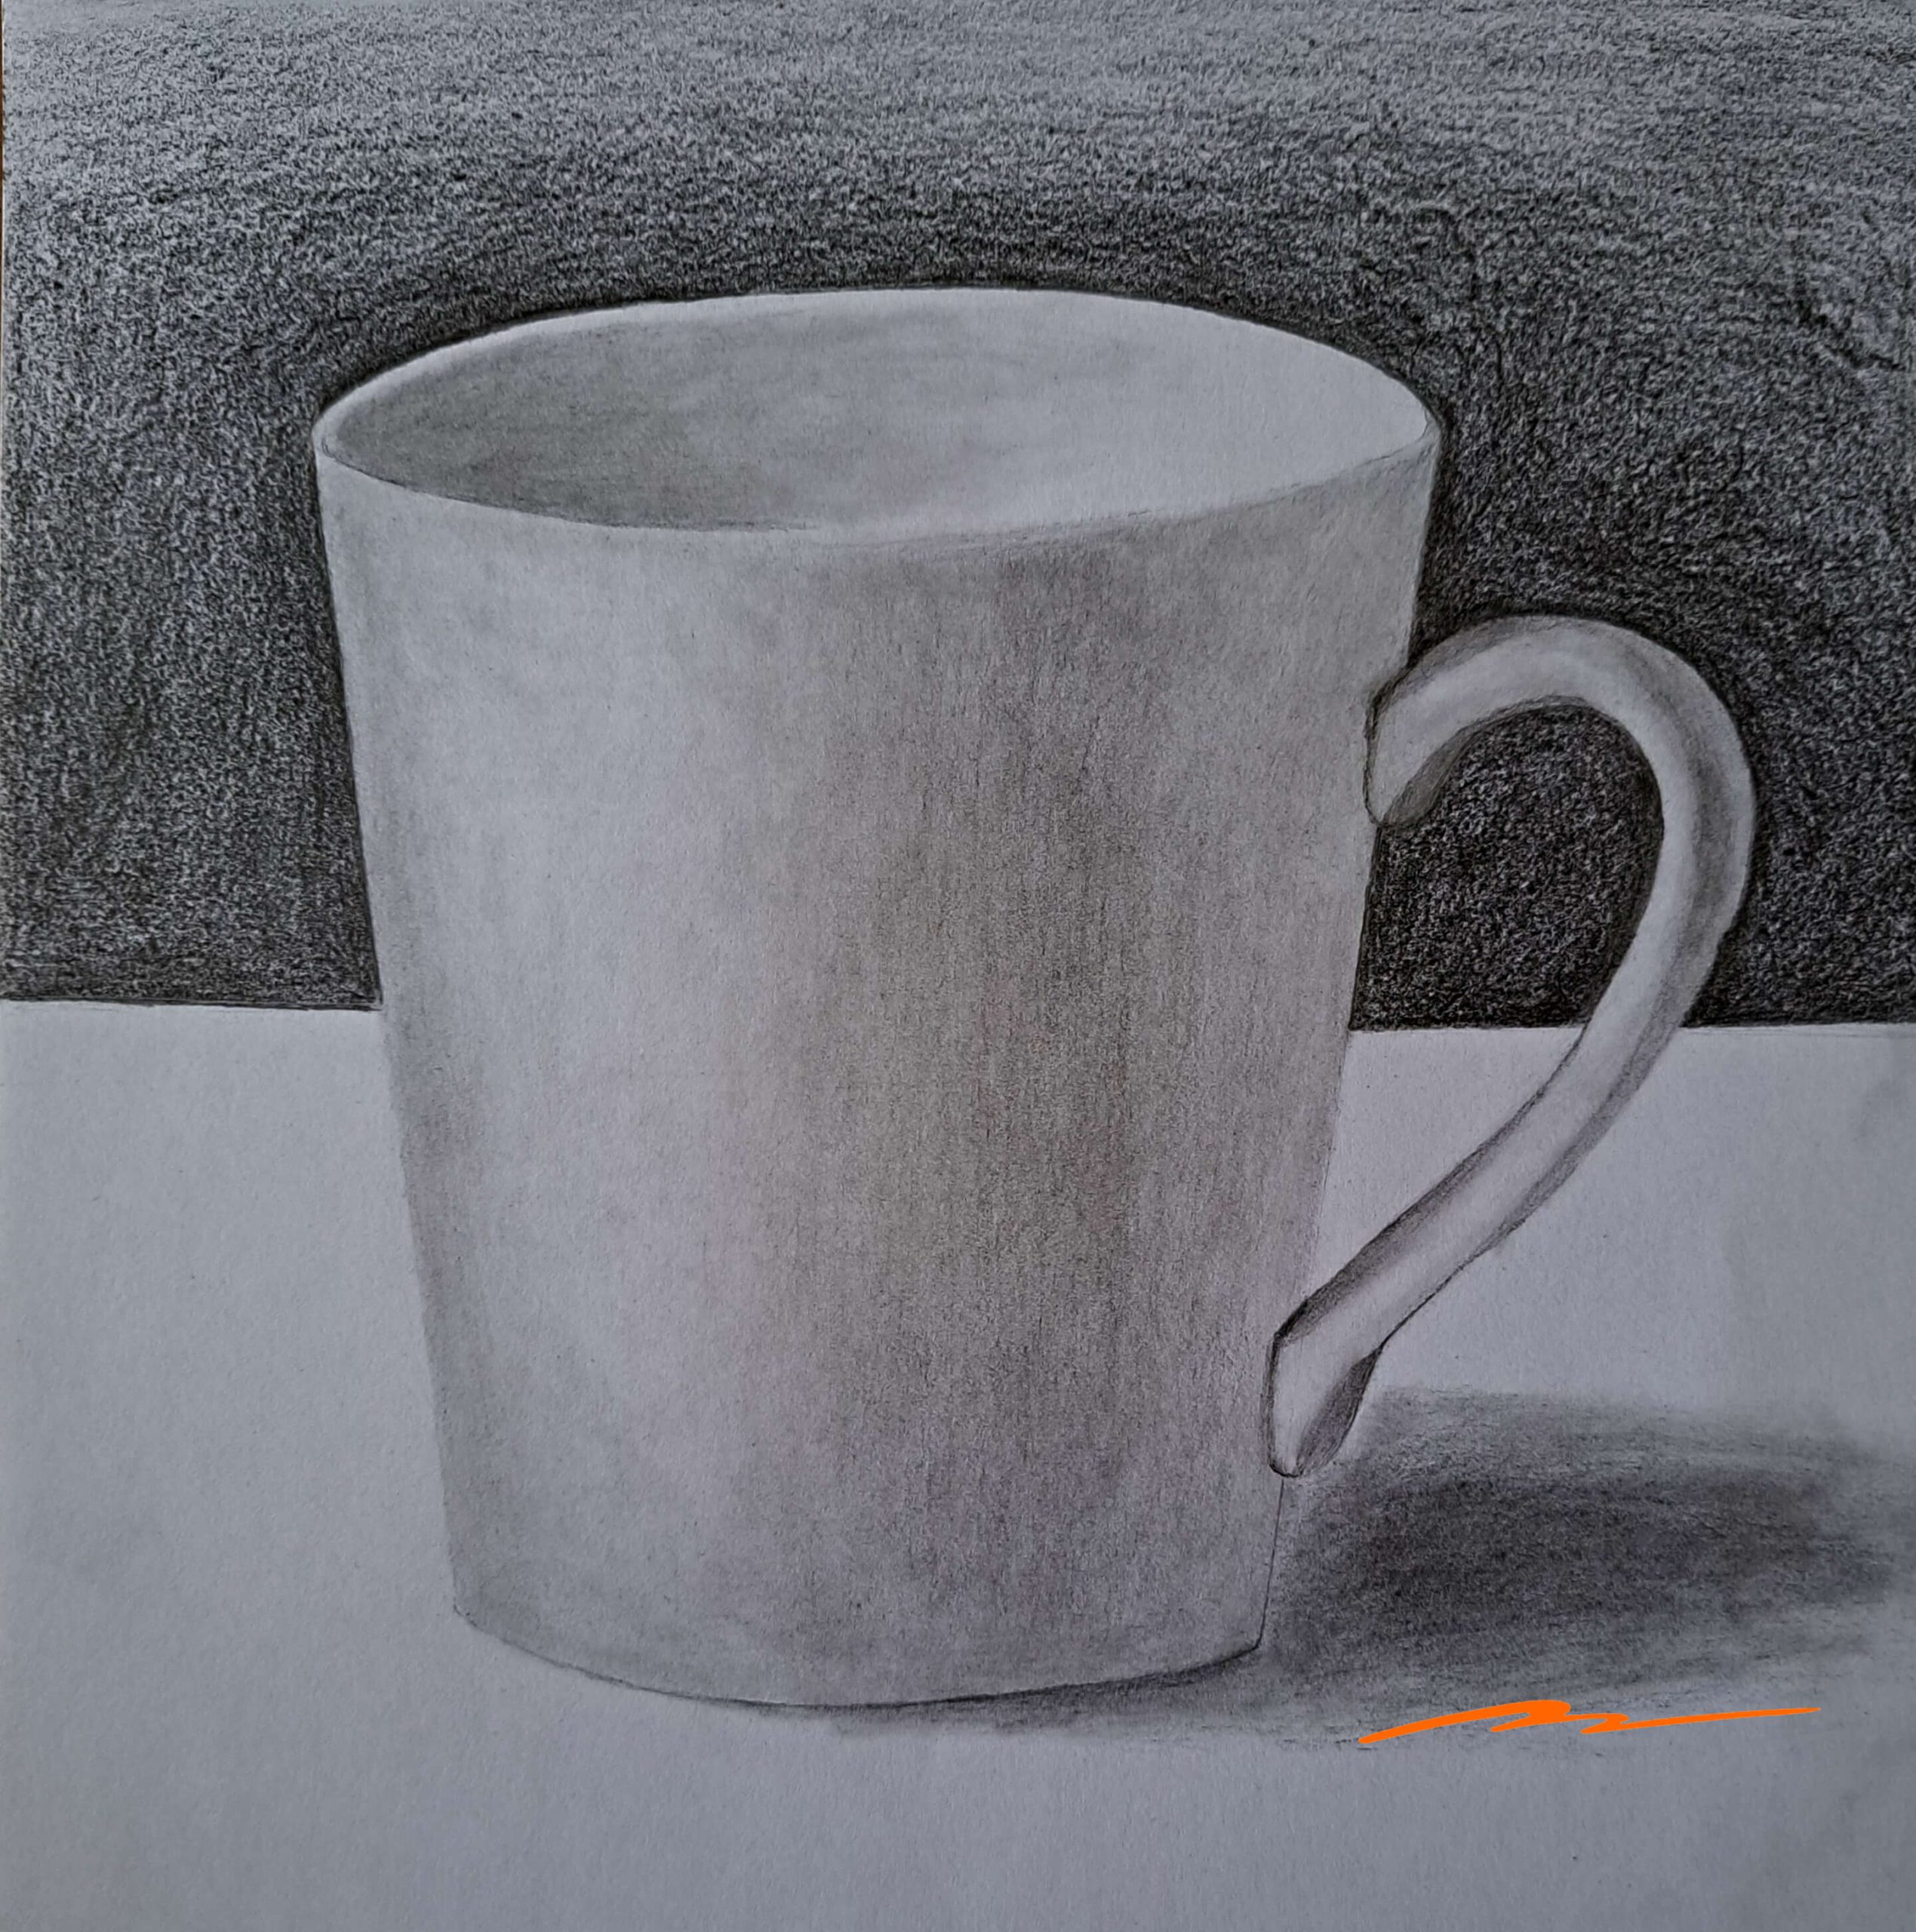
How to Draw a Mug and Shade Like a Pro Muus Art
Add details to your mug, like a pattern, logo. When done, remove from oven. Next, add two equal triangles (b) with bases at the top of the mug. Next use a clean lint roller to thoroughly clean off the mug. Web add the bottom of the mug.

How to draw Mug shading still life for beginners step by step YouTube
Place your mugs on a rimmed baking sheet (makes getting them in and out of the oven easier) and place them in a cold oven. Use infusible ink pens to draw your design on sublimation paper or laser paper. Web this will also make your mug design dishwasher safe (top rack). Web add the bottom of the mug. Web follow.

How to Draw a Coffee Mug in 3D Easy Drawing for Kids & Beginners
Even if you don’t see anything on the mug, the goal is to pick up tiny invisible pieces of lint or dust. Clean mug & tape on design. Next, add your “draw” design on top. Please like and comment down what you want me to draw in my next video!! I left mine in the oven for a few hours.
Once The 30 Minutes Is Up, Turn Off The Oven And Let The Mugs Cool Down Inside The Oven.
Go back to the handle of the mug and refine its. Next use a clean lint roller to thoroughly clean off the mug. Web add the bottom of the mug. Turn the oven off, leaving the mugs inside, until it cools down.
Cut A Piece Of Laser Copy Paper To Fit Where You Want To Place The Design On The Mug.
When done, remove from oven. These can look discolored after you transfer the design in the heat press. Web this is quite an easy tutorial on 'how to draw a mug' so i hope you like it. Only the infusible ink transfer sheet design is on the mug at this point.
Next, Add Two Equal Triangles (B) With Bases At The Top Of The Mug.
Place your mugs on a rimmed baking sheet (makes getting them in and out of the oven easier) and place them in a cold oven. Inside the outline from the previous step draw the inner part of the handle (as shown in the example). Twe close the bottom of the mug with a curved line that mirrors the top oval. Once preheated, let the mugs bake for 25 minutes.
A Mug Is Basically A Cylinder Or Tube.
Web follow along to learn how to draw a cute mug of hot chocolate easy, step by step. Set the oven to 350 degrees fahrenheit and bake it for 20 minutes. Make sure the paper is large enough to cover the design area entirely. Web this will also make your mug design dishwasher safe (top rack).