How To Draw Tomatoes
How To Draw Tomatoes - Then, add another curved line at the bottom of the oval to create the base. Using a few short lines, depict the stalk and the small pod. First, draw a u shaped line. This will serve as the foundation for your tomato. Web fujimoto's unconventional personality has greatly influenced his work. Draw another leaf by drawing two lines that angle out away from the entire stem joining it to the leaves you had drawn earlier. As already mentioned the shadow will be cast mainly to the right and slightly towards the back. To do this, simply draw another curved line coming down from the leaves on top. Draw some fine lines on the left side of the main body of your tomato. Then draw a leaf on the stem.
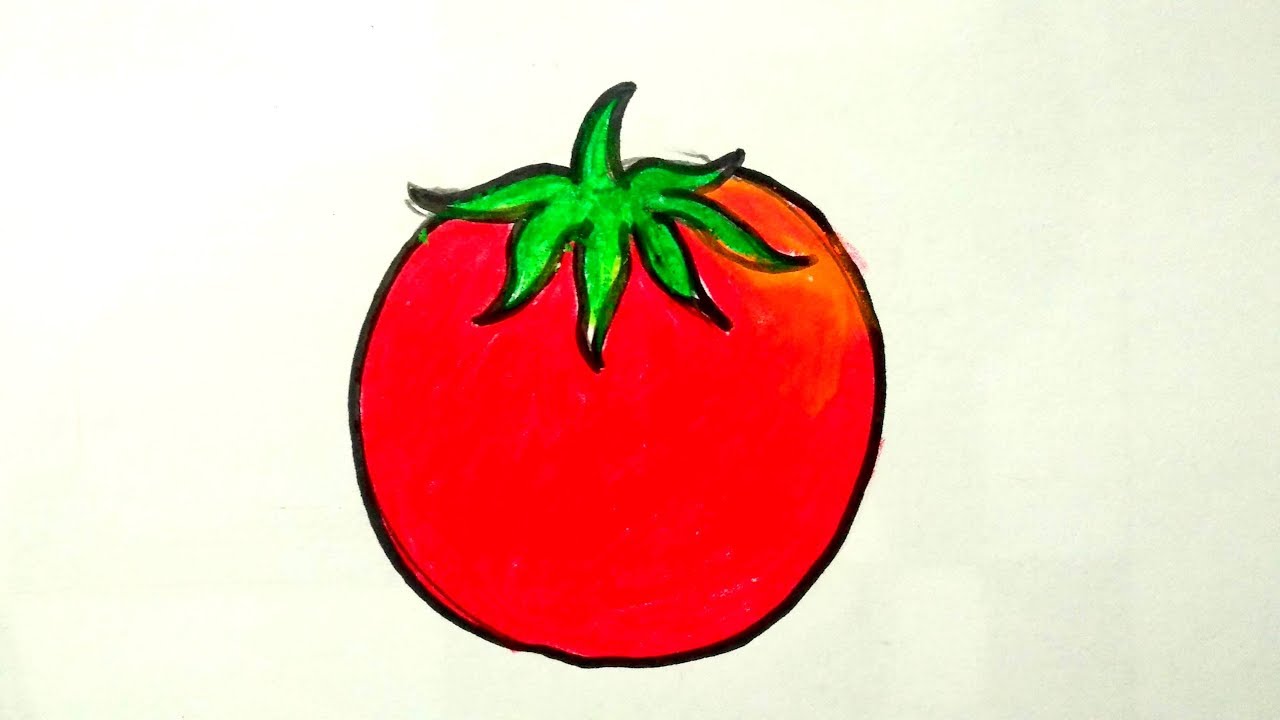
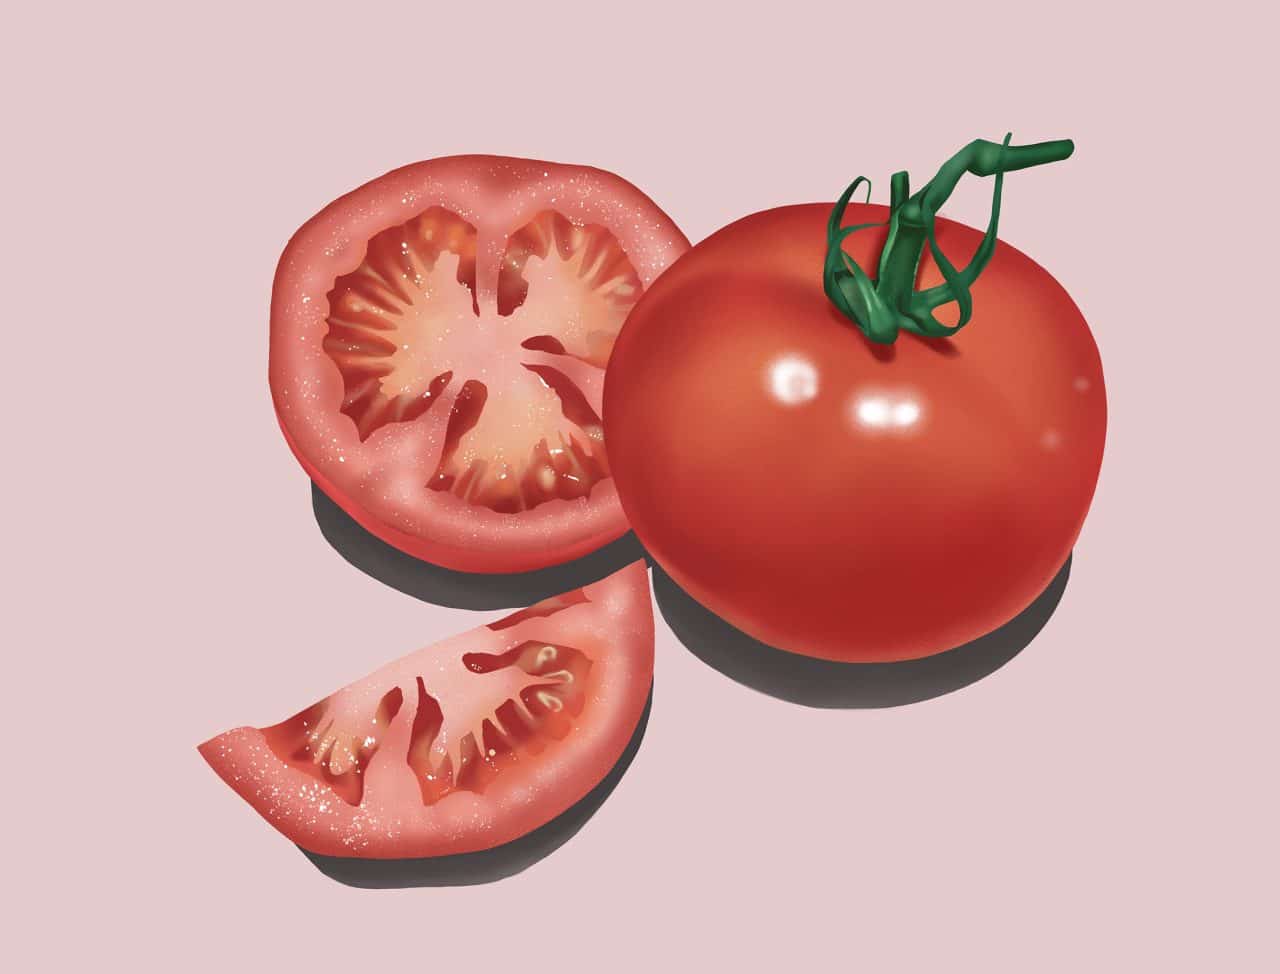
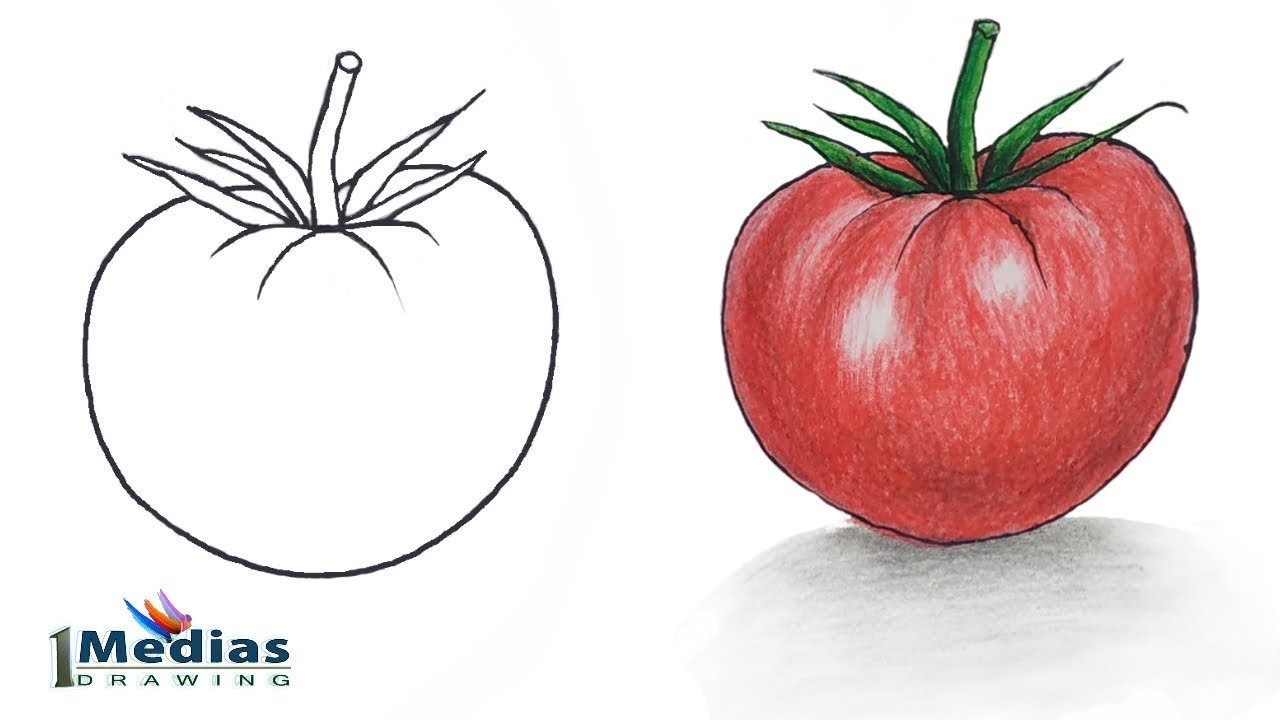
For this particular setup the light is coming from the upper left of the tomato and slightly to the front of it as well. How to draw a tomato in 3 different options! Draw some more fine lines in the opposite direction. Web we give volume to the tomato with two curved lines that start from the bottom and end near the leaves. Next, draw curved lines extending from the top and bottom of the tomato shape. A tomato is like a ball, so be gentle and make a round shape. You stem should be fully complete now. Colour the tomato in bright red and make the leaves green. Add a small u shape for the top and a line with a small circle for the stem. Web when a tomato plant is in the ground, there are more water reserves to draw from and, typically, deeper roots to reach further into the ground.
To establish the contours of the tomato, draw a slightly curved line across the top of the oval shape. Add a curved line for the indentation at the top and another for the shine on the side. Web hi everyone, in this video i show you how to draw a tomato step by step 🍅. Web start by drawing the simple shape of the tomato. Then draw a leaf on the stem. But when that water is removed, their taste remains, meaning a more concentrated flavor. Web draw the outline of the tomato. Using a few short lines, depict the stalk and the small pod. Use the points of the stems on either side to. There is hardly a more eccentric and unorthodox figure in the manga world than tatsuki fujimoto, whose personality is almost more peculiar than his most influential series, chainsaw man.
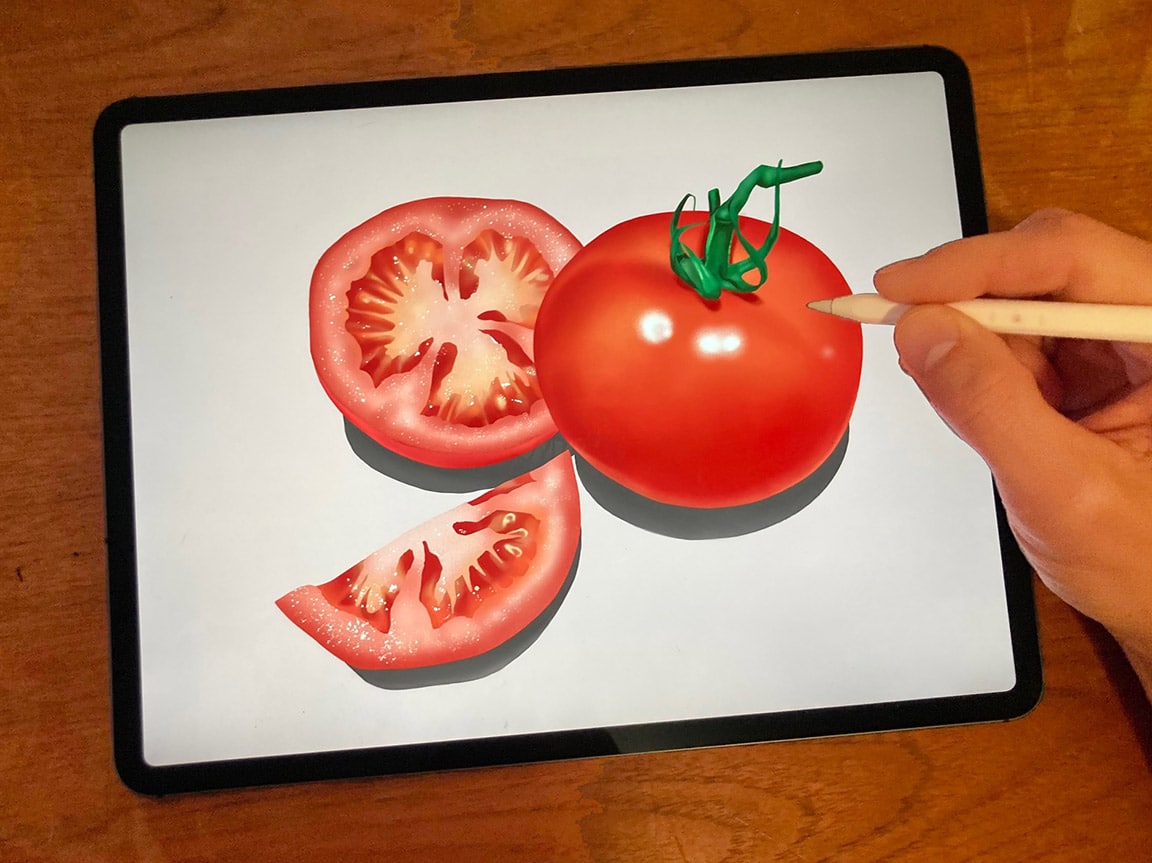
How To Draw Tomatoes Step by Step Procreate Tutorial
Then, add another curved line at the bottom of the oval to create the base. This will represent the area where the stem connects to the body of the tomato. Finally, erase any extra lines and color in your drawing. We correct the upper right side; Draw it coming up from the middle of the leaves and make it slightly.
How to draw a tomato step by step YouTube
Draw a few small curved lines. Follow my step by step drawing tutorial and make your own tomato drawing easy!👇. Draw some more fine lines in the opposite direction. Web start by drawing the simple shape of the tomato. Web draw two symmetrical semicircles inside the oval.
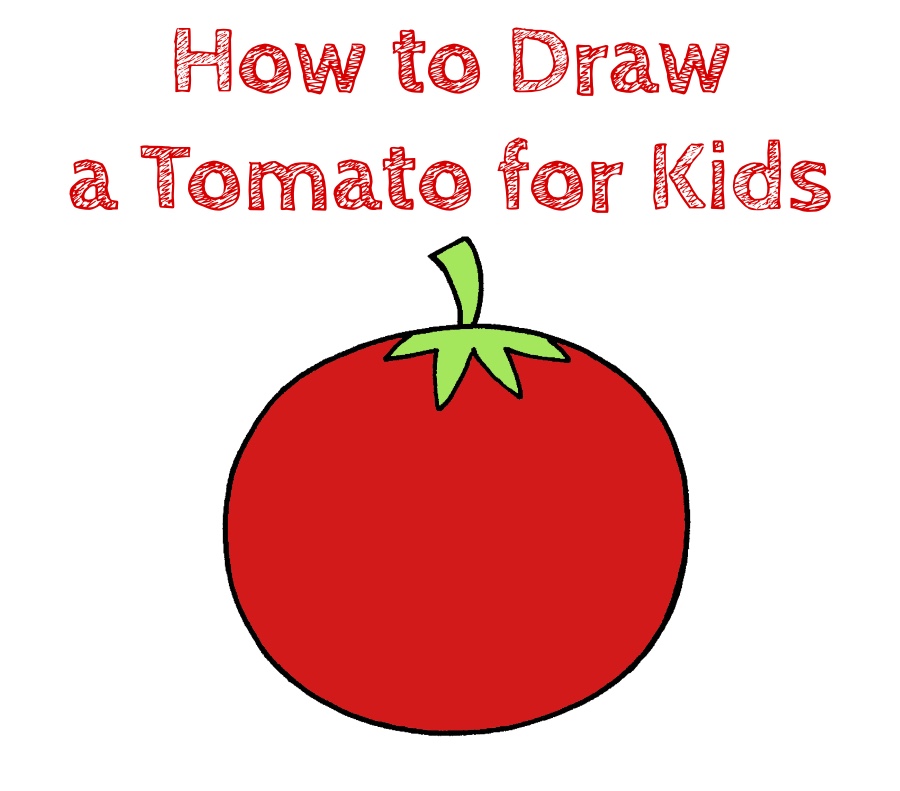
How to Draw a Tomato for Kids How to Draw Easy
These lines will add volume and form to your drawing. Web start by drawing the simple shape of the tomato. Draw another curved line across the bottom of the u to outline the tongue. In this drawing lesson, we’ll show how to draw a tomato step by step total 5 phase, and it will be easy tutorial. A tomato is.

How to draw a Tomato Tomato Food Easy Draw Tutorial YouTube
A tomato is like a ball, so be gentle and make a round shape. Draw some fine lines on the left side of the main body of your tomato. For this particular setup the light is coming from the upper left of the tomato and slightly to the front of it as well. Next, draw curved lines extending from the.

How TO Draw tomato step by step/easy tomato drawing YouTube
Corn acts as a support system for climbing beans, beans add nitrogen to the soil and help stabilize the tall corn during heavy winds, and the large squash leaves shade the ground helping retain soil moisture and prevent weeds. Draw the pedicel with a small square and two short lines. This will draw out the moisture in only a few.
How To Draw Tomatoes Step by Step Procreate Tutorial dobbernationLOVES
But when that water is removed, their taste remains, meaning a more concentrated flavor. For this final step of the line drawing first add the stem. Colour the tomato in bright red and make the leaves green. How to draw a tomato in 3 different options! Web how to draw a tomato step by step (very easy) || drawing ||.

How to draw a tomato step by step (very easy) drawing art video
Next, draw curved lines extending from the top and bottom of the tomato shape. There is hardly a more eccentric and unorthodox figure in the manga world than tatsuki fujimoto, whose personality is almost more peculiar than his most influential series, chainsaw man. Observe the texture of a real tomato and try to replicate it using short, curved lines. Fast,.
How to Draw Tomato Step by Step (So Easy) YouTube
Web draw the outline of the tomato. You can erase the small bits of the drawing where it overlaps the lines from the previous steps. Then draw a leaf on the stem. This will draw out the moisture in only a few minutes. Web hi everyone, in this video i show you how to draw a tomato step by step.

How to Draw a Tomato Really Easy Drawing Tutorial
Add a curved line for the indentation at the top and another for the shine on the side. Draw a few small curved lines. Web how to draw a tomato easy and step by step. How to draw a tomato in 3 different options! Add some dots to the semicircles presenting the seeds.

How To Draw Tomatoes Step by Step Procreate Tutorial
Web when a tomato plant is in the ground, there are more water reserves to draw from and, typically, deeper roots to reach further into the ground. Follow my step by step drawing tutorial and make your own tomato drawing easy!👇. Web hi everyone, in this video i show you how to draw a tomato step by step 🍅. But,.
Web (Photo By Mark Mainz /Getty Images) Roger Corman’s Best Movies.
Next, draw curved lines extending from the top and bottom of the tomato shape. Use the points of the stems on either side to. Follow my step by step drawing tutorial and make your own tomato drawing easy!👇. Side erase the unnecessary line so that only the drawing remains.
Darken The Shadows Even Further, Adding Depth And Dimension To Your Drawing.
Now we are going to draw a full tomato behind the slide. Start by drawing two lines that curve out from the stem you had drawng. Draw another curved line across the bottom of the u to outline the tongue. This will draw out the moisture in only a few minutes.
Web ️ ️ ️ ️ Get 2 Months Of Skillshare Free:
Draw some more fine lines in the opposite direction. Determine the location and size of the tomato and draw a circle. For this particular setup the light is coming from the upper left of the tomato and slightly to the front of it as well. Draw a few small curved lines.
Colour The Tomato In Bright Red And Make The Leaves Green.
Web now it’s time to add texture and details to your tomato drawing. Web start by drawing the simple shape of the tomato. You can erase the small bits of the drawing where it overlaps the lines from the previous steps. Leave room for the stalk.