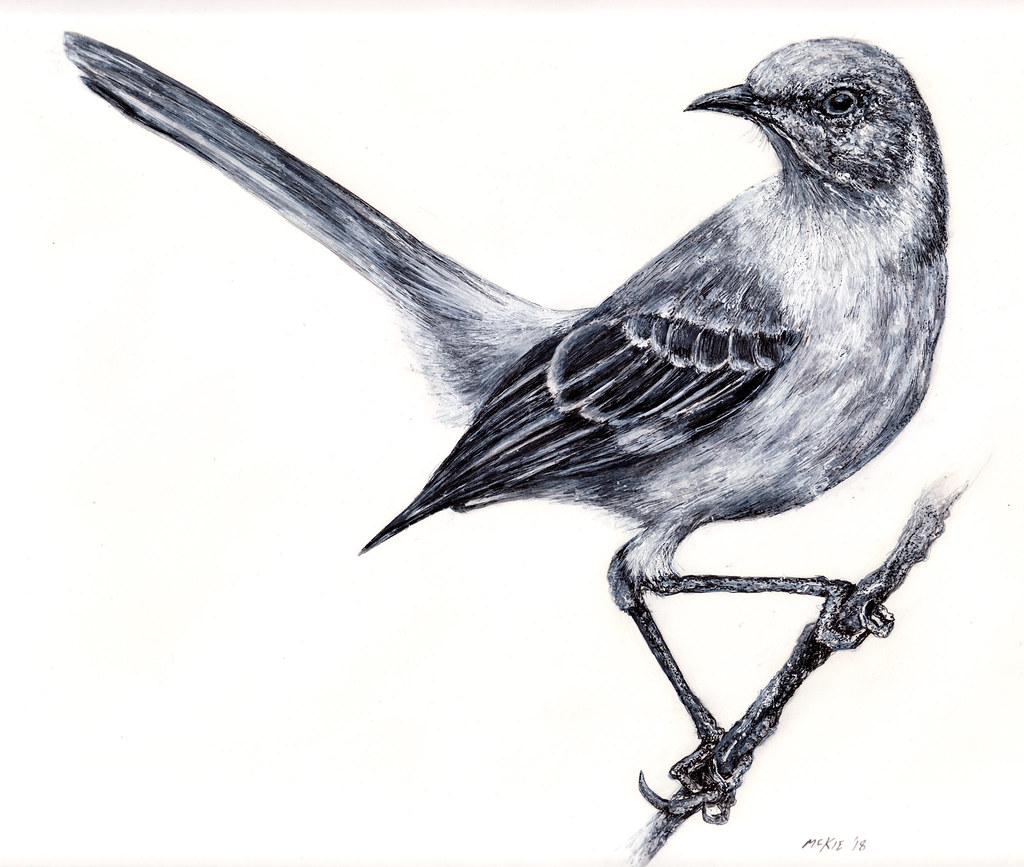
Mockingbird Drawings
Mockingbird Drawings - Colored pencils (sometimes we also use prismacolor. Complete the wing and uppertail coverts with details. Web draw the short beak. Add a round eye on the head. Web for the first few steps, don't press down too hard with your pencil. Draw two smaller circles for the wings and a slightly bent line for the tail. Allow the lines to meet at a sharp, somewhat hooked point, forming the beak. With practice you’ll be able to create your own stunning bird in no time. At the top of the head, draw two circles of different sizes, place one inside the other. Web reference image of a mockingbird;
After the beak, draw a small circular shape for the eye should be drawn, and then a smaller circle within it should be drawn. Draw the shape of the leg and foot around the guide lines. Outline the body and uppertail coverts. Place these shapes in the proper locations, taking into consideration the bird’s general posture and proportions. For the top of the head, we will be using a curved, almost completely horizontal line. At the top of the head, draw two circles of different sizes, place one inside the other. To draw each circle, first make four marks to determine the circle's height and width. Mockingbird, any of a few adaptable warblers of the new world family m. Add the eye of the mockingbird. Colored pencils (sometimes we also use prismacolor.
On the right side of the mockingbird’s head, draw the long pointed beak using curved lines. Draw the shape of the leg and foot around the guide lines. Draw the circle eye and the ear patch. Web depict the head as an oval shape and add the torso as a deformed oval. Draw short, overlapping lines at the base of the neck to indicate the texture of feathers. Web mockingbird drawing easy, how to draw a mockingbird flying for beginners step by step. At the top of the head, draw two circles of different sizes, place one inside the other. The northern mockingbird is a large thrush with long legs and a long tail, plus the added details will make it everyone's favorite. Allow the lines to meet at a sharp, somewhat hooked point, forming the beak. Web draw its beak.

Mockingbird drawing easy How to draw A Mockingbird step by step
Draw the shape of the leg and foot around the guide lines. Web texas mockingbird state bird art print / texas decor / mockingbird drawing / texas gift / black and white bird drawing (405) $ 15.75. This is a list of the supplies we used, but feel free to use whatever you have in your home or classroom. For.
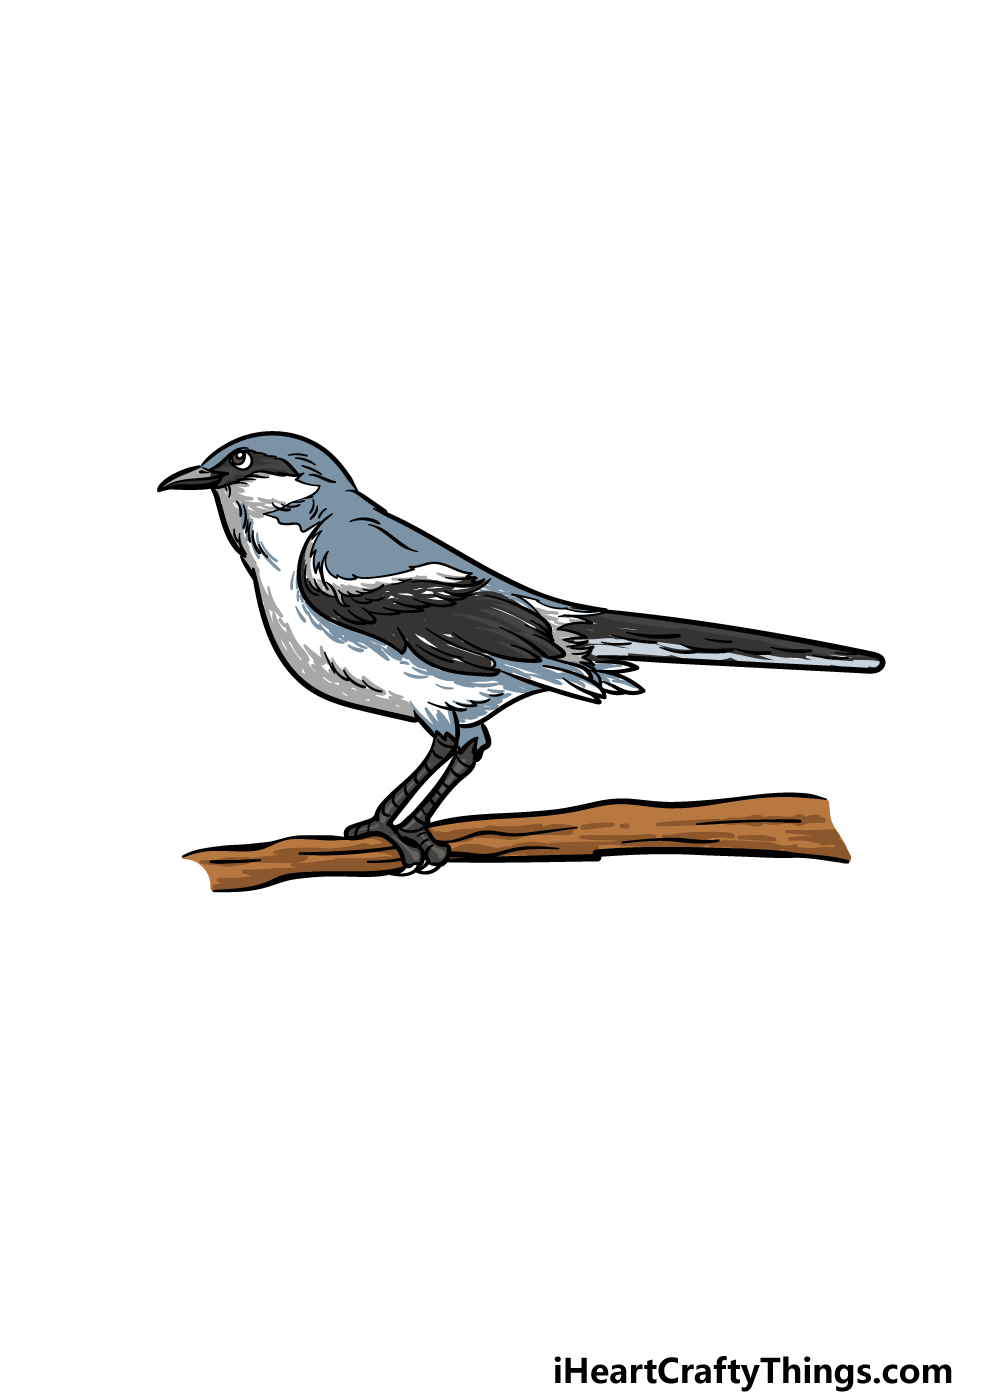
How To Draw A Mockingbird Easy Step By Step Drawing Art Ideas
Add the eye of the mockingbird. Outline the body and uppertail coverts. Make the tips of the toes pointy and curved for the nails. Place these shapes in the proper locations, taking into consideration the bird’s general posture and proportions. The northern mockingbird is a large thrush with long legs and a long tail, plus the added details will make.

Northern Mockingbird Modern Wall Art Fine Art Print A4 Etsy Bird
Outline the crown and nape. Add a round eye on the head. Next, attach another curved line coming down from the beak for the. Sketch out the mockingbird’s beak. Once you’ve completed your drawing, if you’re not happy with the results, don’t feel discouraged.
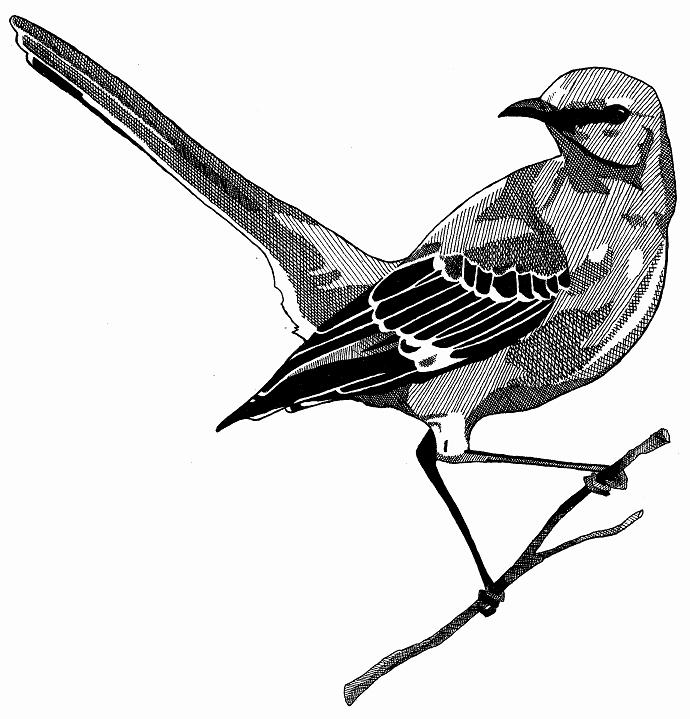
Northern Mockingbird Drawing
Begin with an oval shape for the body and a smaller circle for the. Draw two smaller circles for the wings and a slightly bent line for the tail. Draw two wings on each side of the body, with feather details. Use light, smooth strokes to begin so that it's easy to erase if you make a mistake. Web for.
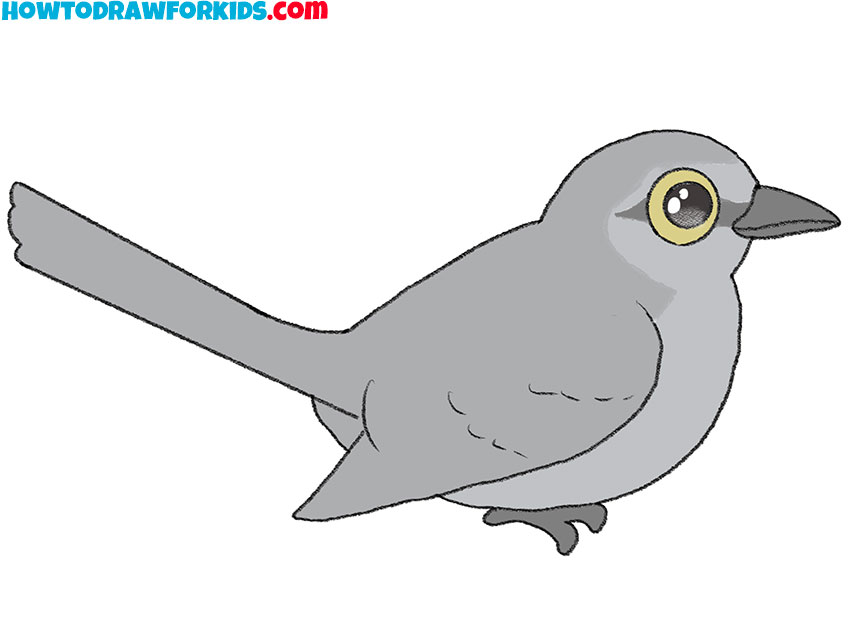
How to Draw a Mockingbird Easy Drawing Tutorial For Kids
Sketch out the mockingbird’s beak. His debut lp, ready to die, was packed with graphic depictions of the late rapper’s early struggles and. For the torso, start with an oval form, and for the head, start with a smaller circle. Art supplies ~ this is a lis. Web mockingbird drawing easy, how to draw a mockingbird flying for beginners step.

How to Draw a Mockingbird Really Easy Drawing Tutorial
Here is what you will need to learn how to draw a mockingbird: The iconic biggie smalls is arguably the best hip hop storyteller of all time. We use our art for kids hub markers. Draw the circle eye and the ear patch. His debut lp, ready to die, was packed with graphic depictions of the late rapper’s early struggles.

How to Draw a Mockingbird Really Easy Drawing Tutorial
The northern mockingbird is a large thrush with long legs and a long tail, plus the added details will make it everyone's favorite. Drawing a mockingbird takes patience, practice and skill. With practice you’ll be able to create your own stunning bird in no time. Draw the thighs,legs and claws. Web draw the shape of the foot and toes around.

A quick mockingbird drawing Bird drawings, Teenage drawings, Bird sketch
Draw short, overlapping lines at the base of the neck to indicate the texture of feathers. For the torso, start with an oval form, and for the head, start with a smaller circle. Include shading, patterns, and colors (such as grays, blacks, and whites) to. For the top of the head, we will be using a curved, almost completely horizontal.
Mockingbird Drawing at Explore collection of
You can purchase our coloring art markers here. Add a round eye on the head. This is a list of the supplies we used, but feel free to use whatever you have in your home or classroom. Web lastly, don’t panic if your initial attempts at drawing don’t turn out quite as expected. Draw the shape of the leg and.
Mockingbird Drawing at Explore collection of
This will attach to the beak, and the beak is quite thin and pointy. Web depict the head as an oval shape and add the torso as a deformed oval. Web draw its beak. It has the lightest brown upper parts, moderately dark breasts, two. Web draw the shape of the foot and toes around the curved line at the.
Web Draw The Short Beak.
Use light, smooth strokes to begin so that it's easy to erase if you make a mistake. Web mockingbird drawing easy, how to draw a mockingbird flying for beginners step by step. After the beak, draw a small circular shape for the eye should be drawn, and then a smaller circle within it should be drawn. Allow the lines to meet at a sharp, somewhat hooked point, forming the beak.
Mockingbird, Any Of A Few Adaptable Warblers Of The New World Family M.
Web draw a thin, slightly curved beak on the head. Web today, jack and i are learning how to draw a mockingbird! An incendiary mockingbird is depicted drawing. At the top of the head, draw two circles of different sizes, place one inside the other.
Draw Two Circles As Guides For The Mockingbird's Head And The Body.
Sharpie (or something to draw with) paper (we use marker paper) markers to color with. Draw two smaller circles for the wings and a slightly bent line for the tail. His debut lp, ready to die, was packed with graphic depictions of the late rapper’s early struggles and. Start by sketching the basic shapes that will serve as the foundation for your mockingbird.
Draw The Circle Eye And The Ear Patch.
Begin by sketching the bird's head. For the top of the head, we will be using a curved, almost completely horizontal line. For this first step of our guide on how to draw a mockingbird, we will be drawing the head and beak of the bird. Place these shapes in the proper locations, taking into consideration the bird’s general posture and proportions.