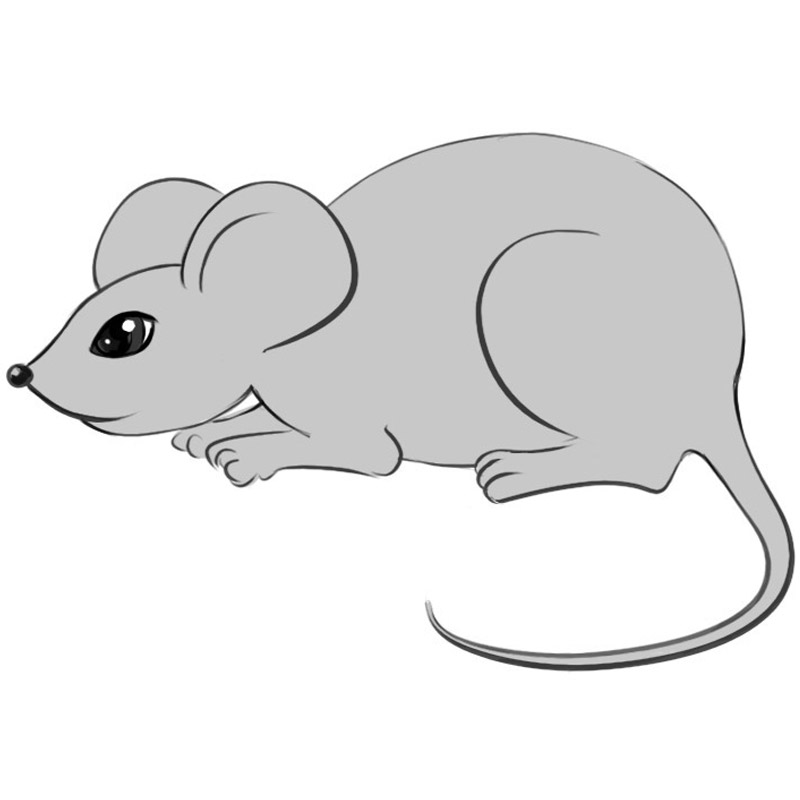
Mouse Drawing
Mouse Drawing - Finally, add some curved lines on the sides of the mouse. Web learn how to draw a cartoon mouse! The pencil lines in each step is drawn blue so you can plainly see the current lines that you will be creating. Web in this beginner’s lesson, we are going to learn how to draw a mouse with your drawing materials. It should be placed at about a third of the way into the main oval, with only the top corner jutting out of the main body. Now it’s time to add some character to your mouse. Draw details for the eyes. For the arms, extend a pair of curved lines and use u shaped lines for the fingers. Draw the mouse's nose and eyes. Draw the ear using a c shaped line, allowing an overlap with the line of the face.
Draw the ear using a c shaped line, allowing an overlap with the line of the face. Draw a small circle to form the nose. It should be placed at about a third of the way into the main oval, with only the top corner jutting out of the main body. The pencil lines in each step is drawn blue so you can plainly see the current lines that you will be creating. Pay attention to the various sizes and shapes of each part of the mouse. Unlock ad free and printable drawing and coloring tutorials. Draw details for the mouse’s face including the nose, mouth, and large front teeth. For the legs, extend two curved lines. Draw the mouse's arms and legs. Detail the toes with a curved line.
Draw a small triangle for the nose, and a tiny curve for the mouth. Draw details for the mouse’s face including the nose, mouth, and large front teeth. Pay attention to the various sizes and shapes of each part of the mouse. It should be placed at about a third of the way into the main oval, with only the top corner jutting out of the main body. Draw the mouse's nose and eyes. For the arms, extend a pair of curved lines and use u shaped lines for the fingers. Draw the big ears using simple curves and add details for the fur. Now it’s time to add some character to your mouse. Double one back upon itself to meet the other, forming the foot. Draw details around the face including the brows and snout.
How to Draw a Mouse Easy Drawing Art
This is the cutest mouse that ever lived :) all you need for this project is a marker, paper, and a pink and yellow colore. Draw details for the eyes. Unlock ad free and printable drawing and coloring tutorials. Double one back upon itself to meet the other, forming the foot. Next, we will put down the construction lines for.

Draw A Mouse Step By Step.
This is the cutest mouse that ever lived :) all you need for this project is a marker, paper, and a pink and yellow colore. Place the nose so the start is centred in the head circle and the nose tip stretches all the way out of the head shape. 1,900+ drawing & coloring pdfs. Draw the big ears using.

How to Draw a Mouse StepbyStep Tutorial Easy Drawing Guides
Draw details for the eyes. Draw the mouse's arms and legs. Draw a small triangle for the nose, and a tiny curve for the mouth. This is the cutest mouse that ever lived :) all you need for this project is a marker, paper, and a pink and yellow colore. Web in this beginner’s lesson, we are going to learn.
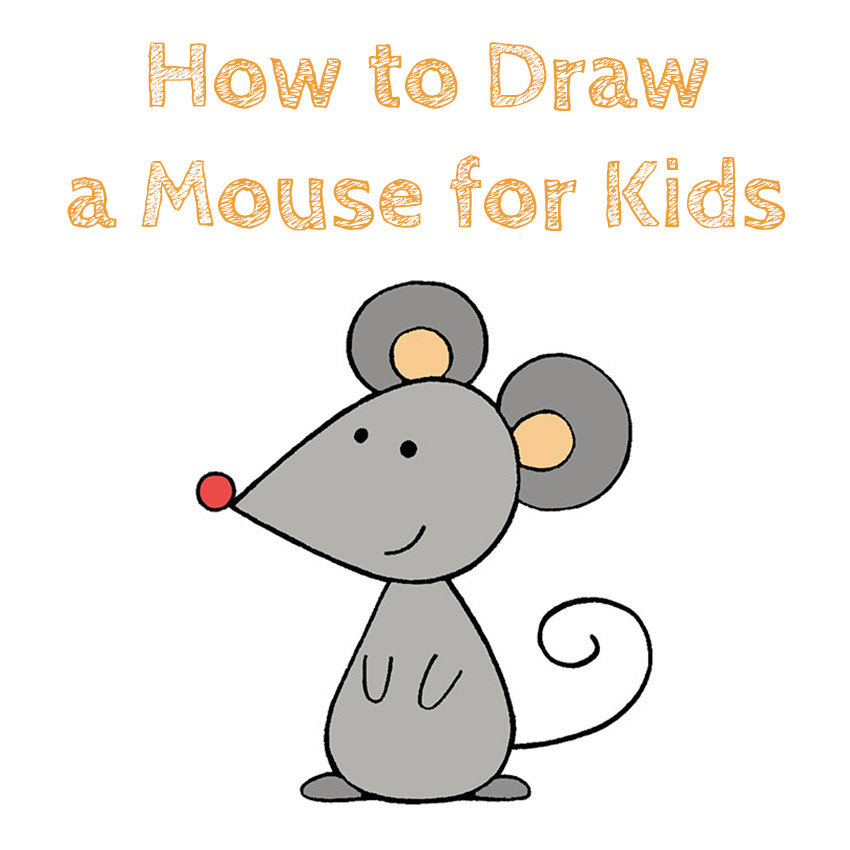
How to Draw a Mouse for Kids How to Draw Easy
Draw the big ears using simple curves and add details for the fur. Web in this beginner’s lesson, we are going to learn how to draw a mouse with your drawing materials. Web this video shows how to draw a realistic mouse un an easy way. Unlock ad free and printable drawing and coloring tutorials. Draw the ear using a.

How to Draw a Cartoon Mouse Easy Drawing Tutorial For Kids
Web in this beginner’s lesson, we are going to learn how to draw a mouse with your drawing materials. Draw a small circle to form the nose. Draw the mouse's arms and legs. Finally, add some curved lines on the sides of the mouse. Web learn how to draw a cartoon mouse!
How to Draw a Mouse · Art Projects for Kids
Draw a small circle to form the nose. For the arms, extend a pair of curved lines and use u shaped lines for the fingers. Draw the mouse's nose and eyes. How to draw a mouse’s ears. Draw the ear using a c shaped line, allowing an overlap with the line of the face.

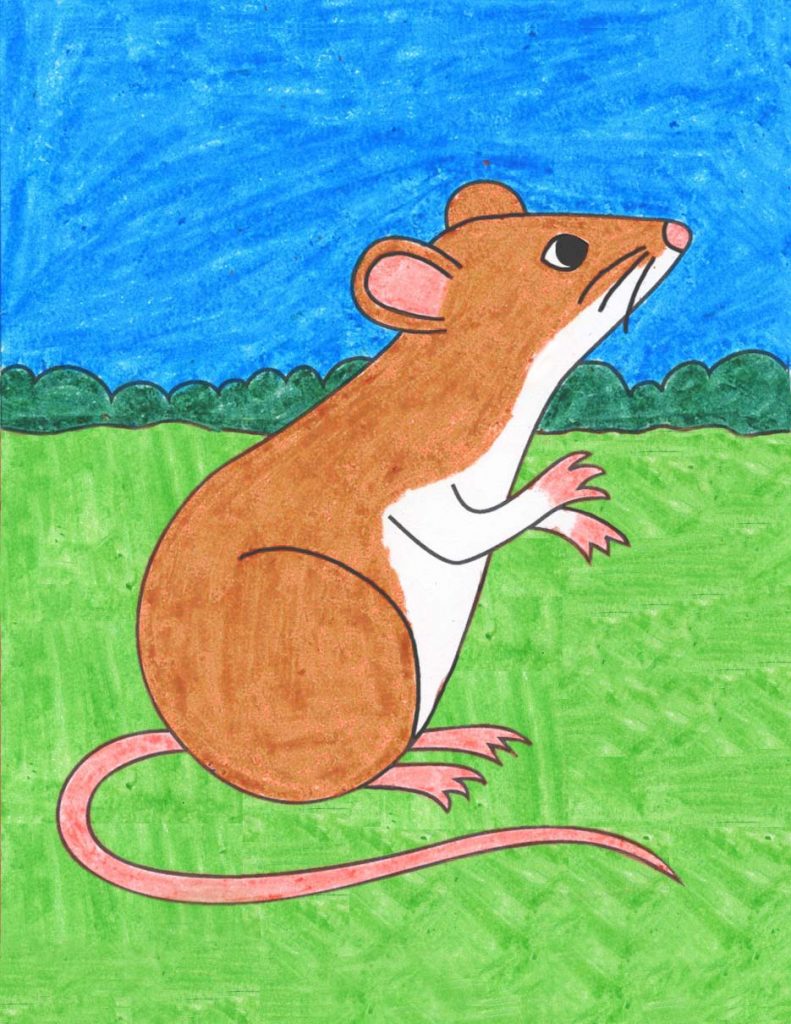
3 Ways to Draw a Mouse wikiHow
For the legs, extend two curved lines. Trace with a pen and erase unnecessary lines. Place the nose so the start is centred in the head circle and the nose tip stretches all the way out of the head shape. Draw the ear using a c shaped line, allowing an overlap with the line of the face. Draw details around.
Mouse Drawing Reference and Sketches for Artists
The pencil lines in each step is drawn blue so you can plainly see the current lines that you will be creating. For the legs, extend two curved lines. Draw the mouse's nose and eyes. Draw details for the eyes. Draw the mouse's nose and eyes.

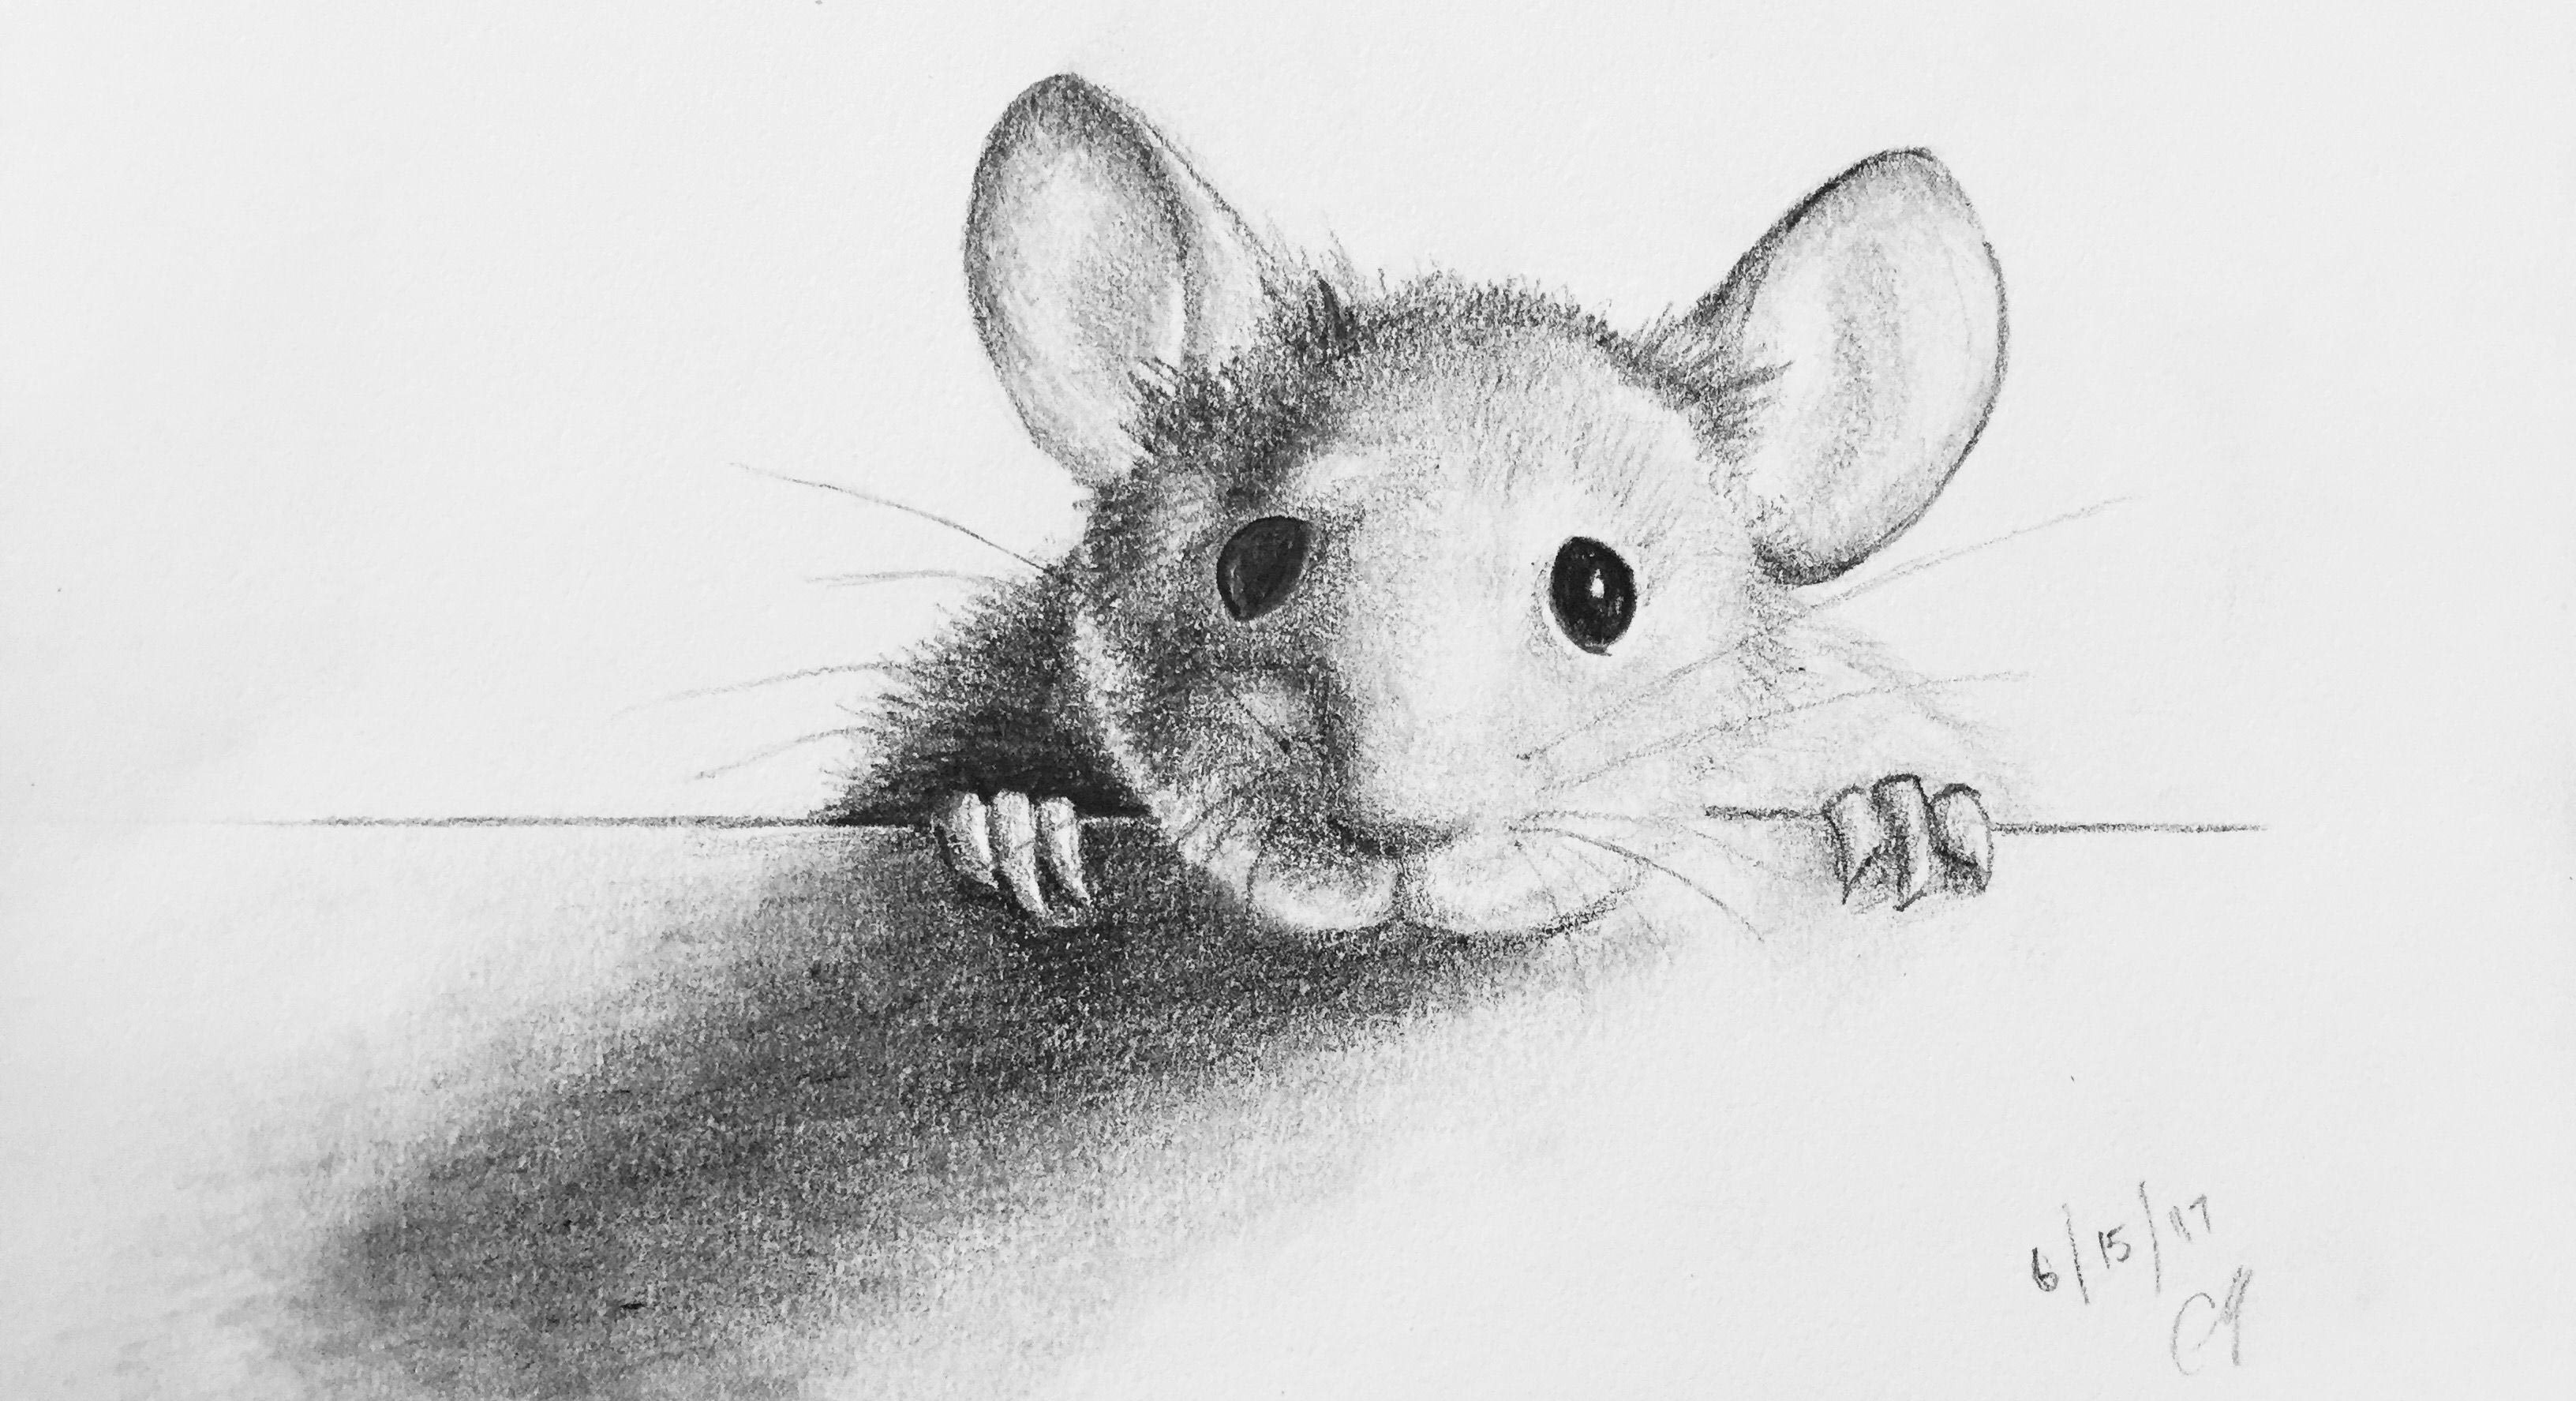
How to Draw a Mouse HelloArtsy
Web this video shows how to draw a realistic mouse un an easy way. Detail the toes with a curved line. For the arms, extend a pair of curved lines and use u shaped lines for the fingers. Web in this beginner’s lesson, we are going to learn how to draw a mouse with your drawing materials. Now it’s time.

How to Draw a Mouse StepbyStep Tutorial Easy Drawing Guides
Draw details for the mouse’s face including the nose, mouth, and large front teeth. For the legs, extend two curved lines. Now it’s time to add some character to your mouse. How to draw a mouse’s ears. Draw details for the eyes.
Web In This Beginner’s Lesson, We Are Going To Learn How To Draw A Mouse With Your Drawing Materials.
Pay attention to the various sizes and shapes of each part of the mouse. Place the nose so the start is centred in the head circle and the nose tip stretches all the way out of the head shape. Next, we will put down the construction lines for the shapes of the mouse’s ears. Finally, add some curved lines on the sides of the mouse.
The Pencil Lines In Each Step Is Drawn Blue So You Can Plainly See The Current Lines That You Will Be Creating.
Draw details for the mouse’s face including the nose, mouth, and large front teeth. Now it’s time to add some character to your mouse. Draw details for the eyes. Trace with a pen and erase unnecessary lines.
It Should Be Placed At About A Third Of The Way Into The Main Oval, With Only The Top Corner Jutting Out Of The Main Body.
For the arms, extend a pair of curved lines and use u shaped lines for the fingers. Web learn how to draw a cartoon mouse! Double one back upon itself to meet the other, forming the foot. Draw a small triangle for the nose, and a tiny curve for the mouth.
Draw The Mouse's Arms And Legs.
Draw the ear using a c shaped line, allowing an overlap with the line of the face. How to draw a mouse’s ears. Draw the mouse's nose and eyes. Draw the big ears using simple curves and add details for the fur.