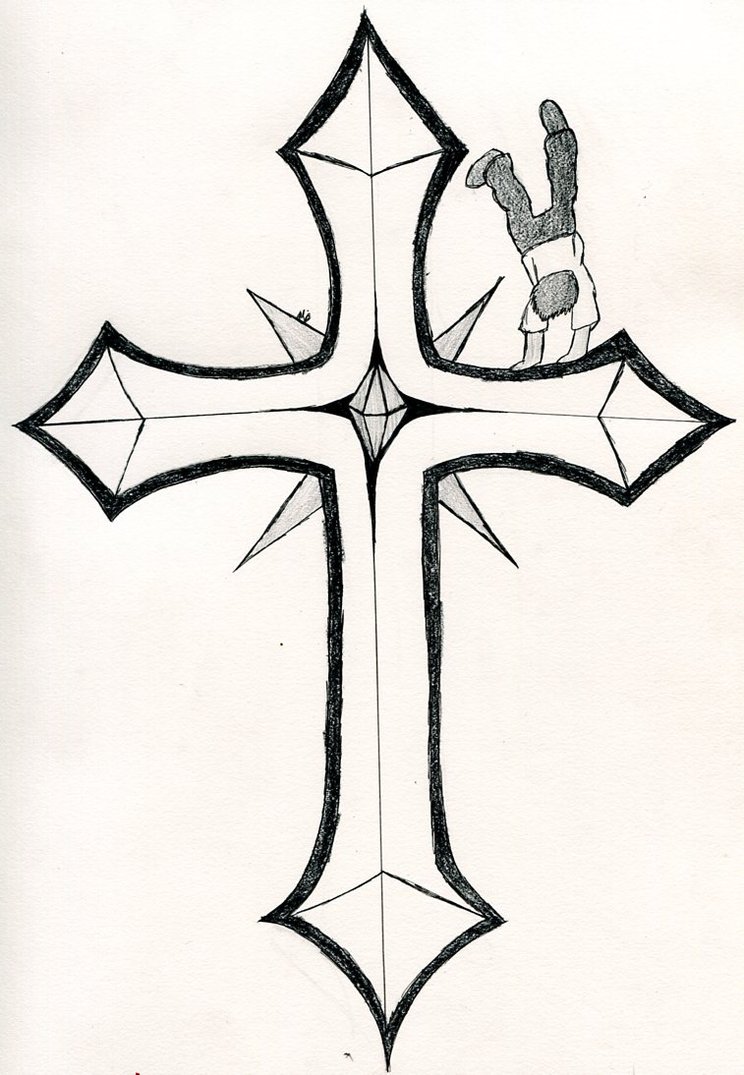
Pretty Crosses To Draw
Pretty Crosses To Draw - Within the horizontal arms of the cross, draw straight lines that slant on opposite parallels. We will pay attention to the shapes of each area and types of contours drawn making sure that the drawing looks right. Web step by step video tutorial for beginners. Notice how there is less space at the top than the bottom. From there, extend another set of straight. Begin by outlining the cross. Next, draw lines on both sides of your “t” guidelines. Draw one above and below the first square you drew and one on each side, just like the first method. Use l shaped lines for the sides of each set of arms. Notice, too, that the lower vertical arm is longer than the other arms.
Begin by outlining the cross. Try to make them roughly the same distance on each side. Between the cross and its outline, draw short straight lines that are slanted in various directions. Draw a number of such leaves along the length of the vine. Next, extend short, straight lines from each side of the upper arm. Notice how there is less space at the top than the bottom. Keep in mind that all three connected lines should. Extend sets of pointed, curved lines from the leaf vein, detailing the leaf with additional veins. Draw one above and below the first square you drew and one on each side, just like the first method. Within the horizontal arms of the cross, draw straight lines that slant on opposite parallels.
Notice, too, that the lower vertical arm is longer than the other arms. You do not want to draw a plus sign with evenly placed lines. Use l shaped lines for the sides of each set of arms. Draw 2 more squares below the bottom square. Web step by step video tutorial for beginners. This outlines the edges of the stained glass sections. Draw a leaf around the vein using curved lines that meet at jagged points. Begin by outlining the cross. Between the cross and its outline, draw short straight lines that are slanted in various directions. Next, extend short, straight lines from each side of the upper arm.

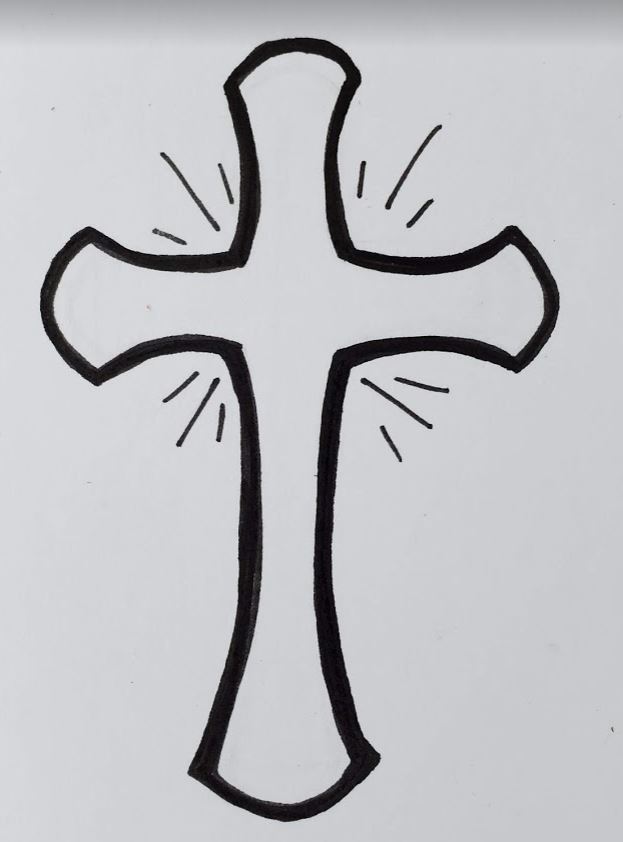
Beautiful Cross Drawing
Next, draw lines on both sides of your “t” guidelines. Starting in the upper middle portion of your paper, draw a horizontal line to outline the top of the cross. Web step by step video tutorial for beginners. Draw a leaf around the vein using curved lines that meet at jagged points. This too outlines sections of the glass.

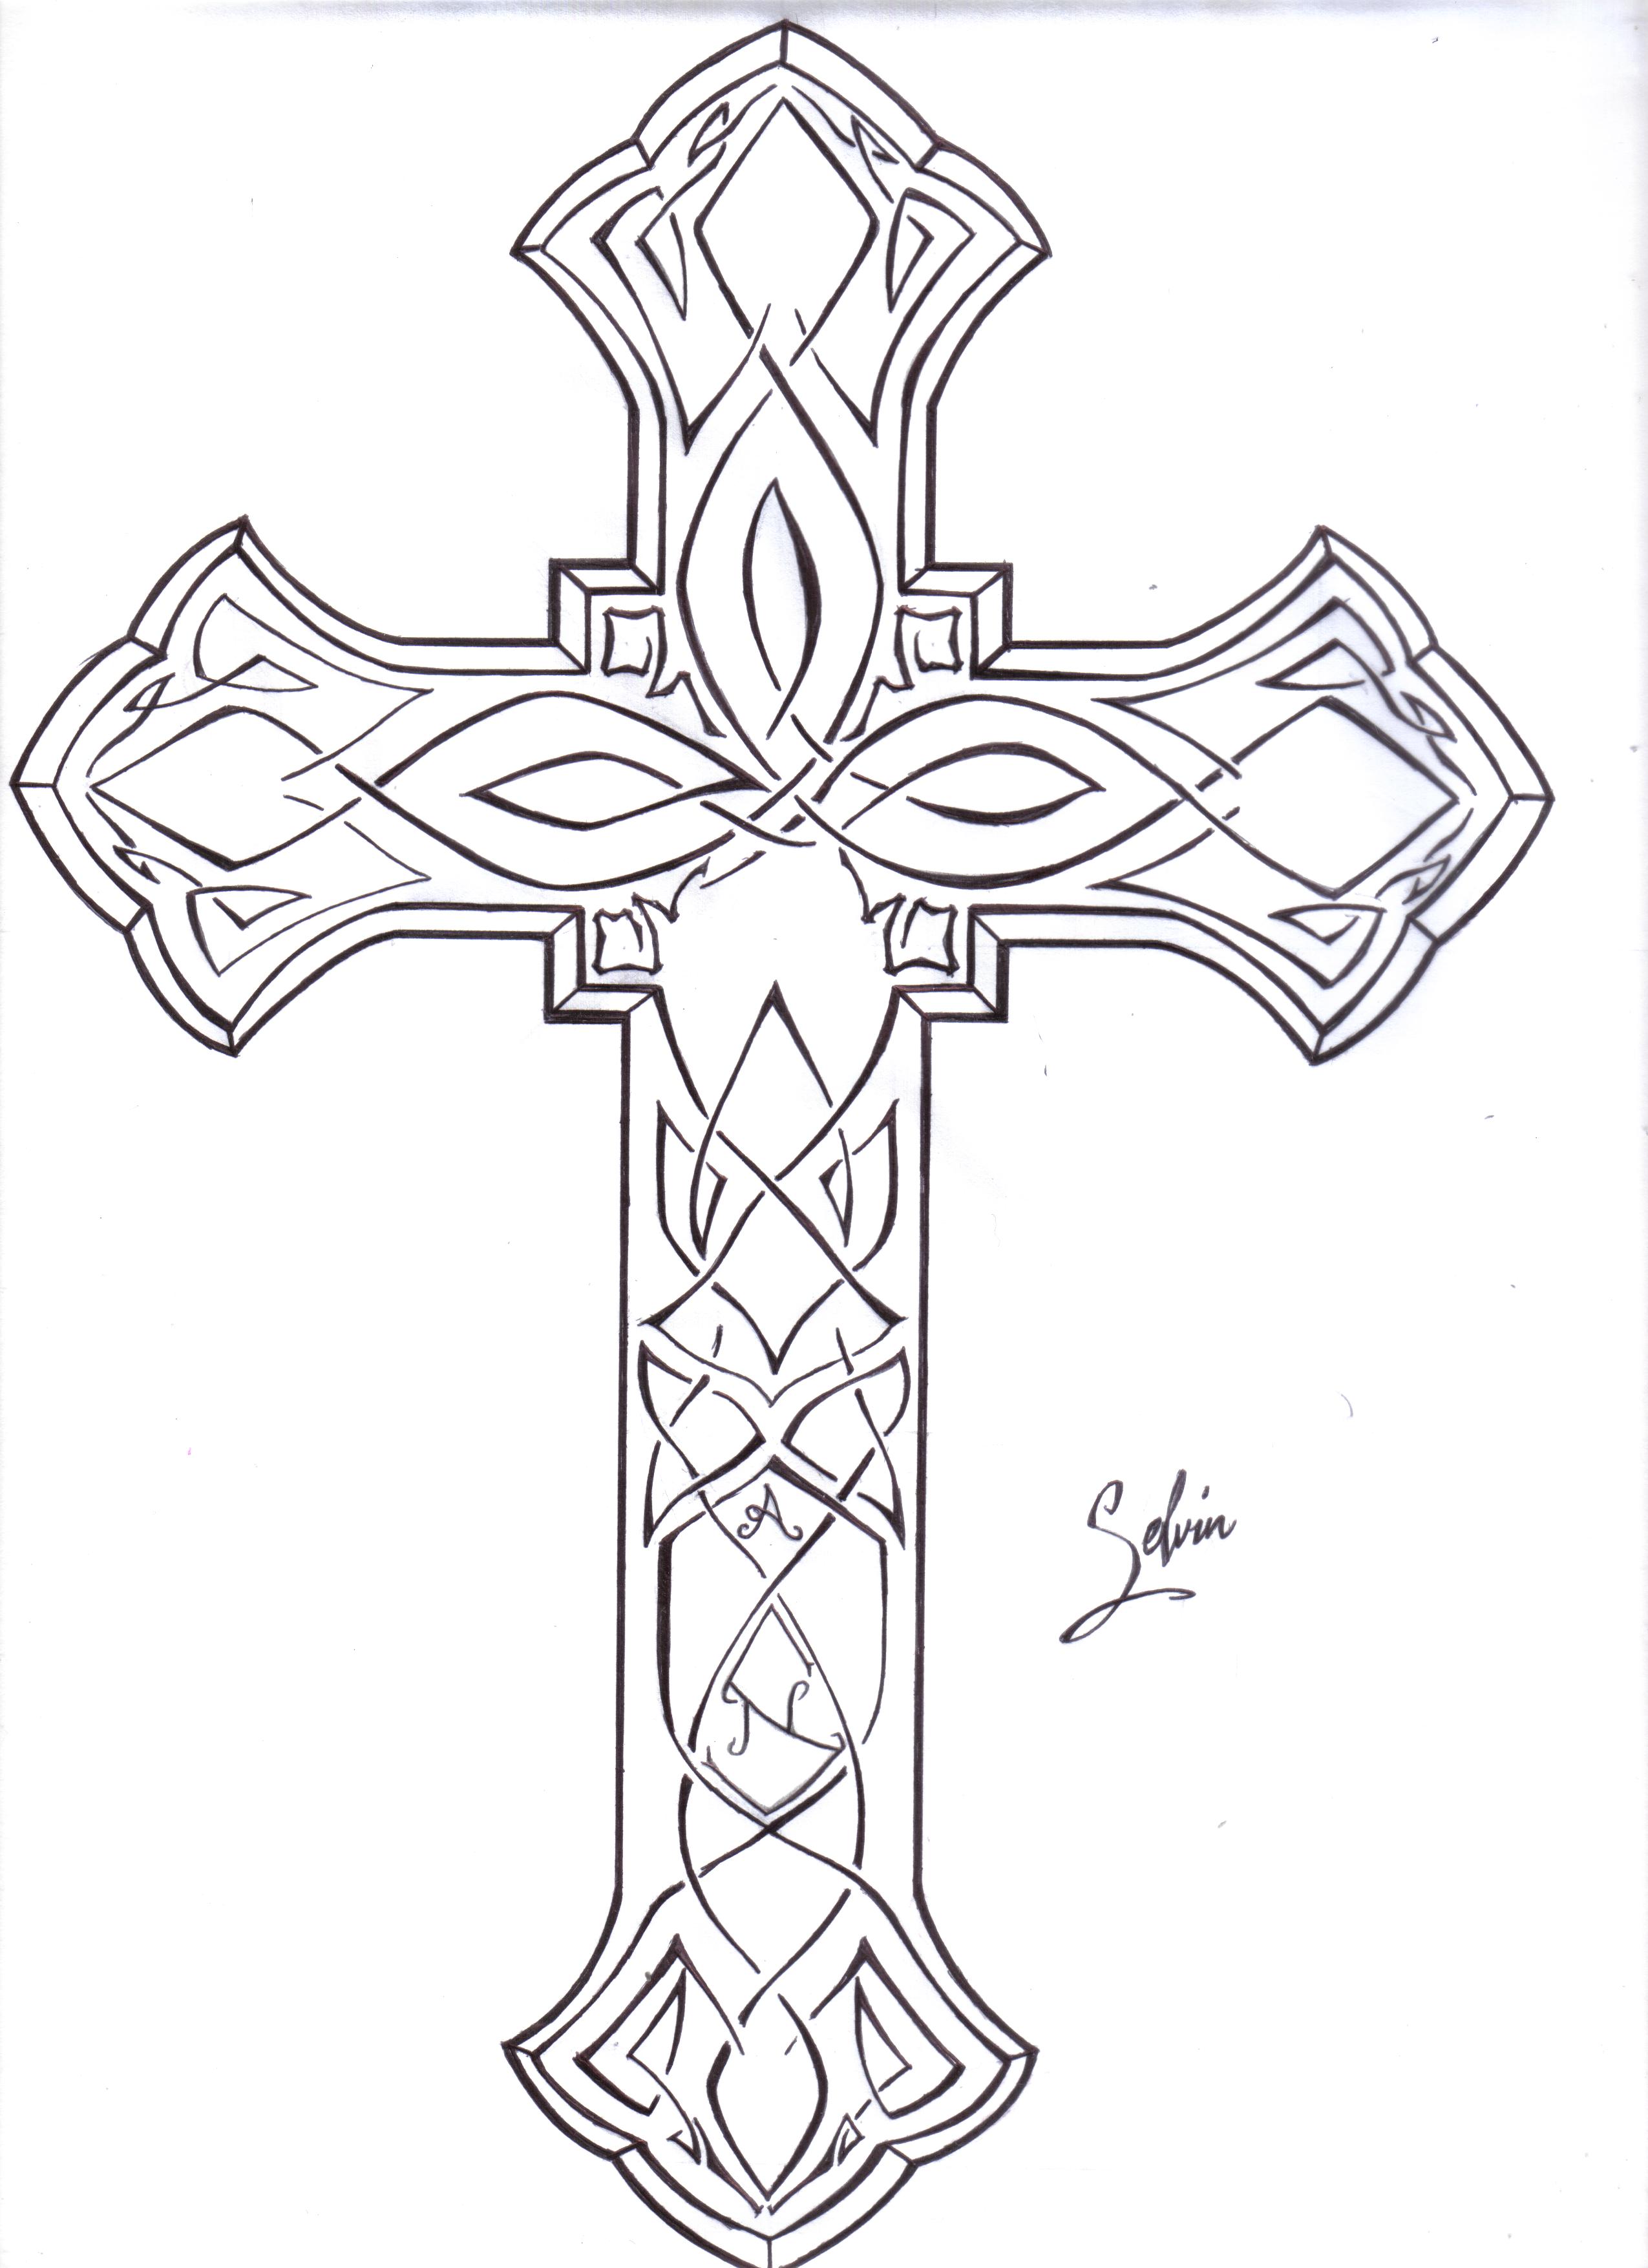
Pictures Of Crosses Drawing at Explore collection
Draw a small square in the middle of your outline. The beams formed by lines should appear to meet at a perpendicular angle. Next, draw lines on both sides of your “t” guidelines. Try to make them roughly the same distance on each side. Notice how there is less space at the top than the bottom.

How to Draw a Cross HelloArtsy
Next, draw lines on both sides of your “t” guidelines. Afterwards, draw another horizontal line from the bottom end of the vertical line going to the left. Draw a number of such leaves along the length of the vine. Between the cross and its outline, draw short straight lines that are slanted in various directions. Black marker (optional) how to.

Simple Cross Drawings at Explore collection of
Web to draw a cross, begin with two interesting lines that look like the letter “t”. This outlines the edges of the stained glass sections. Use l shaped lines for the sides of each set of arms. Starting in the upper middle portion of your paper, draw a horizontal line to outline the top of the cross. Then, starting from.

Easy Ways to Draw a Good Cross Richards Gicarearse
You do not want to draw a plus sign with evenly placed lines. Extend sets of pointed, curved lines from the leaf vein, detailing the leaf with additional veins. Notice, too, that the lower vertical arm is longer than the other arms. Notice how there is less space at the top than the bottom. Web to draw a cross, begin.

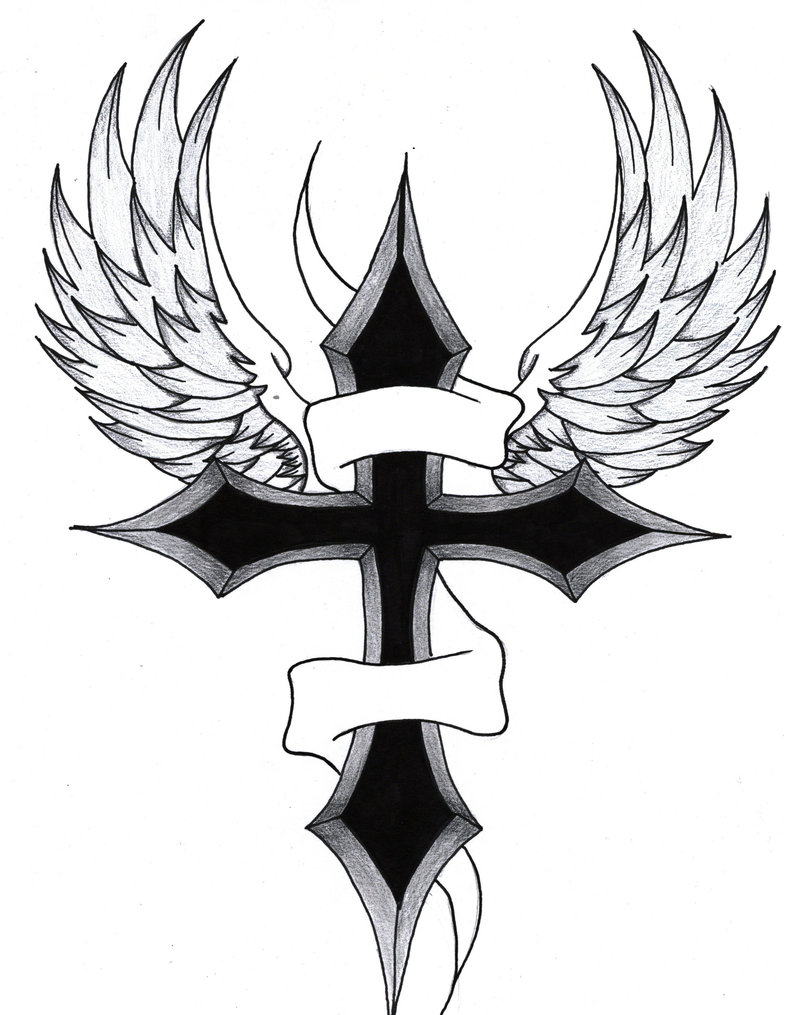
Cool Crosses Drawing at GetDrawings Free download
Within the horizontal arms of the cross, draw straight lines that slant on opposite parallels. Then, starting from the left end of the horizontal line, draw a vertical line. This outlines the edges of the stained glass sections. Use l shaped lines for the sides of each set of arms. Draw a small square in the middle of your outline.
Drawings Of Crosses Cliparts.co
Try to make them roughly the same distance on each side. Starting in the upper middle portion of your paper, draw a horizontal line to outline the top of the cross. Draw more squares of the same size. Draw one above and below the first square you drew and one on each side, just like the first method. The beams.
How to Draw a Cross Step by Step for Beginners Art by Ro
Web step by step video tutorial for beginners. Web to draw a cross, begin with two interesting lines that look like the letter “t”. Then, starting from the left end of the horizontal line, draw a vertical line. Use l shaped lines for the sides of each set of arms. Draw one above and below the first square you drew.
Cross drawing, Cross coloring page, Cross art
Notice, too, that the lower vertical arm is longer than the other arms. You do not want to draw a plus sign with evenly placed lines. Then, starting from the left end of the horizontal line, draw a vertical line. Use l shaped lines for the sides of each set of arms. We will pay attention to the shapes of.
Free How To Draw A Cross, Download Free How To Draw A Cross png images
Web step by step video tutorial for beginners. From there, extend another set of straight. Use l shaped lines for the sides of each set of arms. Between the cross and its outline, draw short straight lines that are slanted in various directions. Keep in mind that all three connected lines should.
Afterwards, Draw Another Horizontal Line From The Bottom End Of The Vertical Line Going To The Left.
Black marker (optional) how to draw a cross printable pdf (see bottom of lesson) this step by step lesson will instruct you how to draw a cross. Draw a small square in the middle of your outline. Draw a leaf around the vein using curved lines that meet at jagged points. Within the horizontal arms of the cross, draw straight lines that slant on opposite parallels.
Draw One Above And Below The First Square You Drew And One On Each Side, Just Like The First Method.
Notice how there is less space at the top than the bottom. Starting in the upper middle portion of your paper, draw a horizontal line to outline the top of the cross. Between the cross and its outline, draw short straight lines that are slanted in various directions. Draw 2 more squares below the bottom square.
This Outlines The Edges Of The Stained Glass Sections.
Keep in mind that all three connected lines should. Next, draw lines on both sides of your “t” guidelines. Next, extend short, straight lines from each side of the upper arm. You do not want to draw a plus sign with evenly placed lines.
Then, Starting From The Left End Of The Horizontal Line, Draw A Vertical Line.
Draw a number of such leaves along the length of the vine. This too outlines sections of the glass. We will pay attention to the shapes of each area and types of contours drawn making sure that the drawing looks right. Draw more squares of the same size.