Raspberry Draw
Raspberry Draw - Because it is vector based, the artwork can be scaled to any size. Draw two curved lines coming from the center of the fruit. Web let's learn how to draw a raspberry easyfollow my drawing of raspberry step by step and i am sure you will be able to draw it quite easily.please remember my. If you’re planting multiple bushes, it’s easiest to dig a trench. Watch this entire video as we show you easy raspberry drawings. The platform boasts nearly 3000 integrations, with more added all the time. With a few simple steps, you can learn how to draw a sweet and realistic raspberry. Follow me to learn how to draw raspberry cute and very easy. After logging in, you’ll be greeted by the photoprism dashboard. Shows up as 64bit version on my 5.10 aarch64 raspberry pi os.
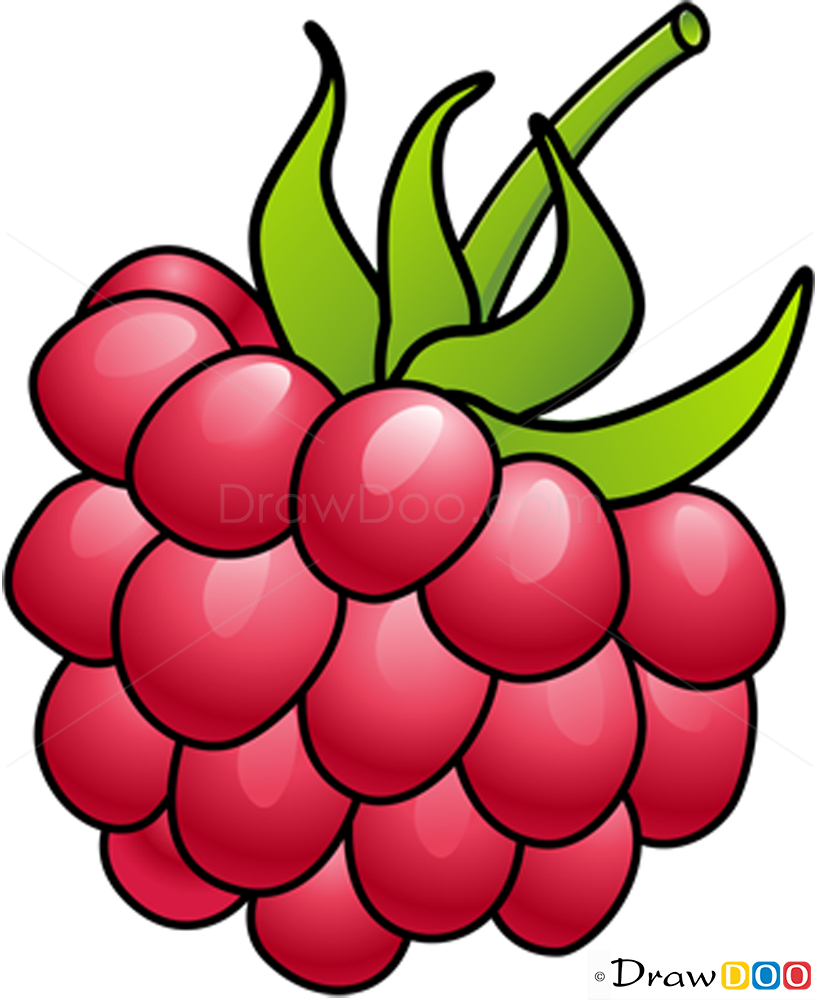
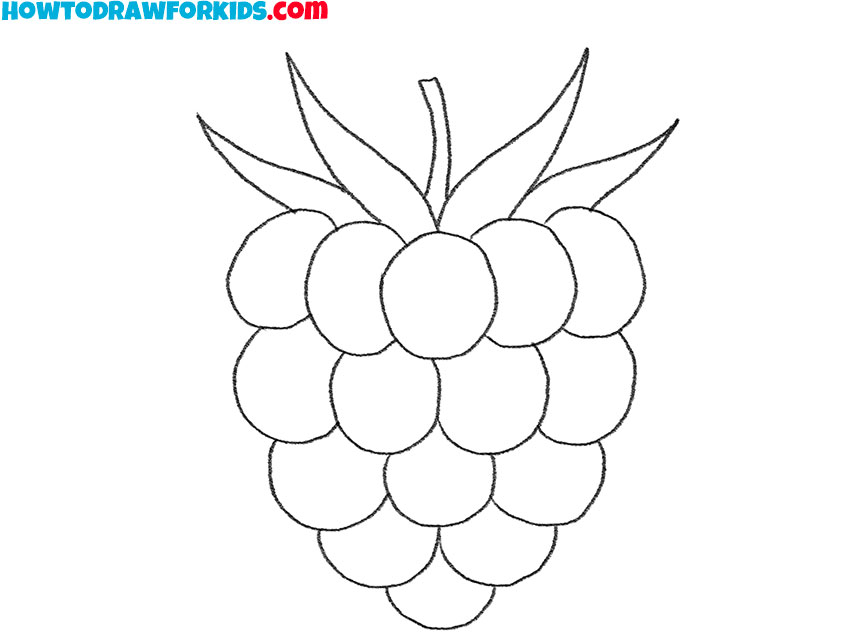
Canes should be spaced 18 inches apart, with about four feet between rows. In the dc world, va = w, but not in ac.the ratio of va (apparent) to w (true) is the power factor. You are just trying to draw an outline for the raspberry right now, which will be slightly uneven. Now draw a rounded shape to form the first drupelet of the raspberry. Refrigerate until firm, at least 15 minutes. Draw two curved lines coming from the center of the fruit. You need a regulated 5.0 v supply for the sdcard and usb hub. We're going to start with the basic shapes and work our way up to more complicated drawings.if y. I'm not too concerned about the sensor, but the potential 1500ma. This will be the base of your raspberry.
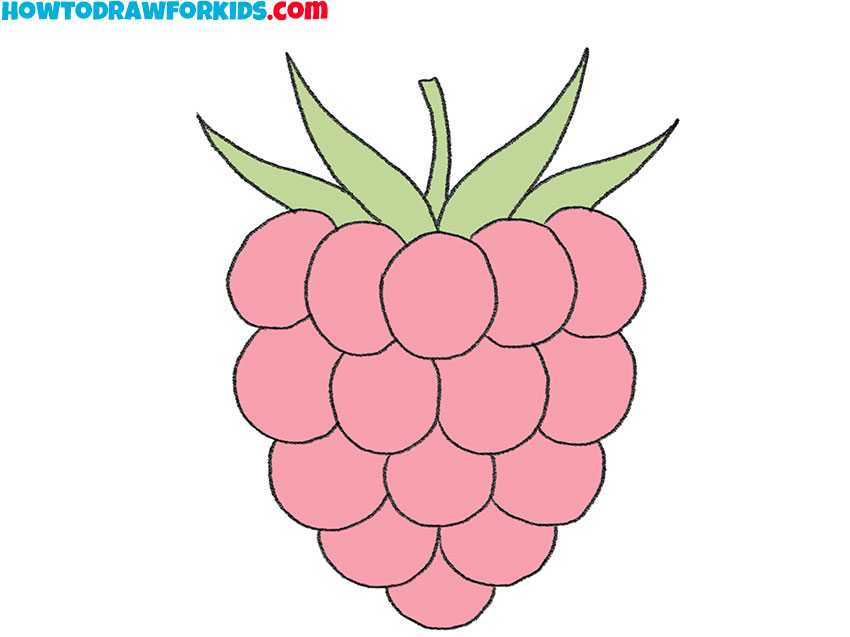
If you’re planting multiple bushes, it’s easiest to dig a trench. Web at the login screen, enter the username admin and the password you set for photoprism_admin_password during the setup process. This will be the base of your raspberry. Color the berries green on top and red or pink on the bottom part. Web the better power meters have both and will often calculate the power factor as well. To color the raspberry, you can use pink and green. Web mix the buttermilk crepe batter. Web in this video, we're going to learn how to draw a raspberry! Web grab some colored pencils and color in the raspberry. Make sure that you leave the space between the two top leaves for the stem.
How to Draw a Raspberry Easy Drawing Tutorial For Kids
Once done with the stem again confirm that your drawing looks good and trace over it with a black pen, marker or darker pencil lines. This will be the base of your raspberry. In this post, we'll cover the basics of sketching, shading, and coloring a raspberry, so that you can create your own beautiful artwork. Start by depicting the.

Raspberry illustration Fresh fruit drawing. Hand drawn vintage vector
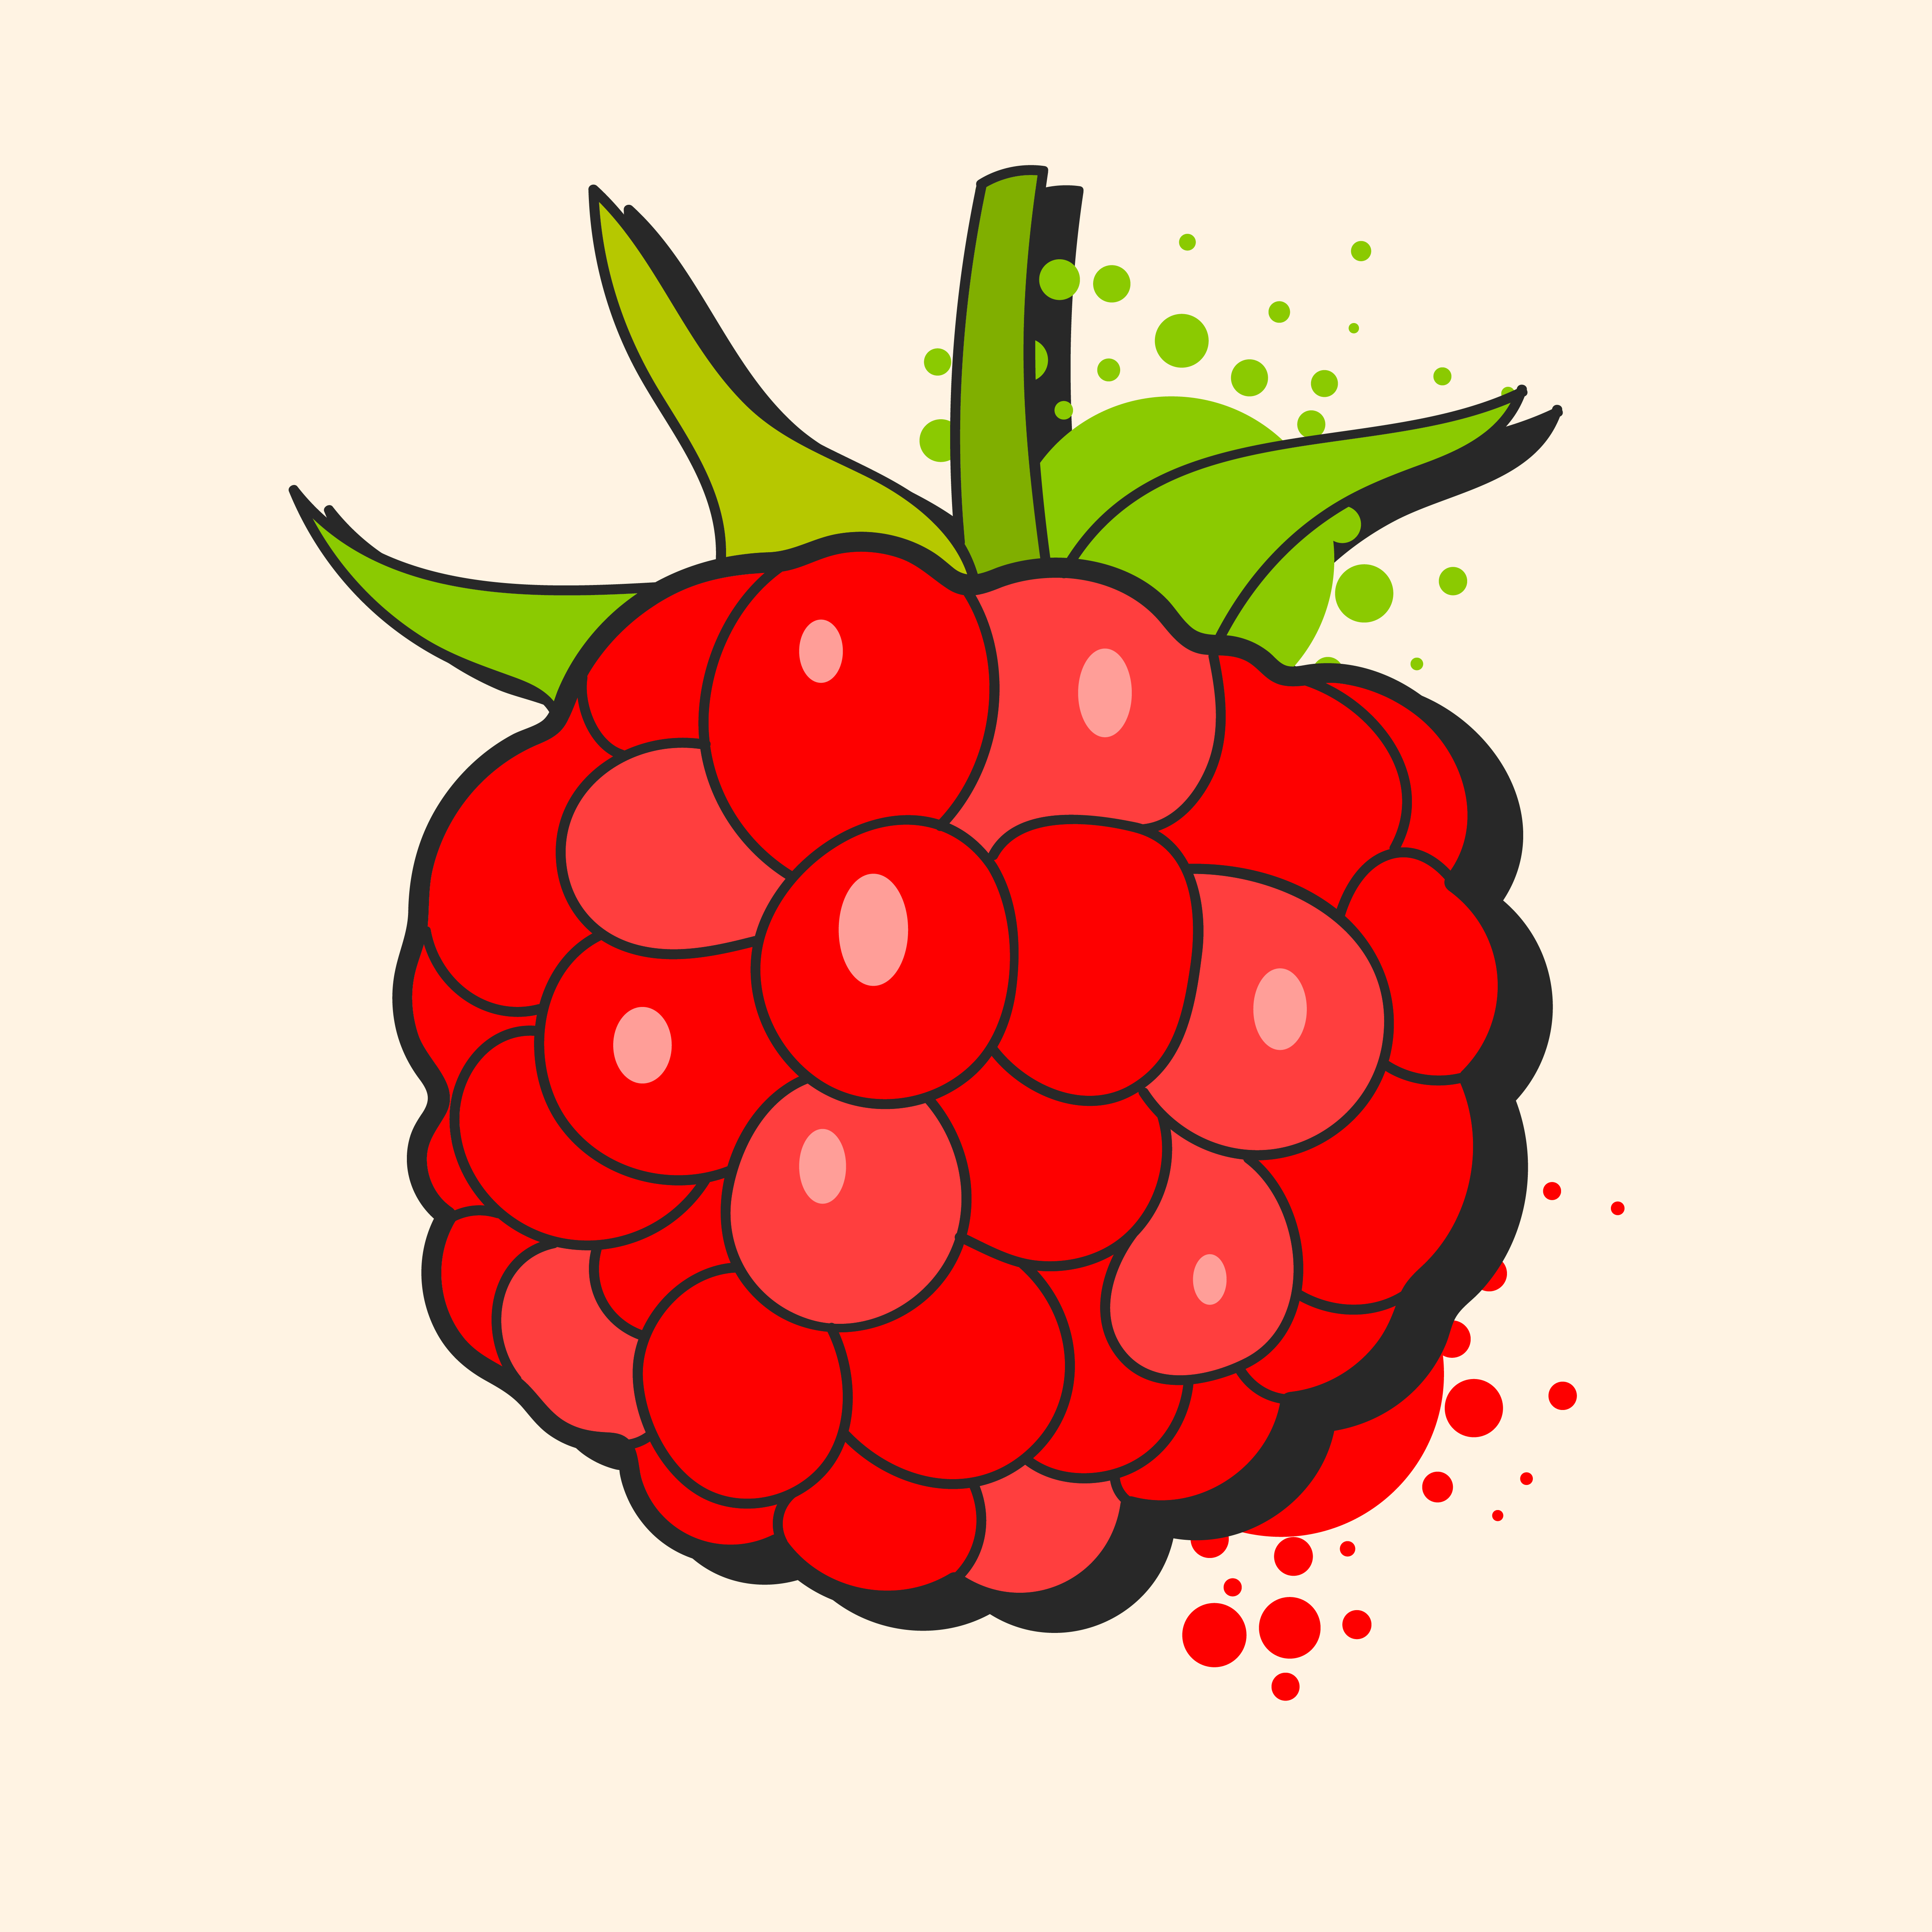
Rose tinted glasses are difficult to see through. For this drawing i used black marker and colored pencils. Refrigerate until firm, at least 15 minutes. In this post, we'll cover the basics of sketching, shading, and coloring a raspberry, so that you can create your own beautiful artwork. To prepare the drawing for coloring, use the eraser and remove unnecessary.

Raspberries Drawing HelloArtsy
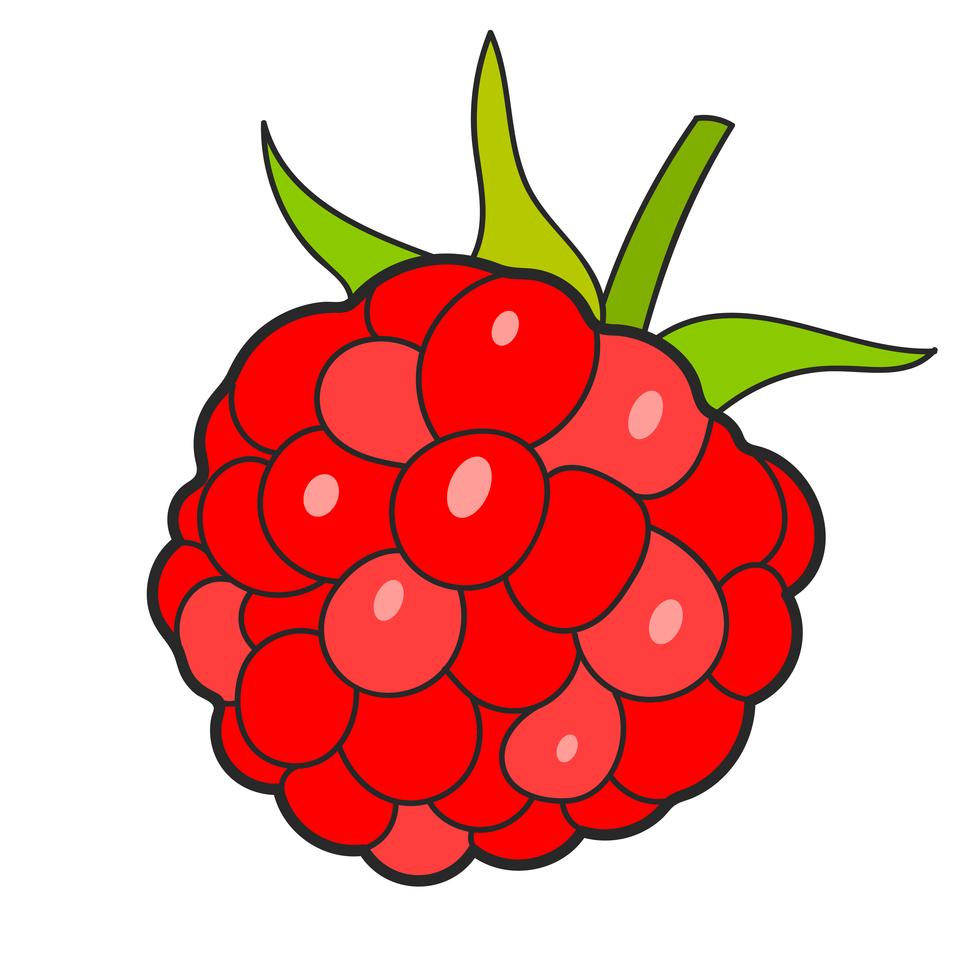
Start by depicting the sepal of the raspberry. Web sketch out the tail on the berry. Draw this slightly narrower towards the base and wider towards the top. Between the drawn leaves, add the ponytail using curved lines and a short, straight line. In a medium mixing bowl, combine the 1 cup bread flour, 1 tablespoon sugar, ½ teaspoon salt,.

Hand drawn sketch of raspberry in color isolated Vector Image
Web grab some colored pencils and color in the raspberry. I'm not too concerned about the sensor, but the potential 1500ma. Start by drawing a circle. Sat nov 28, 2020 11:29 pm. To prepare the drawing for coloring, use the eraser and remove unnecessary elements.
Raspberry Sketch Vector Ready For Your Design, Greeting Card 633944
The fix is, thankfully, easy. Black marker (optional) raspberries drawing printable pdf (see bottom of lesson) this tutorial will instruct you how to draw raspberries. If you’re planting multiple bushes, it’s easiest to dig a trench. Web how to draw a raspberry step by step beginner guideeasy raspberry drawing narrated step by stepeasy way to learn how to draw a.
How to Draw Raspberry, Fruits
With a few simple steps, you can learn how to draw a sweet and realistic raspberry. Color the berries green on top and red or pink on the bottom part. The first setting is irrelevant here, but i'm including it for. For this drawing i used black marker and colored pencils. Rose tinted glasses are difficult to see through.

Colored drawing of a raspberry Raspberry, Natural form art
Web drawing a raspberry doesn't have to be difficult! Web starting from the upper portion of the raspberry draw five leaves on each side. Web pour in butter and stir to combine. You can also add burgundy and cherry colors to some areas. Web fixing the pi's power consumption.

Premium Vector Hand drawn vector raspberry doodle of colorful raspberries
Between the drawn leaves, add the ponytail using curved lines and a short, straight line. The first step of how to draw a raspberry is to make an outline. With just an hdmi screen and a usb keyboard/mouse dongle connected, the pi is powered using my bench power supply at 5.2v (supply current limit = 3 amps) wired, via the.
Raspberry Sketch Vector Ready For Your Design, Greeting Card 633954
In the dc world, va = w, but not in ac.the ratio of va (apparent) to w (true) is the power factor. Once done with the stem again confirm that your drawing looks good and trace over it with a black pen, marker or darker pencil lines. The platform boasts nearly 3000 integrations, with more added all the time. It's.
How to Draw a Raspberry Easy Drawing Tutorial For Kids
The platform boasts nearly 3000 integrations, with more added all the time. With just an hdmi screen and a usb keyboard/mouse dongle connected, the pi is powered using my bench power supply at 5.2v (supply current limit = 3 amps) wired, via the emeter’s calibrated 20 amp shunt, to the uusb power input on the pi. Web pour in butter.
For This Drawing I Used Black Marker And Colored Pencils.
Finally add a little stem coming out of the middle of the sepals. Continue with the other drupelets. To prepare the drawing for coloring, use the eraser and remove unnecessary elements. Shows up as 64bit version on my 5.10 aarch64 raspberry pi os.
Let’s Start With The First Part Of The Peduncle.
If you’re planting multiple bushes, it’s easiest to dig a trench. With just an hdmi screen and a usb keyboard/mouse dongle connected, the pi is powered using my bench power supply at 5.2v (supply current limit = 3 amps) wired, via the emeter’s calibrated 20 amp shunt, to the uusb power input on the pi. Web sketch out the tail on the berry. Web want to learn how to draw a raspberry for beginners?
In Another Large Bowl, Using A Handheld Mixer On.
You need a regulated 5.0 v supply for the sdcard and usb hub. Web starting from the upper portion of the raspberry draw five leaves on each side. Refrigerate until firm, at least 15 minutes. To color the raspberry, you can use pink and green.
Web Drawing A Raspberry Doesn't Have To Be Difficult!
Web the better power meters have both and will often calculate the power factor as well. Web grab some colored pencils and color in the raspberry. A good power factor is 1, but usually only occurs in pure resistive loads, small. We will draw attention to the shapes of each part and types of contours created so that the artwork looks right.