Realistic Easy Deer Drawing
Realistic Easy Deer Drawing - Next, add the deer’s ears by drawing two small triangles on top of the head. After you've drawn the legs, it's time to add the deer's hooves. Then, draw two circles for the eyes and add a dot inside each circle to represent the pupils. How to finish a realistic deer drawing; Now, draw a line to the right and curve the line towards the end where you meet the circle. 1 from forest to paper: Begin the deer outline by sketching the animal's face. Web get your fix with these easy deer drawing ideas. Web thanks for visiting our drawing tutorial in 5 minutes. The tutorial itself is ideal for preschoolers and kindergarteners.
After you've drawn the legs, it's time to add the deer's hooves. Draw the details of the head. Next, add the deer’s ears by drawing two small triangles on top of the head. Draw the legs of your deer illustration. Now, draw a line to the right and curve the line towards the end where you meet the circle. Now that you’ve completed how to draw a deer, consider adding some shading or coloring to make your buck deer look realistic! Web look no further than the majestic deer! Starting from the left side of the circle, draw a line straight down. Follow our step by step tutorial and be. Begin with a circle for the head and add an oval shape for the body.
Create a blocky heart shape. Now that you’ve completed how to draw a deer, consider adding some shading or coloring to make your buck deer look realistic! Color the fur and antlers. First, you’ll want to start with a simple outline of your deer. Starting from the left side of the circle, draw a line straight down. Draw the hind legs and tail. Web 3 more tips to make your deer drawing easy! Let’s complete the neck and the front long legs on the body of the deer. 1 from forest to paper: On either side of that blocky heart shape, create a leaf shape, one thinner than the other.
Easy Drawing Of A Deer at GetDrawings Free download
Continue this step onto the back legs and add a thigh curve overlapping the rear body. Secondly, add a second front leg slightly to the right of the first. Now, draw a line to the right and curve the line towards the end where you meet the circle. Now that you’ve completed how to draw a deer, consider adding some.

How to Draw a Deer Step by Step for Beginners
Web this deer drawing has long horns, and a small fluffy tail. Then, draw two circles for the eyes and add a dot inside each circle to represent the pupils. The third, slightly smaller circle, represents the head. They can do so on their own. Deer drawing easy, so where to start.

deer drawing easy realistic Shawanna Galvez
Add details to the head. How to draw a realistic deer sketch. After you've drawn the legs, it's time to add the deer's hooves. Web now that we have our materials ready, let’s begin the journey of drawing a deer. Two of these circles are of the same size and represent the front and rear limbs and the deer’s body.

How to Draw a Deer Step by Step for Beginners
Web start by sketching the basic shapes of a deer using light, loose lines. Shade an inverted, curved triangle for the nose, then use curved lines for the snout and top of the head. Construct the legs by creating a linear structure. This will represent the hoof on each leg. As you get to the bottom, curve the line to.
How to draw a realistic deer?//Deer drawing//easy way to draw//step by
Deer drawing easy, so where to start. The third, slightly smaller circle, represents the head. 1 from forest to paper: Connect the head and body with a curved line to represent the neck. On either side of that blocky heart shape, create a leaf shape, one thinner than the other.

Fawn Pencil Drawing Giclée Print Baby Deer Baby Animals Deer Drawing
Web table of contents. Add details to the head. Draw a curved line for the deer’s snout and add a small curved line below it to indicate the mouth. As you get to the bottom, curve the line to the left for the nose bridge. Web thanks for visiting our drawing tutorial in 5 minutes.
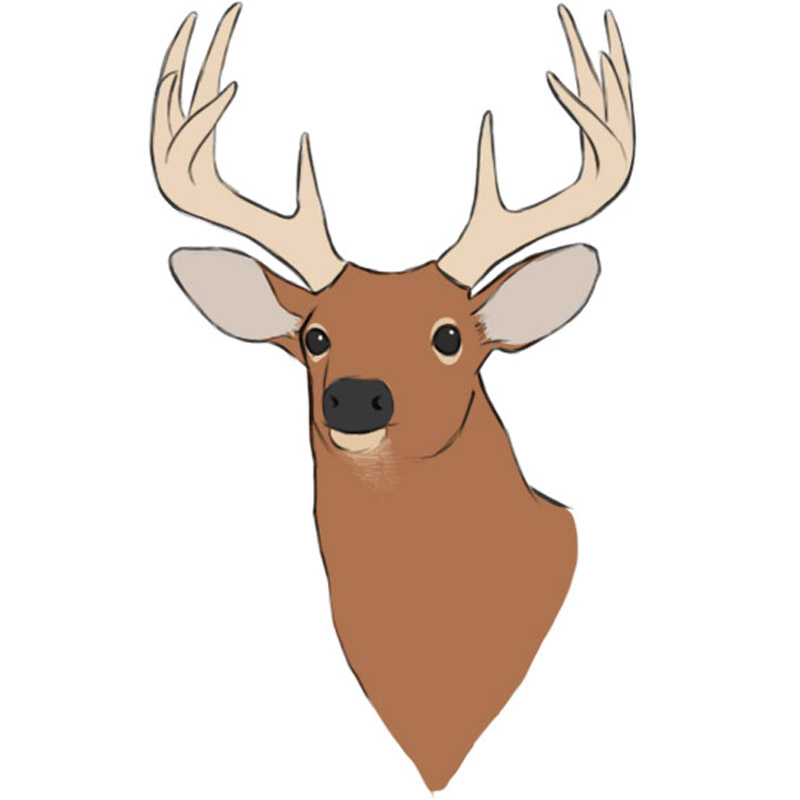
How to Draw a Deer Head Easy Drawing Art
Next, add the deer’s ears by drawing two small triangles on top of the head. Two of these circles are of the same size and represent the front and rear limbs and the deer’s body. Use the picture below as a guide to shade or color your deer drawing. Starting from the left side of the circle, draw a line.

How to Draw a Deer Step by Step for Beginners
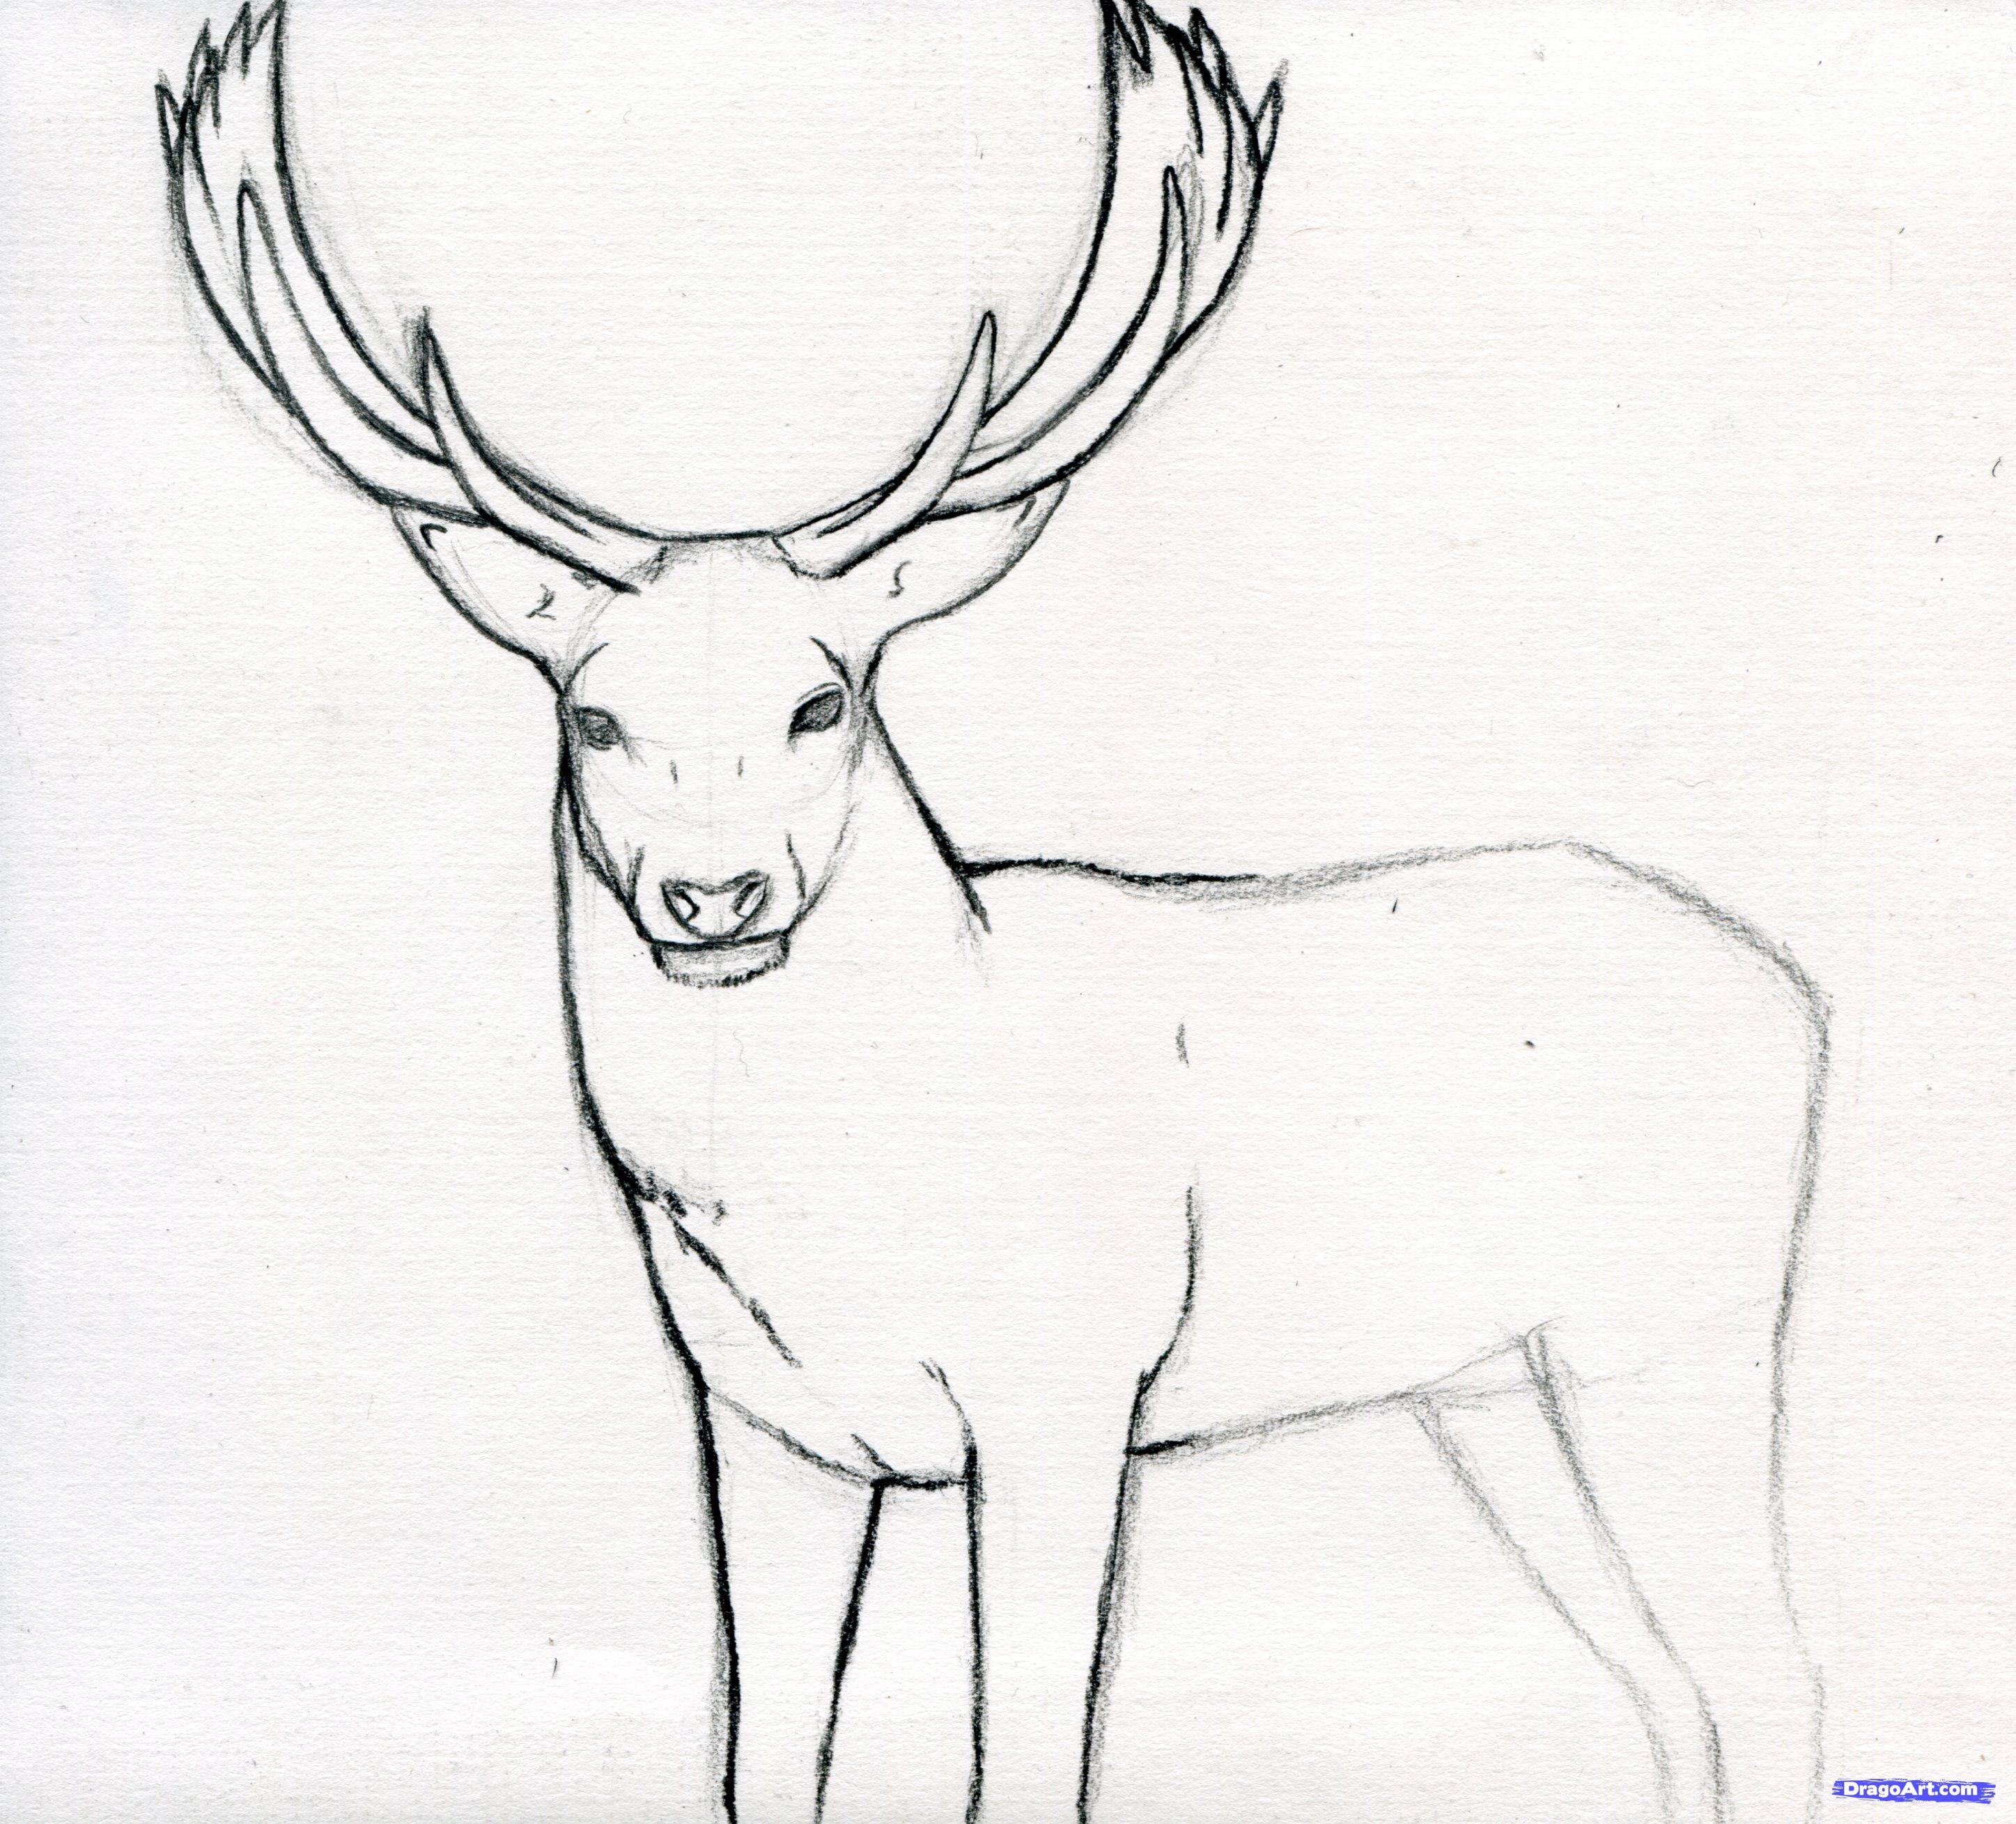
Add the body to your realistic deer drawing; Draw the face details, and add more to the huge rack of antlers. Draw the legs of your deer illustration. It definitely leans more to the realistic side, however, so you could simplify the style a bit to make it easier. Follow our step by step tutorial and be.
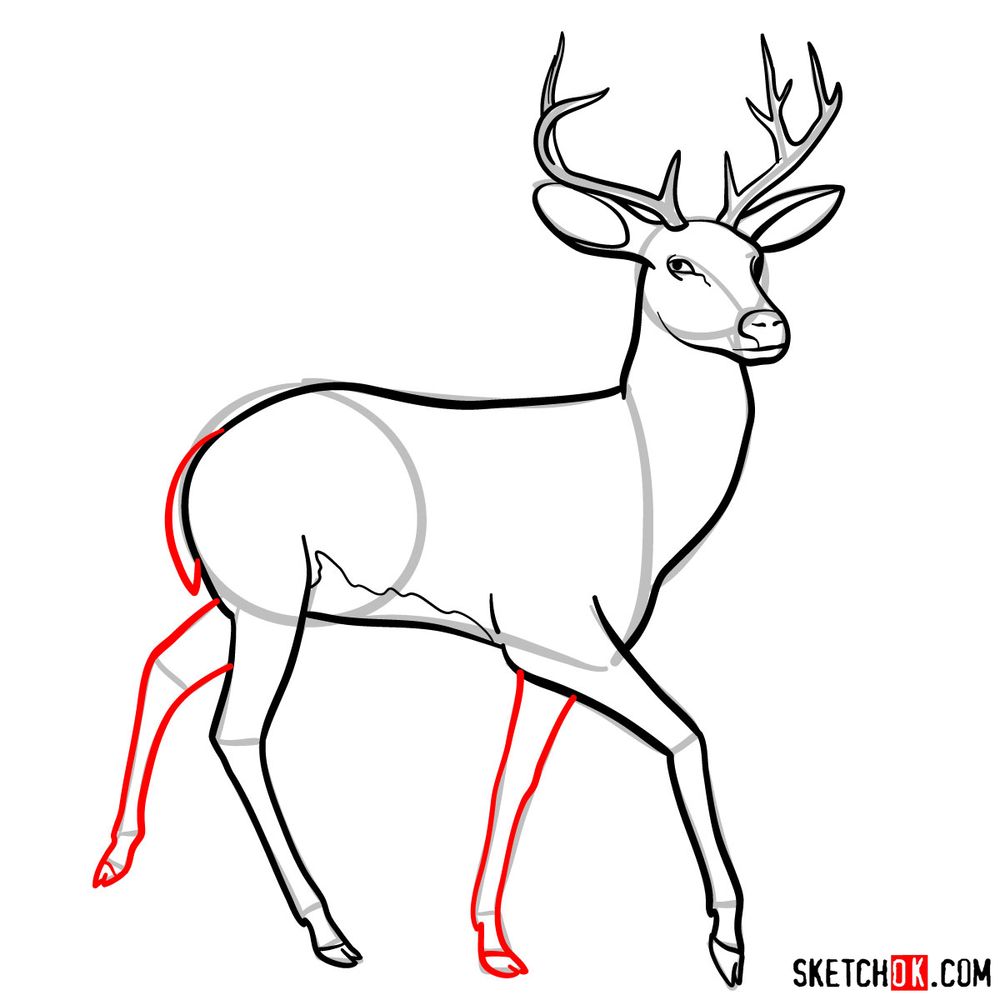
How to draw a deer Sketchok easy drawing guides
Now that you’ve completed how to draw a deer, consider adding some shading or coloring to make your buck deer look realistic! Start by sketching the basic shapes that will serve as the foundation for your deer drawing. Add the ears and antlers to your deer illustration; Add the hooves and ears. Use the picture below as a guide to.

how to draw a deer step by step Lavon Maples
Now, draw a line to the right and curve the line towards the end where you meet the circle. Begin the deer outline by sketching the animal's face. Now that you’ve completed how to draw a deer, consider adding some shading or coloring to make your buck deer look realistic! Next, add the deer’s ears by drawing two small triangles.
Connect The Head And Body With A Curved Line To Represent The Neck.
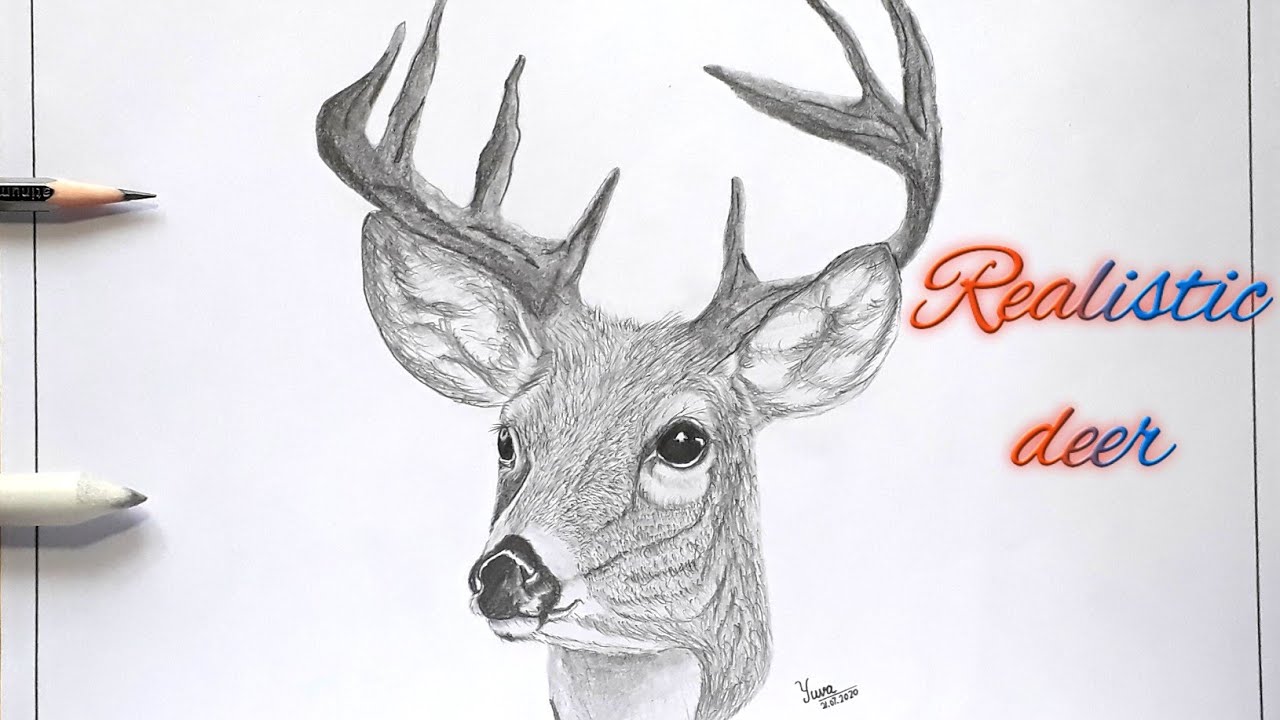
How to finish a realistic deer drawing; Draw the details of the head. How to draw a realistic deer sketch. When many people think of deer, disney's bambi is the first image that comes to mind.
From The Right Edge Of The Heart Shape Create A Curved Line Going Downward, Then Continue That Line Horizontally, Finally Curving.
Web how to draw a deer face this how to draw tutorials make it easy with step by step instructions.we used for the drawing:1.a4 size cartridge paper2.sketch penc. Be an expert in drawing by learning to draw in just 5 minutes! Now, draw a line to the right and curve the line towards the end where you meet the circle. Shade an inverted, curved triangle for the nose, then use curved lines for the snout and top of the head.
Draw The Neck And Front Legs.
Begin with a circle for the head and add an oval shape for the body. Draw the outline of the deer. After that, curve the line to the right for the nose. After you've drawn the legs, it's time to add the deer's hooves.
Such A Plan Should Be Sketched Lightly, So That You Can Fix Anything.
The tutorial itself is ideal for preschoolers and kindergarteners. Web get your fix with these easy deer drawing ideas. They can do so on their own. Web how to draw a deer's torso;