Realistic Easy Lizard Drawing
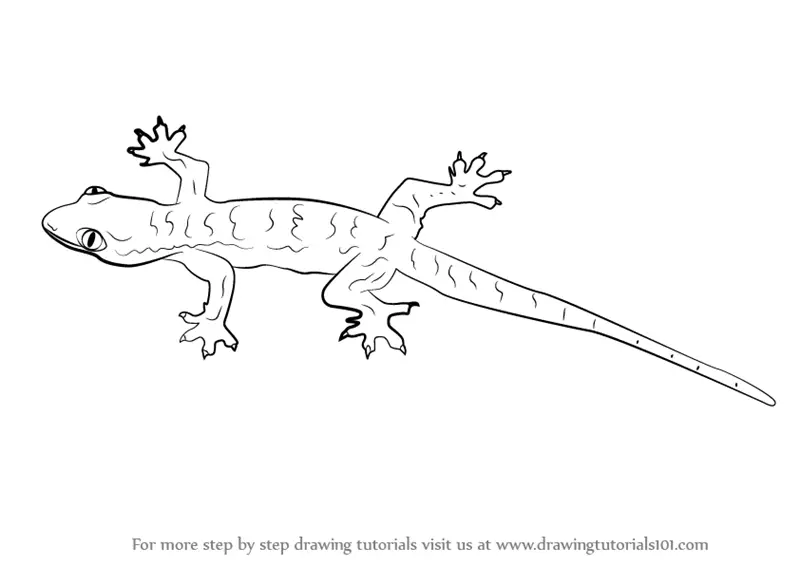
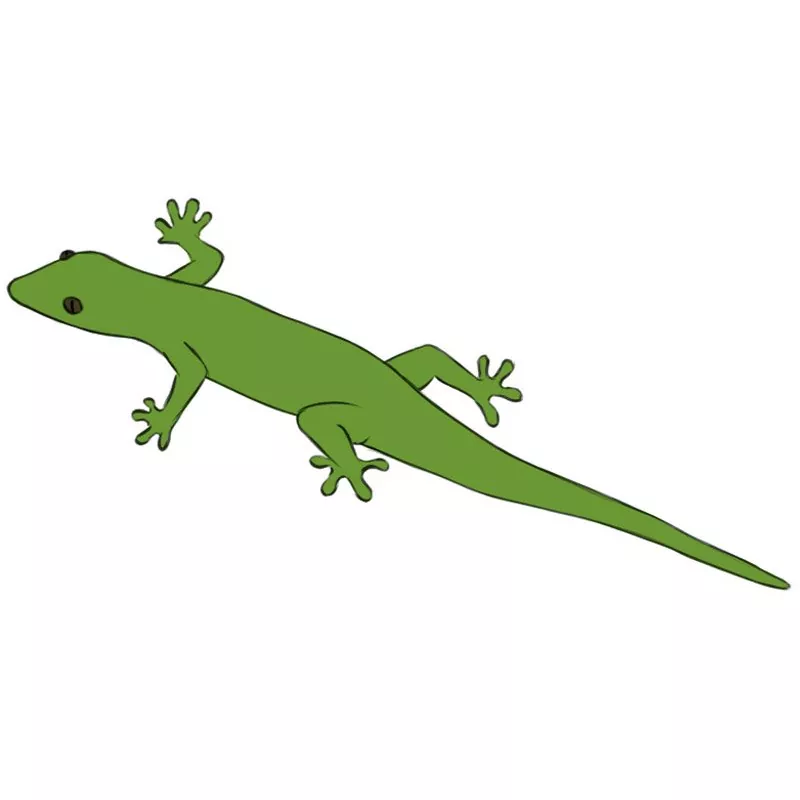
Realistic Easy Lizard Drawing - Erase the line and add spots and draw a branch. Colored pencils were used to create this cute orange and green lizard. This outlines the gecko's face. Draw the eye inside of the eye socket. A good quality eraser is essential for correcting mistakes and refining your drawing. Draw a big smile across the mouth towards the back of the eye socket. Draw a long, curved line down the center of the back, from the head to the base of the tail. Look for a soft eraser that won’t smudge the paper. The lower jaw should be thinner than the upper one. Draw another curve to continue the smile towards the back of the skull.
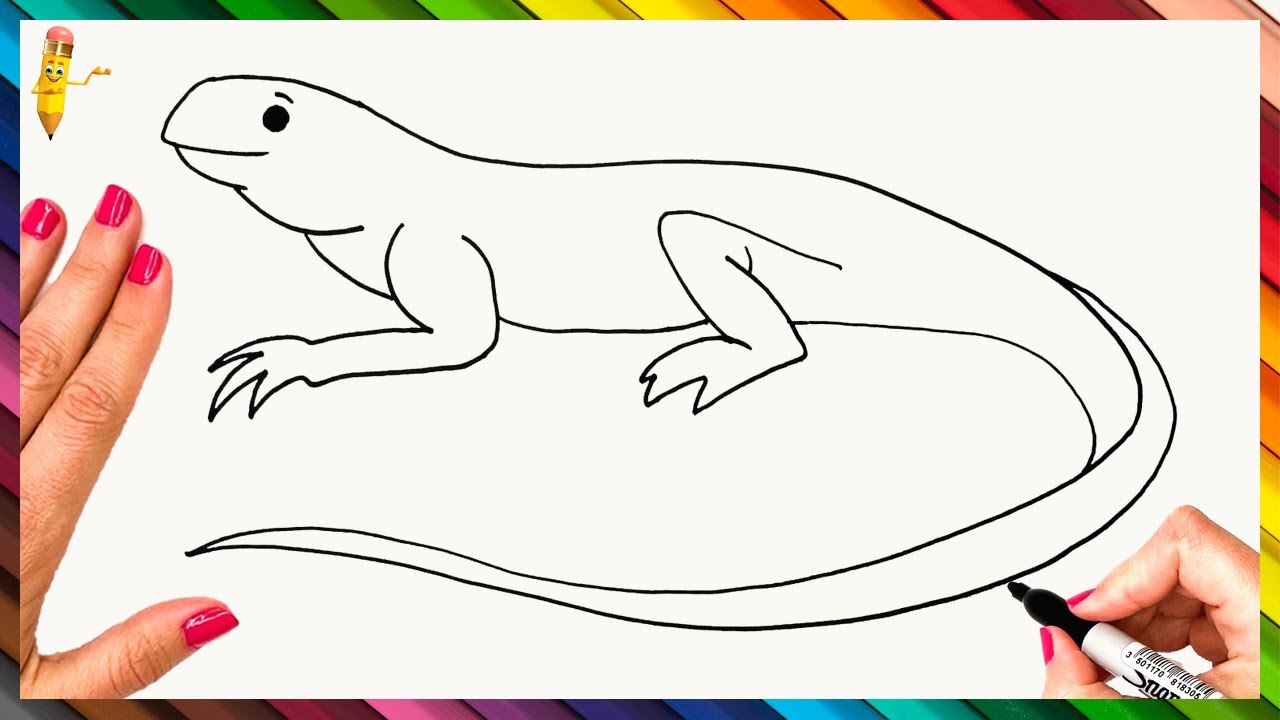
Web hi everyone, in this video i show you how to draw a lizard step by step 🦎. Draw lines and small circles here and there to add texture. Lizards are reptiles, and there are over 6,000 different species found. Make curved lines along the back and sides of your lizard for its spine and ribcage. Using our hb pencils, we want to begin by drawing a curved line on the page. Web this lesson was originally posted in our art club a while back! This is going to establish the flow of the lizard’s body. Detail the body of the lizard. Web learning to draw a lizard is easy when you are patient and dedicated. Web they should lead directly to the nose.
Colored pencils were used to create this cute orange and green lizard. Draw the mouth below the eyes. Web draw a large and small oval as shown. If you’re looking for an easy and fun lizard drawing, let this piece inspire you. Draw the head and, with dashes at a certain distance (which is convenient for you), determine the approximate thickness of the body while it tapers towards the end of the tail. Web here are the steps: You can also use these drawings to take good notes when you make observations or do experiments. Web do you remember that feeling of awe and curiosity when you first encountered a lizard in the wild? Mark off the width and height of the lizard. Connect the head to the body and add a mouth.
Learn How to Draw a Lizard (Lizards) Step by Step Drawing Tutorials
Choose one with a medium or soft lead that allows for easy shading and erasing. Web follow along with the how to draw a lizard drawing guide below by sketching the red portion of each of the six steps, super easy! Erase the inside ovals and draw the face. Next, set the length of the head (top), the location of.
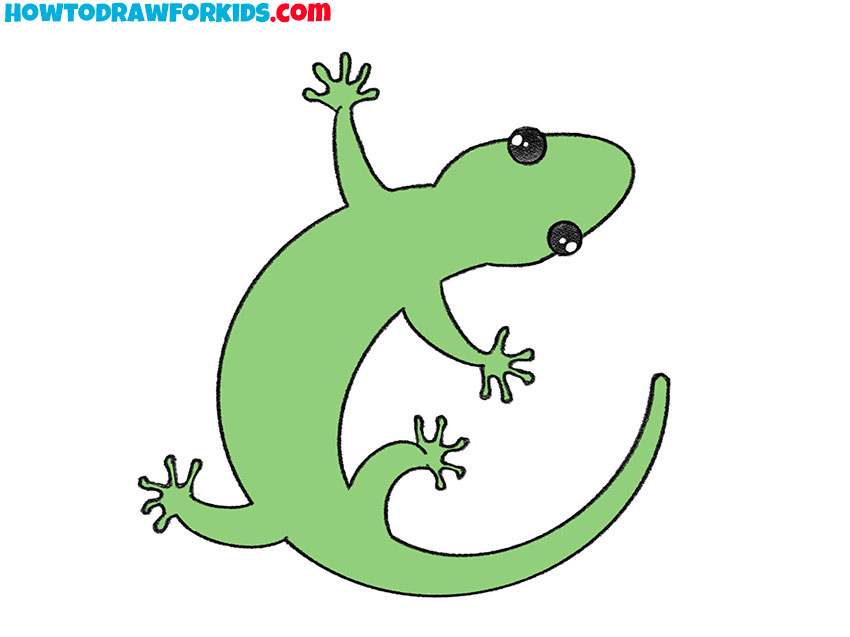
How to Draw a Lizard Easy Drawing Tutorial For Kids
Web hi everyone, in this video i show you how to draw a lizard step by step 🦎. Using our hb pencils, we want to begin by drawing a curved line on the page. Draw a line, which will act as the center of the head. Add a smaller circle in each for the pupils. Web this lesson was originally.

How to draw a Lizard Step By Step For Kids & Beginners
This is going to be the head of the lizard. Follow my step by step drawing tutorial and make your own lizard drawing easy!👇. Web this lesson was originally posted in our art club a while back! Make curved lines along the back and sides of your lizard for its spine and ribcage. Web how to draw a lizard easy.
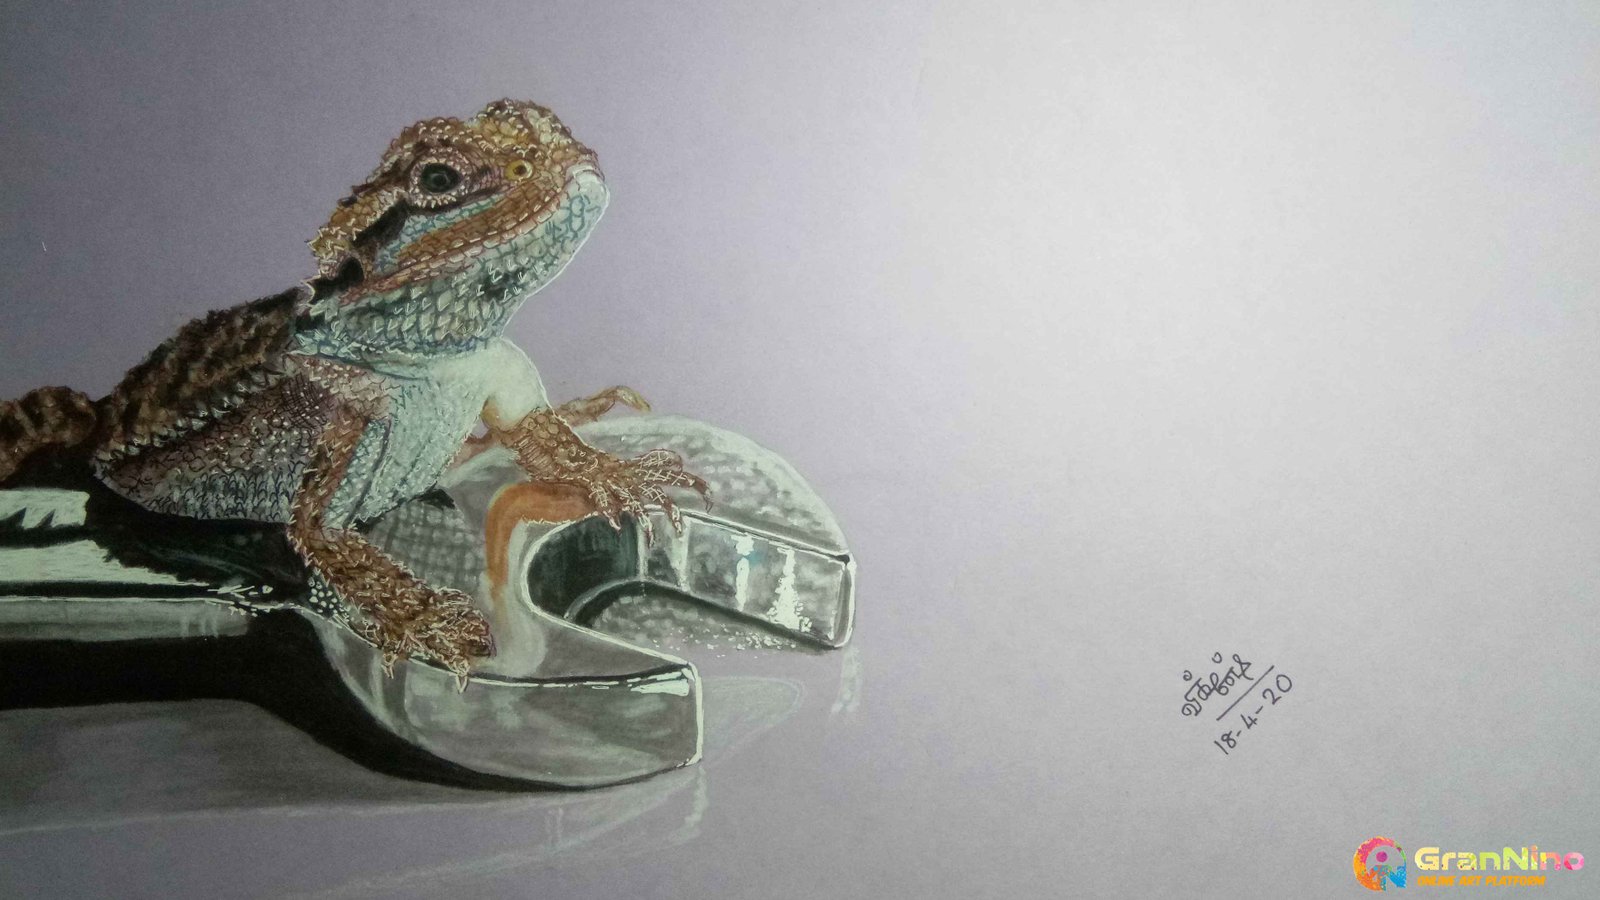
Realistic Drawing Of Lizard How To Draw A GranNino
Using our hb pencils, we want to begin by drawing a curved line on the page. This is a collection of the most beautiful and creative lizard drawings ideas for making your lizard drawings.you will find the basics of drawing lizards step by step. When describing lizards it is usually described as having scaly skin and a long tail that.
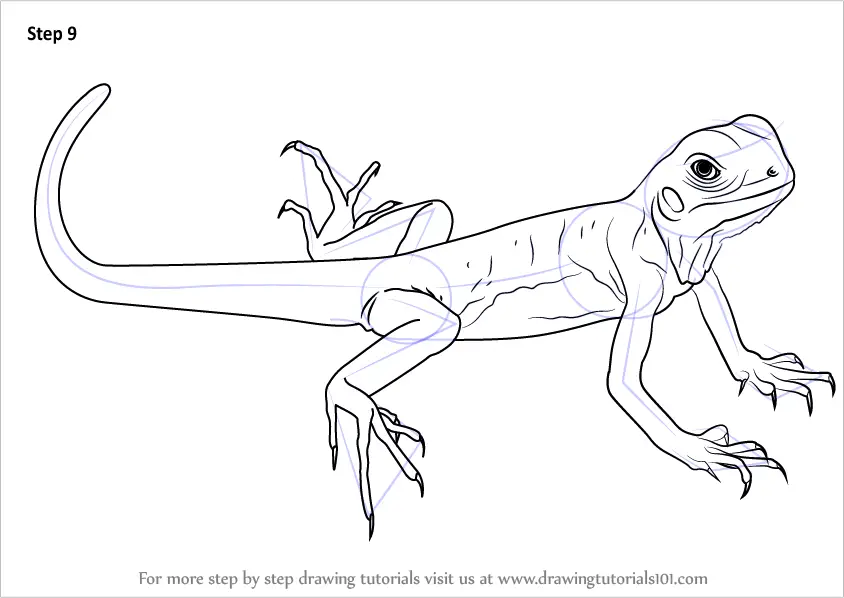
Learn How to Draw a Green Lizard (Lizards) Step by Step Drawing Tutorials
Draw two ovals that will help to define the places for its head and body. Choose one with a medium or soft lead that allows for easy shading and erasing. This is a collection of the most beautiful and creative lizard drawings ideas for making your lizard drawings.you will find the basics of drawing lizards step by step. There’s no.

Lizard Drawing — How To Draw A Lizard Step By Step
This is going to be the head of the lizard. Draw the eye inside of the eye socket. Draw a long, curved line down the center of the back, from the head to the base of the tail. You can also use these drawings to take good notes when you make observations or do experiments. Make curved lines along the.

How to Draw a Lizard Really Easy Drawing Tutorial
The way it moved, its intricate patterns, and the way its eyes seemed to hold a world of secrets… Web they should lead directly to the nose. You can also use these drawings to take good notes when you make observations or do experiments. There’s no need to draw the fingers or the toes in this step since it’s covered.
How to Draw a Lizard Easy Drawing Art
Then, use curved lines to enclose a partial oval above the mouth. Next, color the underbelly with a yellow crayon. This is a collection of the most beautiful and creative lizard drawings ideas for making your lizard drawings.you will find the basics of drawing lizards step by step. Connect the head to the body and add a mouth. Draw two.
How To Draw A Lizard Step By Step 🦎 Lizard Drawing Easy YouTube
The joint lies in the end of this line. Start with drawing the eyes with small ovals or circles. Web do you remember that feeling of awe and curiosity when you first encountered a lizard in the wild? Colored pencils were used to create this cute orange and green lizard. Draw the head and, with dashes at a certain distance.

How to Draw a Lizard (with Pictures) wikiHow
Draw a line, which will act as the center of the head. Start with drawing the eyes with small ovals or circles. This outlines the gecko's face. Web this lesson was originally posted in our art club a while back! Web ⭐ become a club member and get instant access to exclusive tutorials that will help accelerate your art skills.
Web Here Are The Steps:
Draw the head and, with dashes at a certain distance (which is convenient for you), determine the approximate thickness of the body while it tapers towards the end of the tail. Draw another curve to continue the smile towards the back of the skull. Next, set the length of the head (top), the location of its paws. Connect the head to the body and add a mouth.
This Is Going To Establish The Flow Of The Lizard’s Body.
First, fill the eye with a black crayon. Web they should lead directly to the nose. Before we begin the how to draw a lizard drawing lesson, here are some fun facts about lizards you might find interesting, especially for kids. Erase the line and add spots and draw a branch.
This Is Going To Be The Head Of The Lizard.
Web this lesson was originally posted in our art club a while back! Improve your drawing skills with gathered. Draw the mouth below the eyes. You can also use these drawings to take good notes when you make observations or do experiments.
Draw Another Oval Inside It, Completing The Eye.
Finally, add some spots along the lizard’s back and on its tail using a. The way it moved, its intricate patterns, and the way its eyes seemed to hold a world of secrets… Draw two ovals that will help to define the places for its head and body. A good quality eraser is essential for correcting mistakes and refining your drawing.