Wings Drawing
Wings Drawing - 15, with a 0.5% chance of “winning” the no. As the wings reach the bottom of the flapping arc, the feathers fan. The right side of this top line should be significantly higher than the left, creating a sharply sloped horizontal line. Web the top pick: The final artwork will be beautified with color making it a drawing you can be proud of! They can also be drawn in different ways, and applied to various characters, creatures, and animals. This line will be the top edge of the wings. The first step to drawing wings is to sketch out the overall shape of the wings. Depict the bottom of the wing on the left side. Explore our wings drawing reference collection for inspiration and guidance in capturing the beauty and grace of winged creatures.
This project will take 6 steps to complete as we continue to draw each area moving closer to the completed work of art. Continue drawing the line on the left, adding many arcs and curved lines of varying lengths. I really hope this is helpful in some way. Then, add two more lines coming down from the top curve. 15, with a 0.5% chance of “winning” the no. Add the outline of the wing on the right side. To start the wing sketch, first decide where the center point of your wings will be. For this step of your wing drawing, extend the left hand side down a fair amount, and then you can extend the right hand side a bit as well. The reference picture will show you how this should look before you move on to step 3. Web we will complete a drawing of chicken wings by crafting one area at a time.
This step is super important because it’ll make your wings look more realistic. Integrating wings into your character designs. Then, add two more lines coming down from the top curve. Some argchi also have a drawing of brazil's wings :d he is capable of flying but doesn't for some reason 樂 #countryh.. Here's a quick and easy process. The sharks have the best odds, at 18.5%, with the blackhawks no. Showing how to draw a wing. Draw out each individual feather across the top of your wings. To start drawing, simply draw some curved, rounded lines with sharp points at the end to start creating the outline of the angel wings. When at full extension, the primary feathers splay at the tip, and the bird’s weight shifts forward.

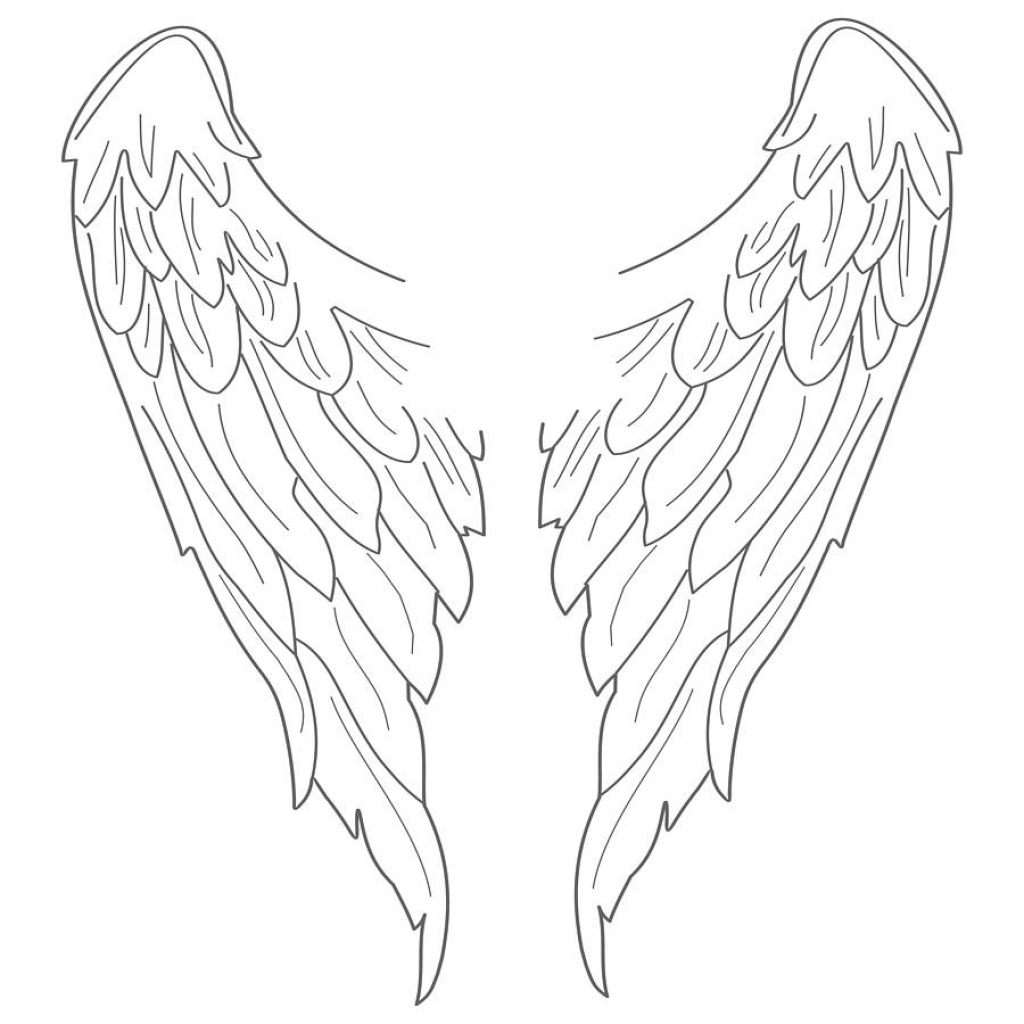
Simple Angel Wings Drawing Cliparts.co
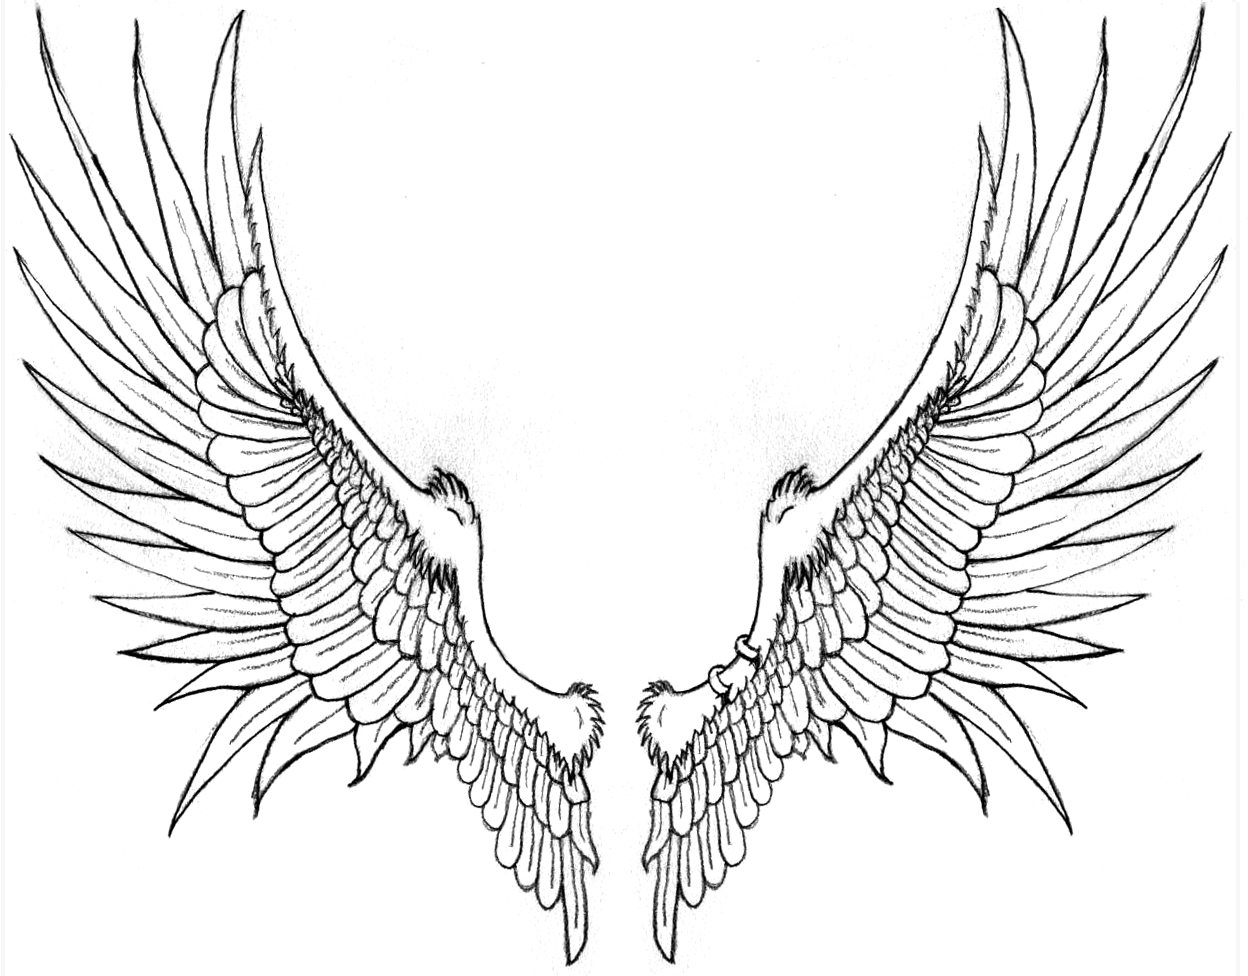
Do this by sketching a general shape that vaguely follows the wing's base and then fill it in with feathers. Showing how to draw a wing. :)0:00 flight feathers1:20 drawing wings breakdown6:51. The flight feathers are the main, largest feathers of the wing set. There are a lot of different ways to draw out your feathers.
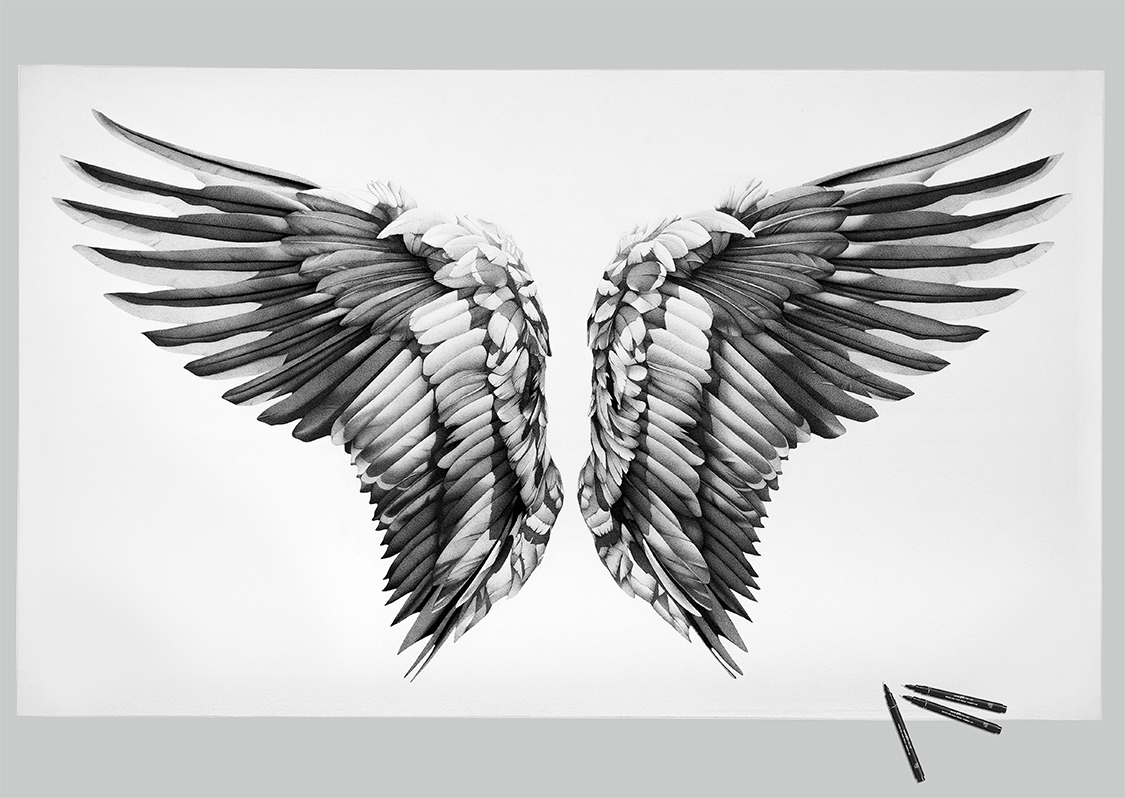
Wing Pen Drawings by Alessandro Paglia The Cool Hunter The Cool Hunter
Some argchi also have a drawing of brazil's wings :d he is capable of flying but doesn't for some reason 樂 #countryh.. Here's a quick and easy process. Then, add two more lines coming down from the top curve. For the first step of this guide on how to draw angel wings, we shall be starting with the outline of.
Free Simple Angel Wings Drawing, Download Free Simple Angel Wings
Now, all you have to do is form the membrane by joining the bones with curved lines, coming together at the character’s back at the end. Web we will complete a drawing of chicken wings by crafting one area at a time. Sketching the overall shape of the wings. Then, add two more lines coming down from the top curve..
Easy Angel Wings Drawing at GetDrawings Free download
Web how to draw bird wings. The reference picture will show you how this should look before you move on to step 3. Continue drawing the line on the left, adding many arcs and curved lines of varying lengths. Web we will complete a drawing of chicken wings by crafting one area at a time. There are a lot of.

Video by LethalChris Drawing How to draw realistic wings. Step by step
To do this, start by drawing a curved line at the top of your paper. Add the outline of the wing on the right side. This step is super important because it’ll make your wings look more realistic. Then, add two more lines coming down from the top curve. Here's a quick and easy process.

Original drawing by Christopher Straver (LethalChris Drawing). Featured
Now that you have the first line of your wing drawn, we can start to add more to it. The reference picture will show you how this should look before you move on to step 3. The first step to drawing wings is to sketch out the overall shape of the wings. This line will be the top edge of.

How to Draw Anime Wings 10 Steps (with Pictures) wikiHow
To complete this step, you need to draw two symmetrical curved lines as shown in the picture. This line will be the top edge of the wings. Web then, draw long, curved lines coming out of each finger, except for the thumb, which will turn into a talon. The right side of this top line should be significantly higher than.
Simple Angel Wings Drawing Cliparts.co
Then, add two more lines coming down from the top curve. To complete this step, you need to draw two symmetrical curved lines as shown in the picture. Web a while ago i had someone asking me to break down how to draw wings. Web how to draw realistic wings. Sketching the overall shape of the wings.
How to Draw Wings 12 Steps (with Pictures) wikiHow Clip Art Library
Upon launch, the wings come down hard, the head tilts forward, the tail feathers begin to open, and the toes are splayed. Web how to draw bird wings. This is the arch to your first wing. Similarly, connect the figure to the bottom feathers with another “u” figure. Connect the interior of the wing with the bottom edge of the.
How To Draw Angel Wings Step By Step Drawing Pencil ClipArt Best
The formation of drawing wings is quite similar amongst various animals, which means this drawing process can be used for various winged creatures. Or sections, as it would be more accurate to say, as we will be drawing two thin sections connected to one another. Do this by sketching a general shape that vaguely follows the wing's base and then.
It's Similar To Drawing The First Layer Of Feathers, But Further Out.
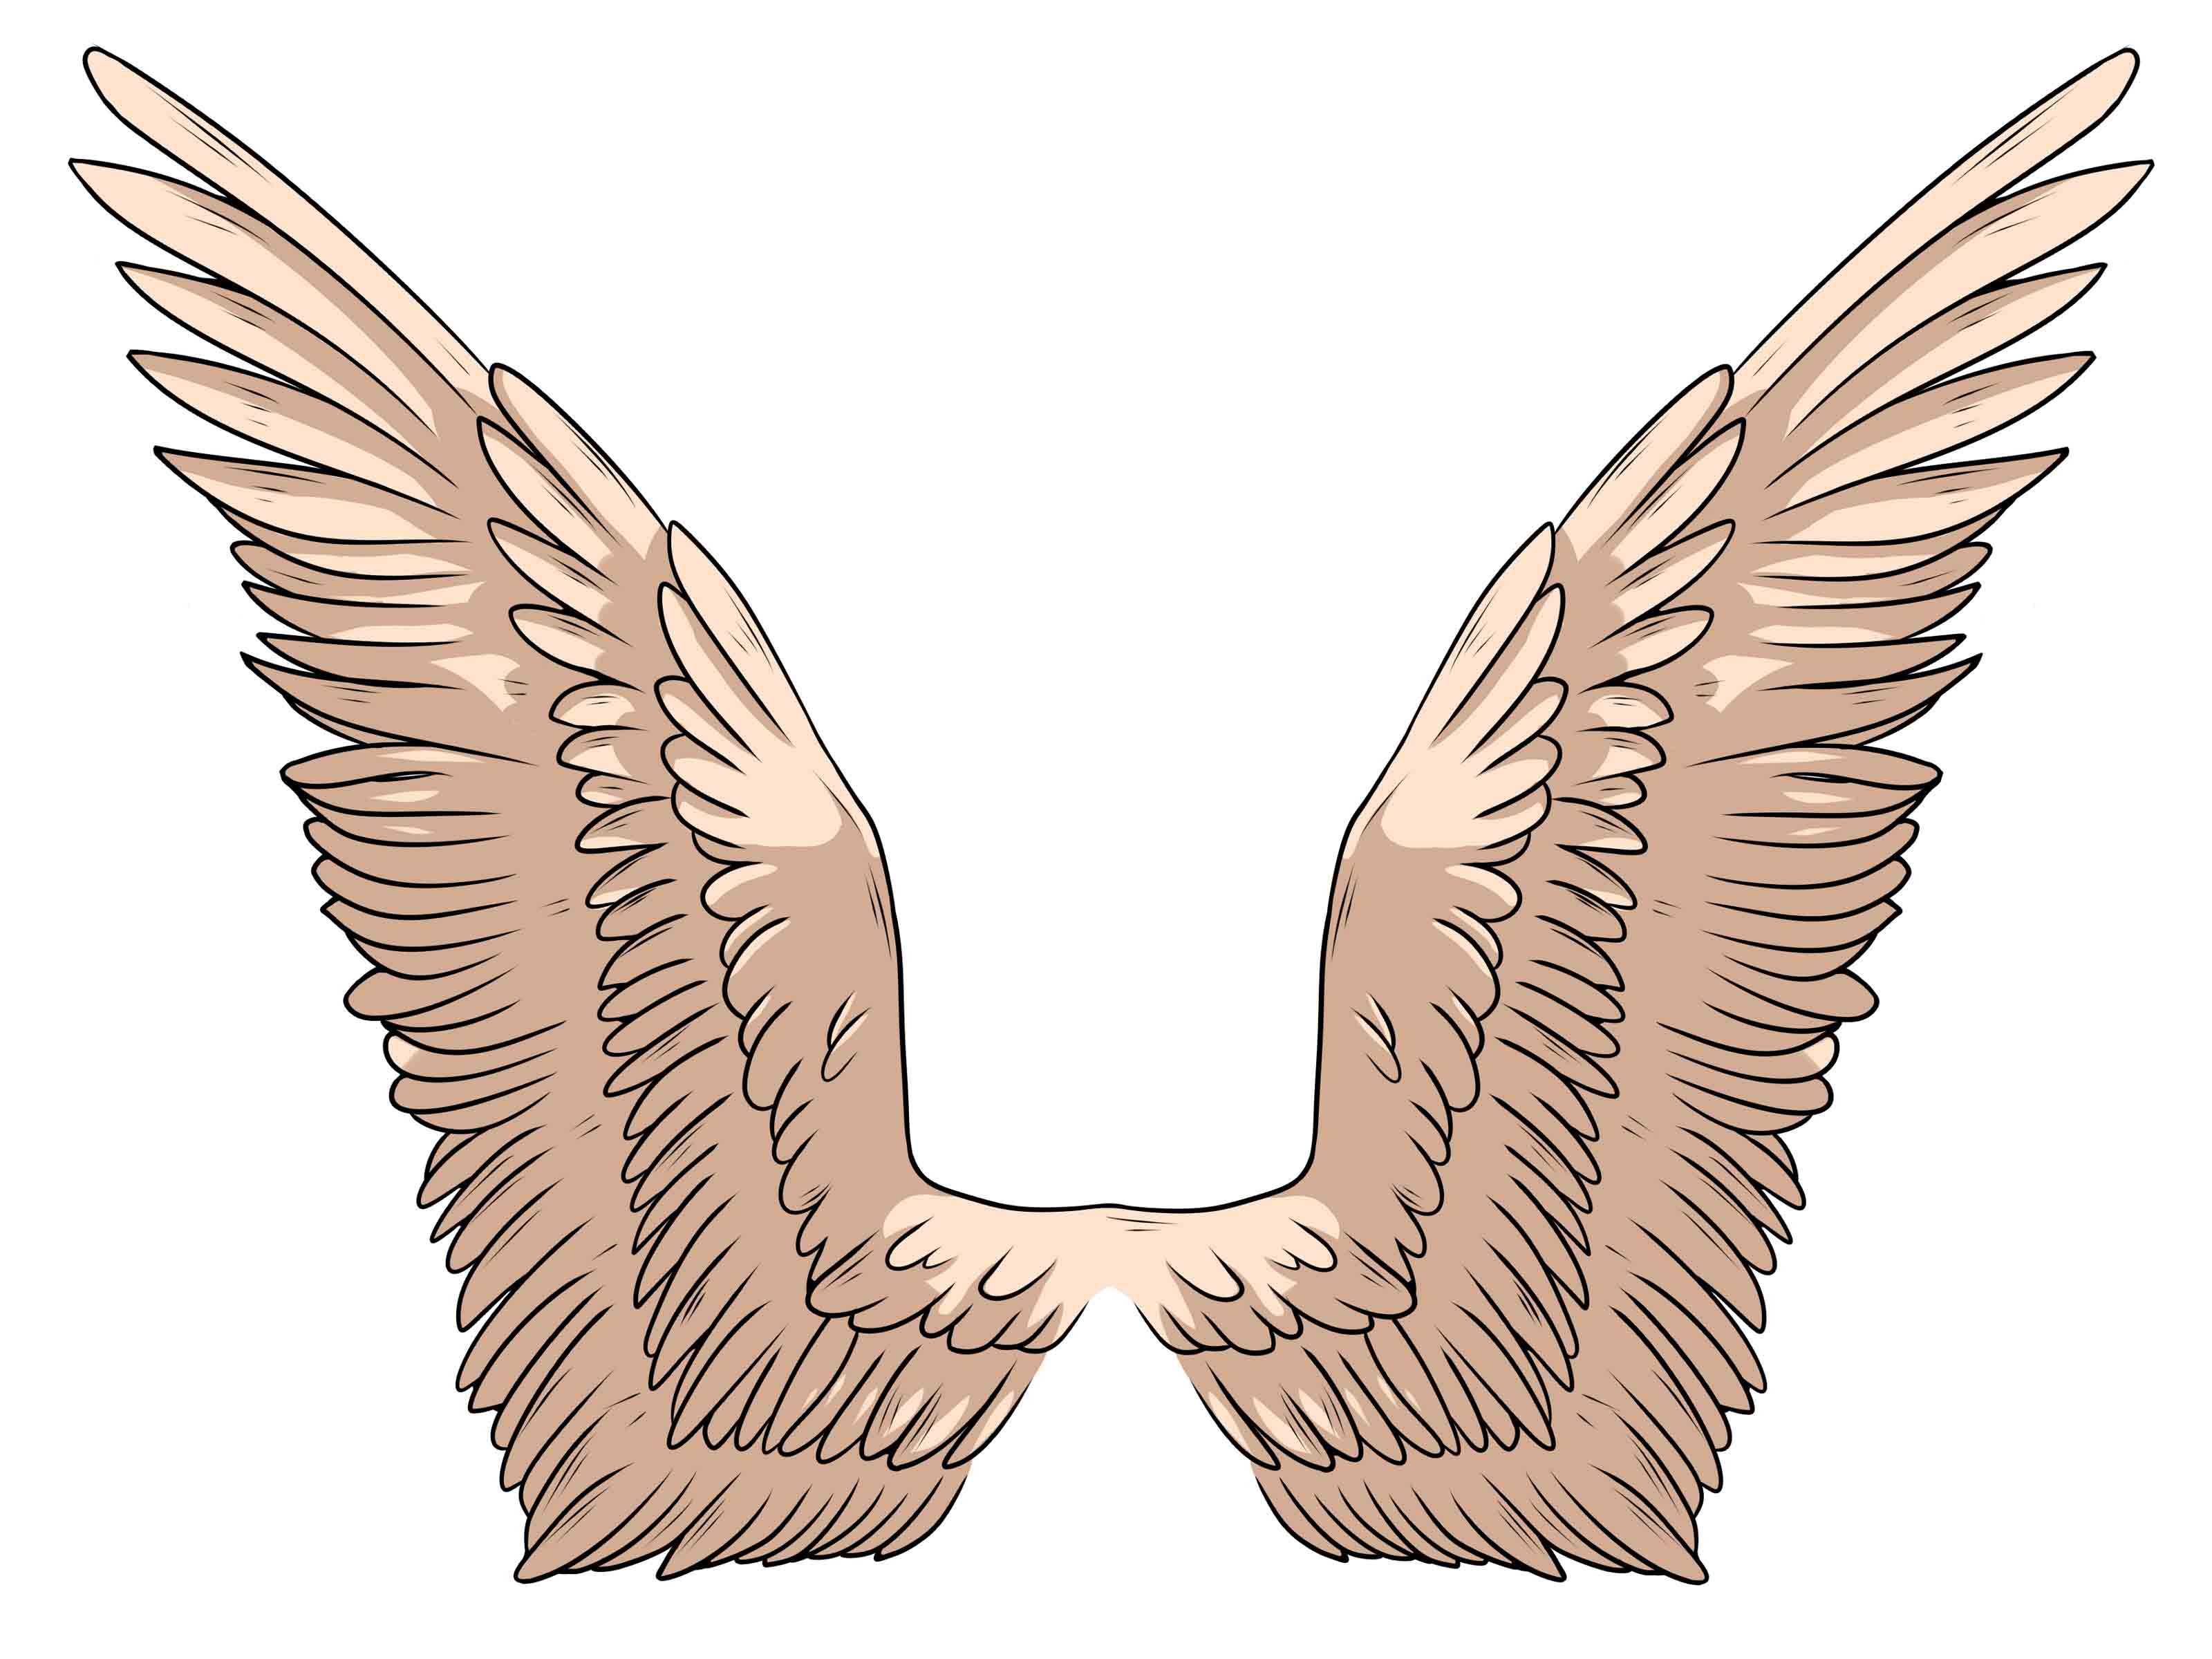
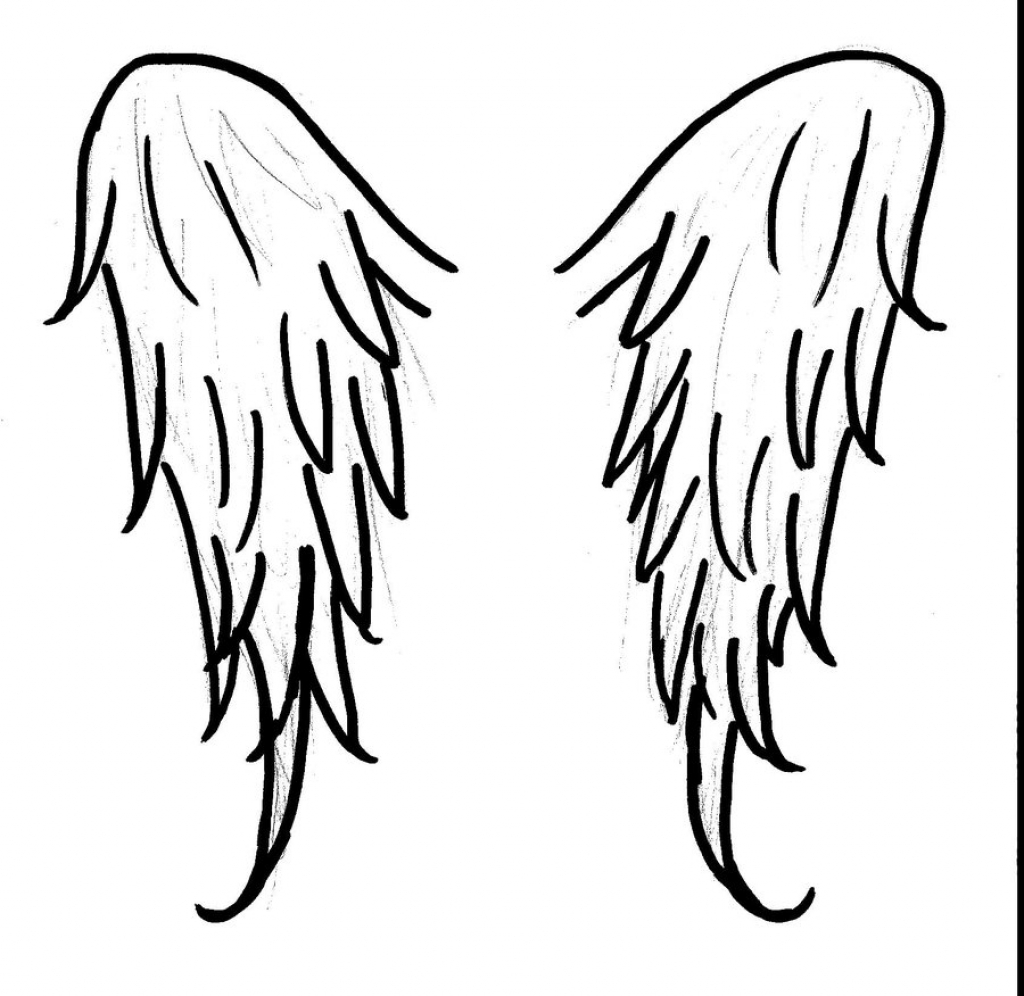
Web cartoon angel wings. They can also be drawn in different ways, and applied to various characters, creatures, and animals. To draw these, start at the top of each wing and follow the curvature of the wings. See more ideas about wings drawing, wings, drawings.
I Really Hope This Is Helpful In Some Way.
Save my name, email, and website in this browser for the next time i comment. Web how to draw realistic wings. When drawing these angel wings, try to think of them as large dove wings. Explore our wings drawing reference collection for inspiration and guidance in capturing the beauty and grace of winged creatures.
15, With A 0.5% Chance Of “Winning” The No.
Depict the bottom of the wing on the left side. Finish off by drawing the bottom flight feathers, also leading with the curvature of the wings. Do this by sketching a general shape that vaguely follows the wing's base and then fill it in with feathers. As the wings reach the bottom of the flapping arc, the feathers fan.
Sketching The Overall Shape Of The Wings.
The final artwork will be beautified with color making it a drawing you can be proud of! The main section is easier to draw so start there. Then create two more rows of ovals below the first row, making three rows of ovals in total. Web then, draw long, curved lines coming out of each finger, except for the thumb, which will turn into a talon.